1.
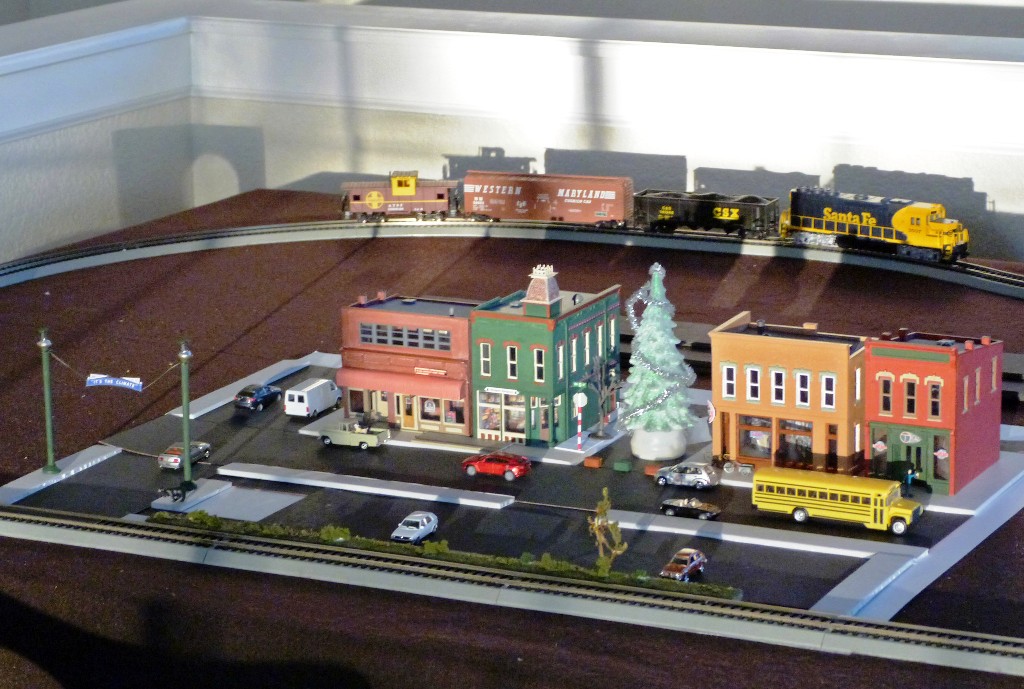
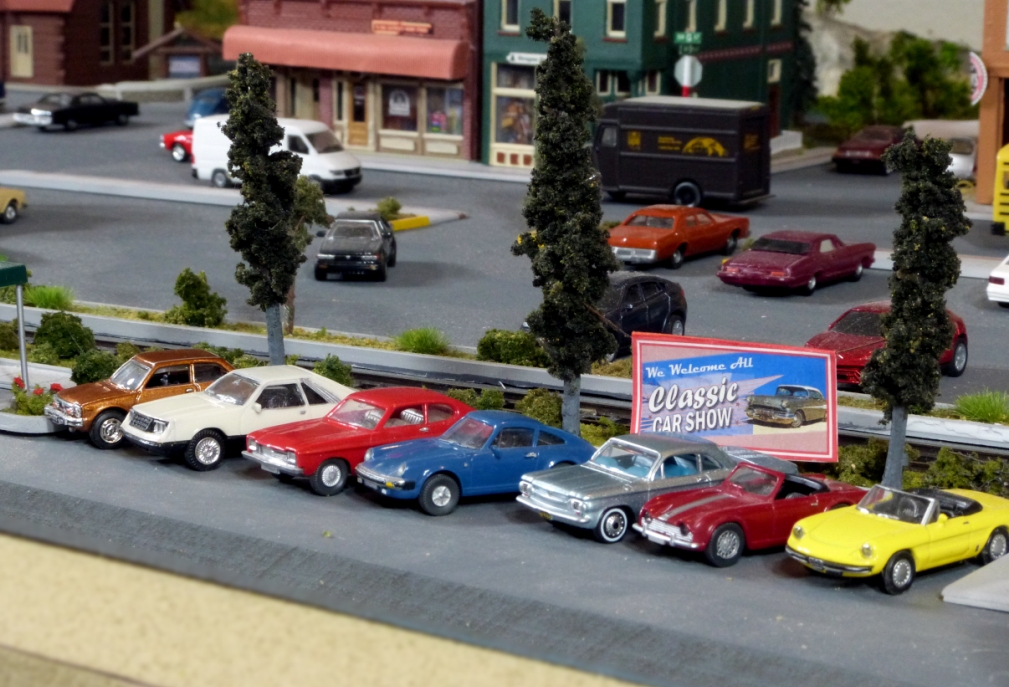
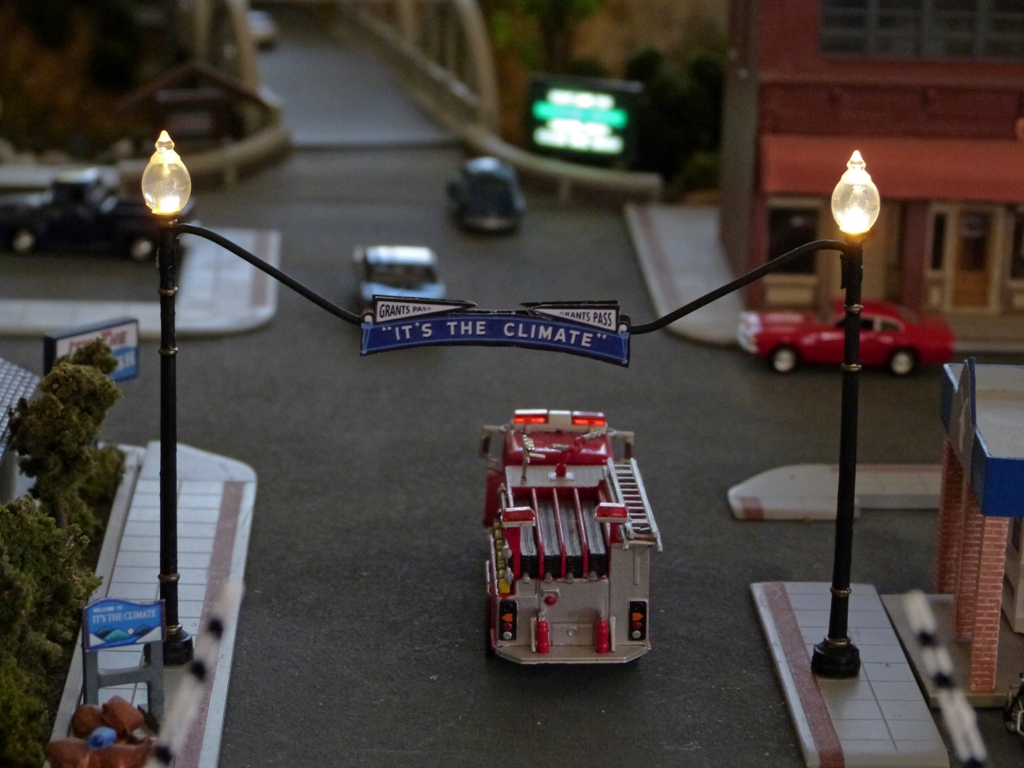
The Town of It's the Climate
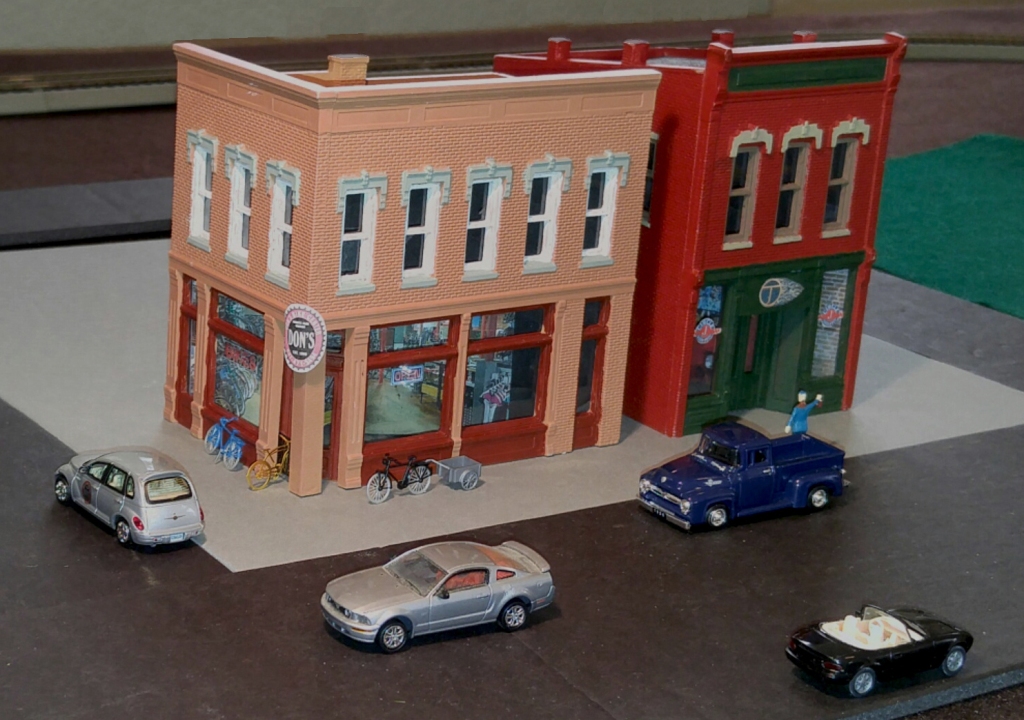
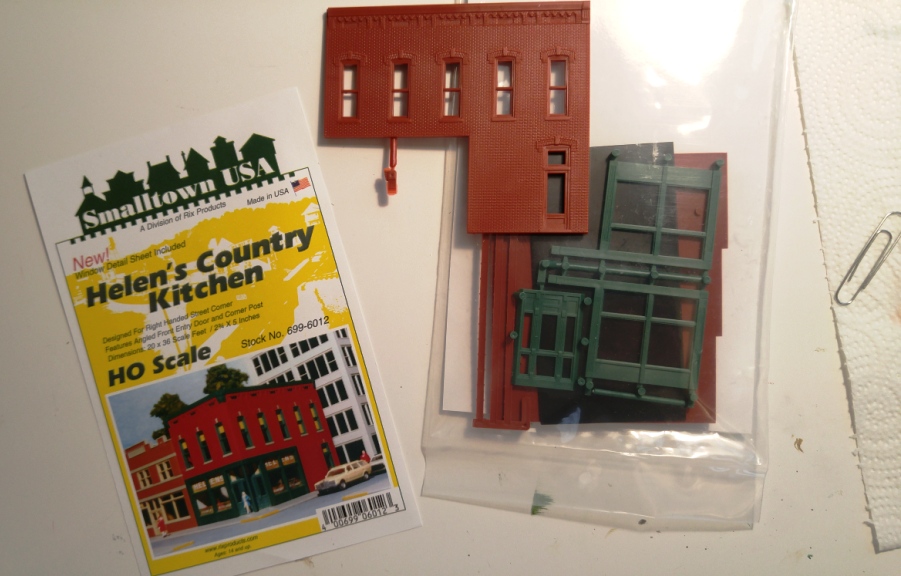
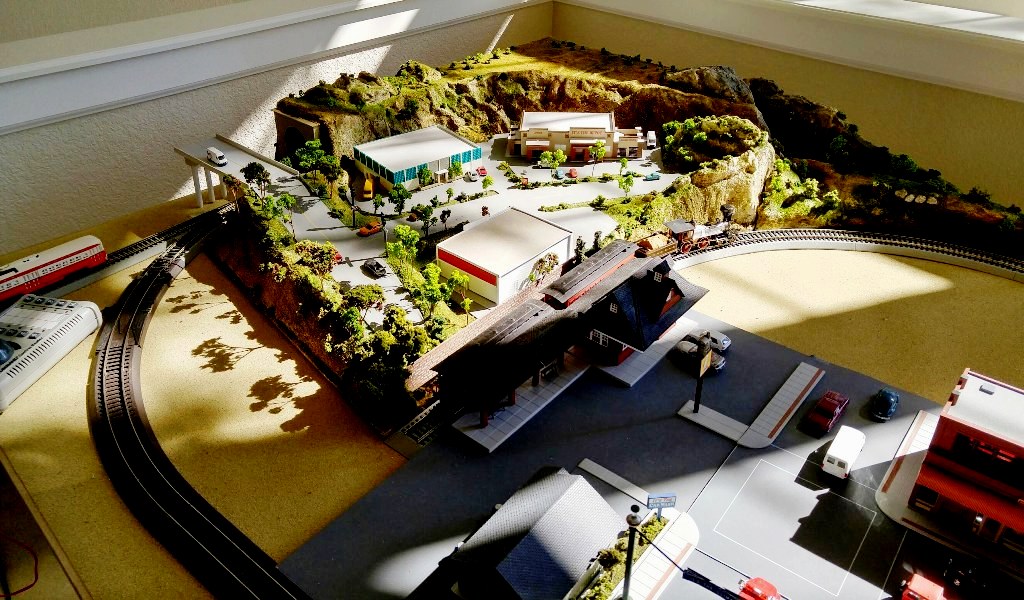
My main layout is a somewhat abstract version of Grants Pass, Oregon. As described previously, it was not actually designed – it sort of evolved. I started with a DPM (Design Preservation Models) plastic kit and, simply with paint and a couple of decals, I turned it into a local restaurant, the Circle J.
The next three buildings were also kits, but each required a bit more modification than the previous one to make them more closely resemble the respective building I was modeling. (The subject of your model is often referred to as the "prototype".)
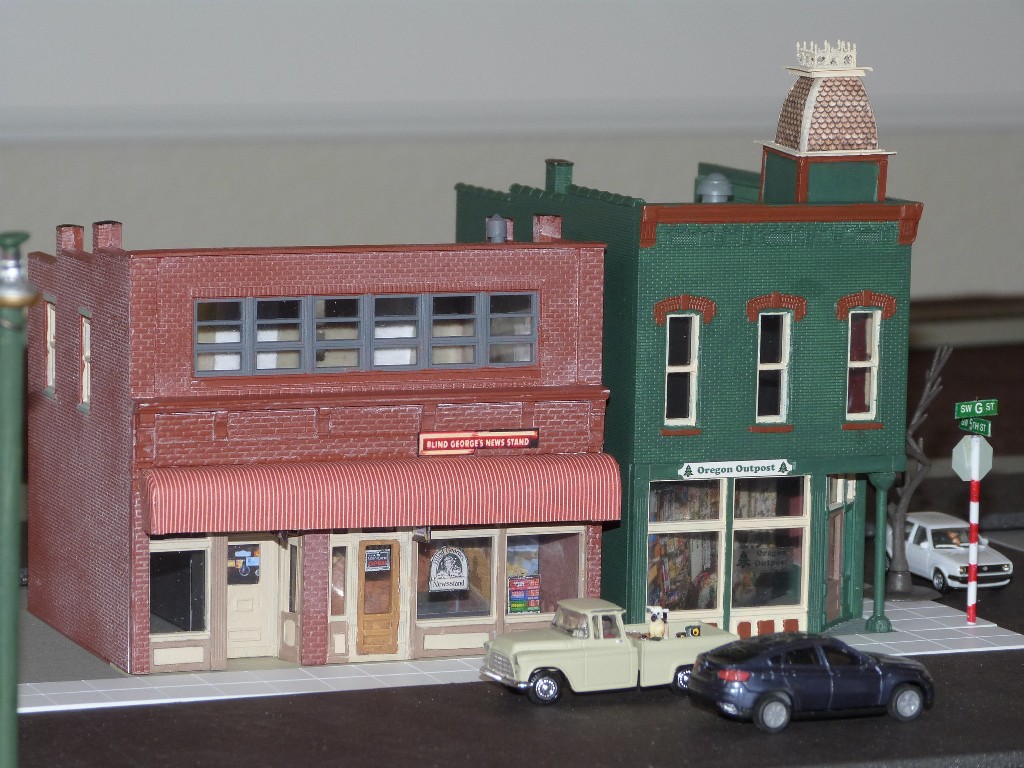
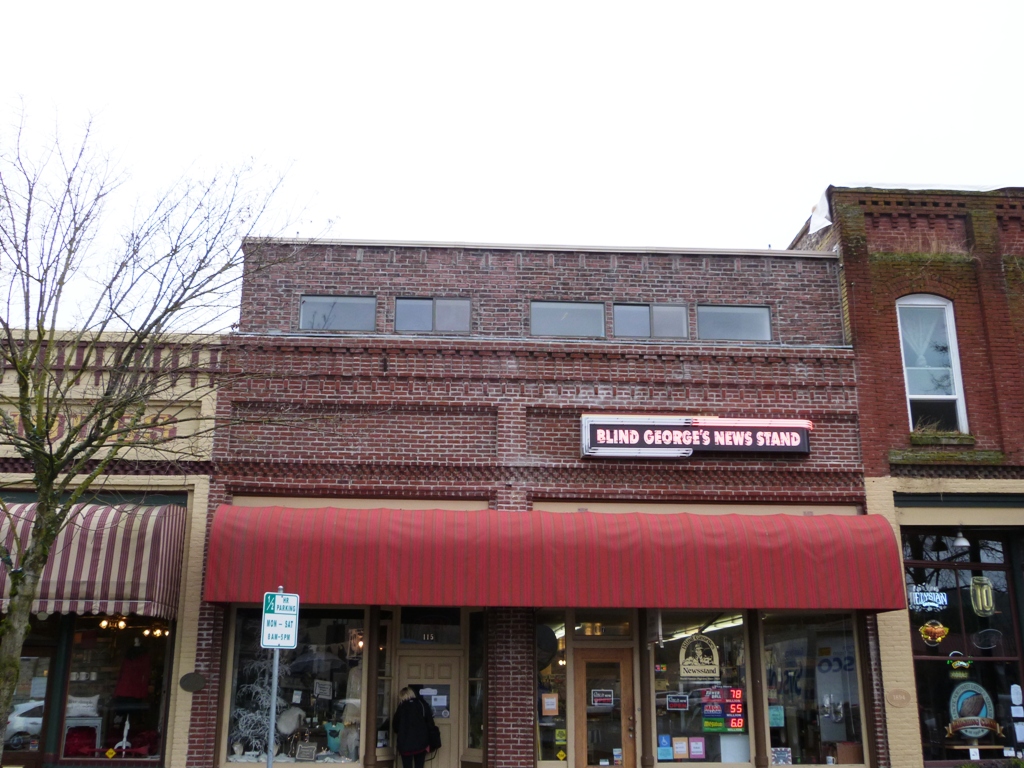
By the fourth building (Blind George's News Stand), I was using pieces from other kits as well as doors and windows purchased as separate products. (This process is called "kitbashing" for obvious reasons.)
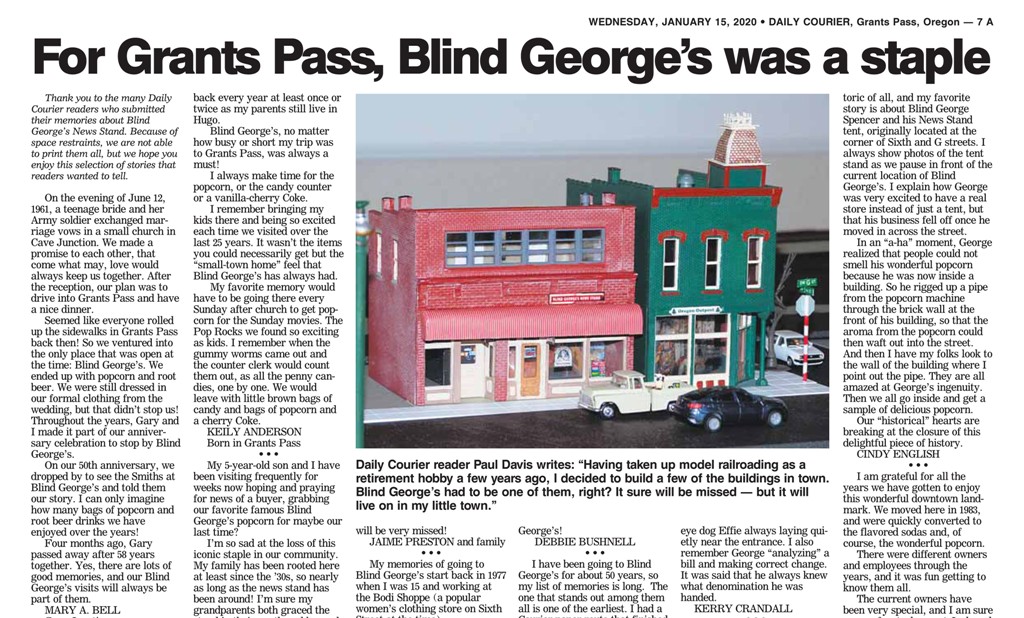
Blind George's had been around in one form or another for close to a hundred years. When it closed, the local newspaper asked folks to send in their thoughts and experiences at the store. Well, since it was one of the first buildings I modeled, I sent in a picture - and, as you can see below, it was published on the page with the other letters.
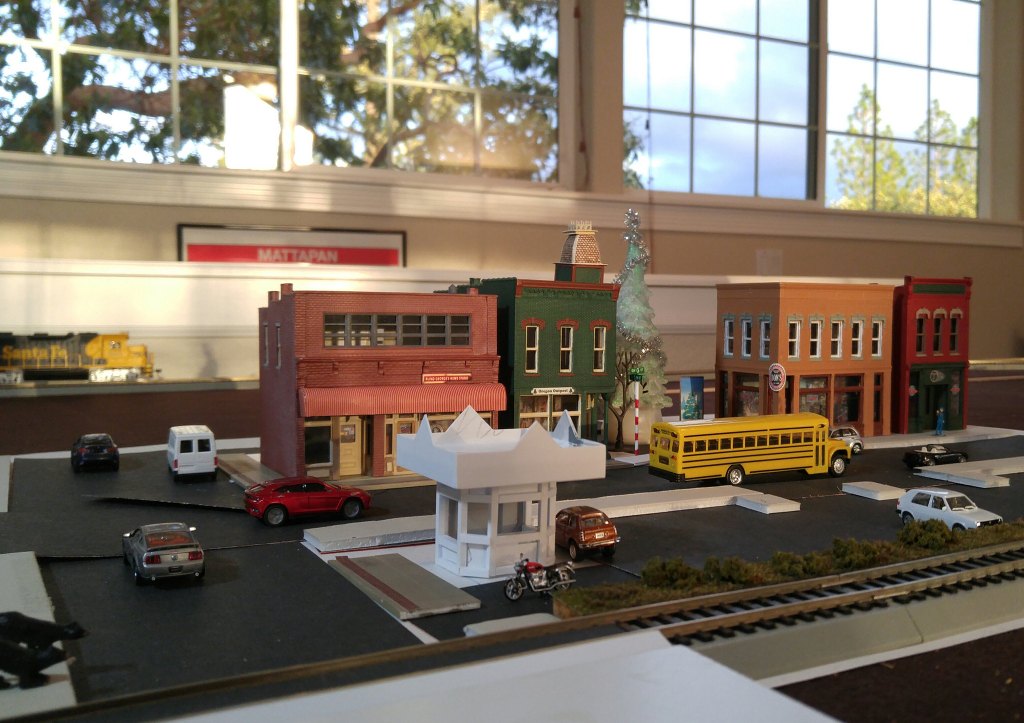
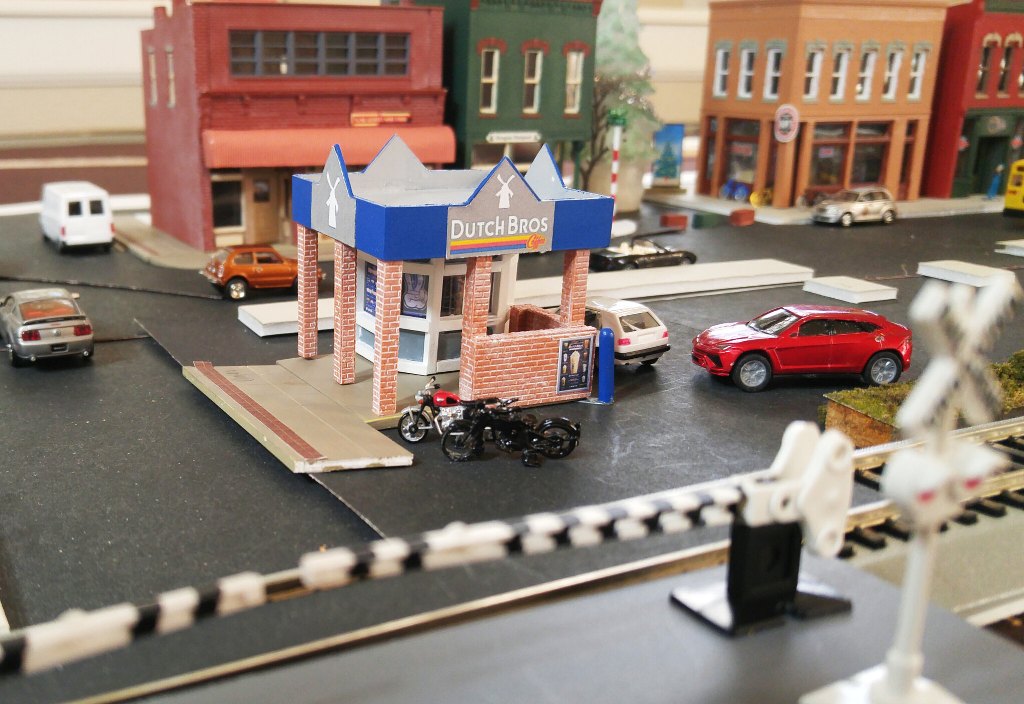
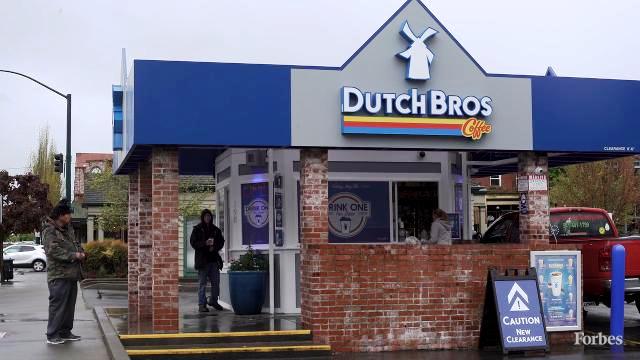
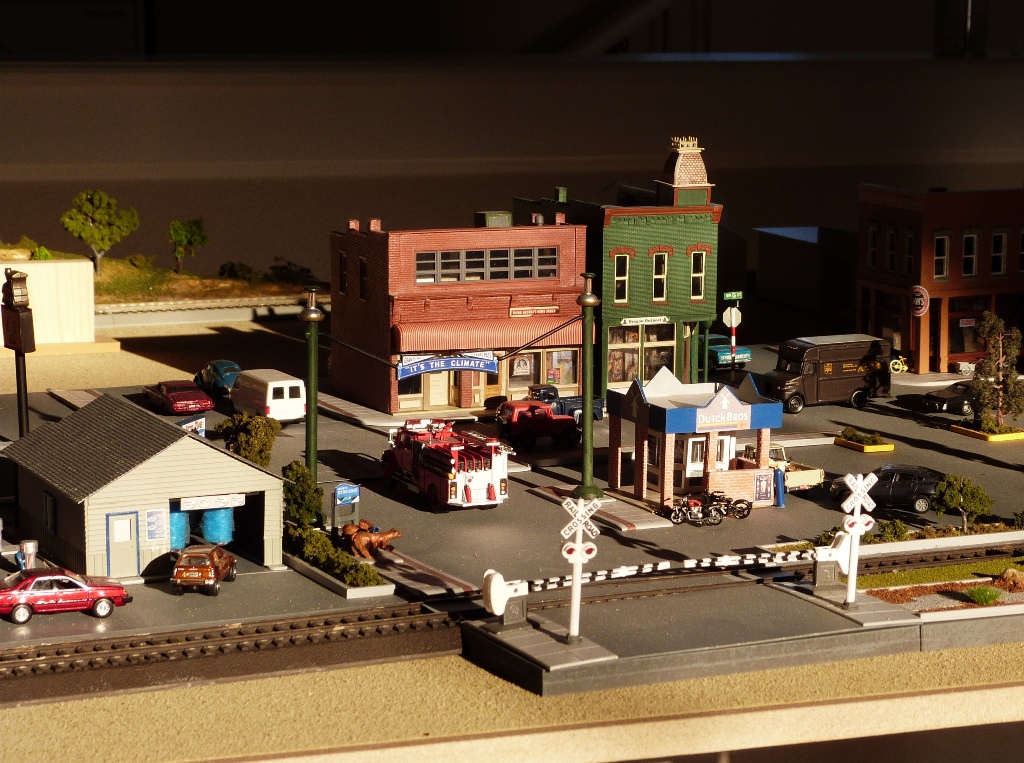
I made a big leap when I decided to build the locally famous Dutch Bros. coffee stand. No kit I saw remotely resembled it, but because of its importance in the center of town, I knew it had to be included. So I decided to build it from scratch - it's quite detailed including signage and an interior.
I am very fortunate to have a hobby store not to far away, and although they don't have a large stock of stuff for trains, they have a decent selection of styrene (plastic) and scenery material. I started practicing, learning how to measure, cut and glue tiny styrene pieces. It took a while (the paint and signs were a bit tricky), but I was very pleased with the results. And the process gave me the confidence to build other buildings and structures.
|
|
|
|
|
|
|
|
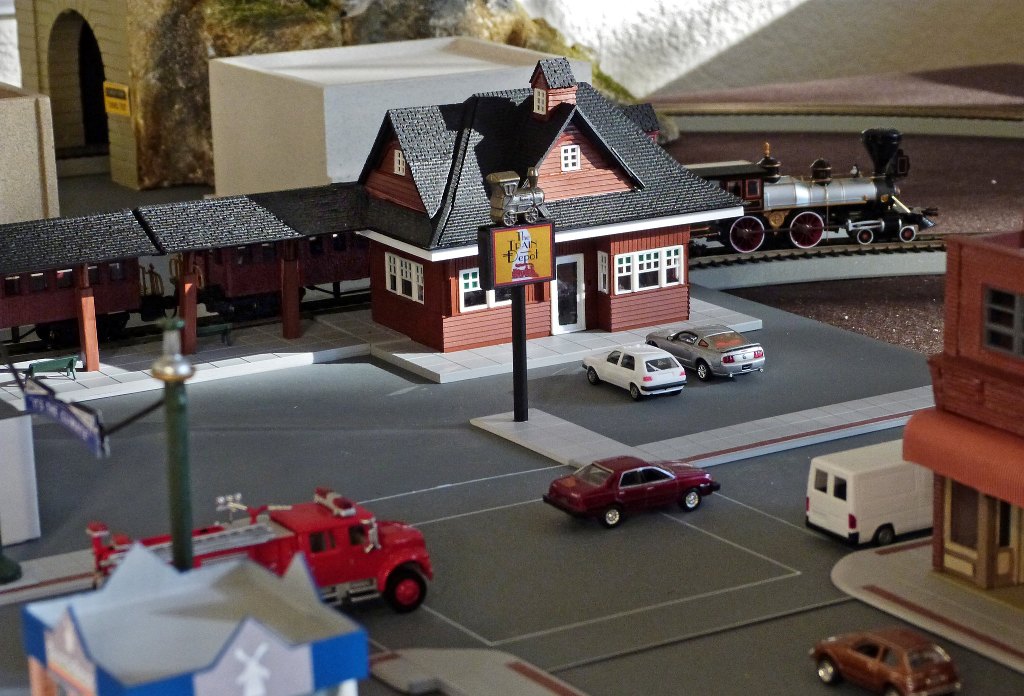
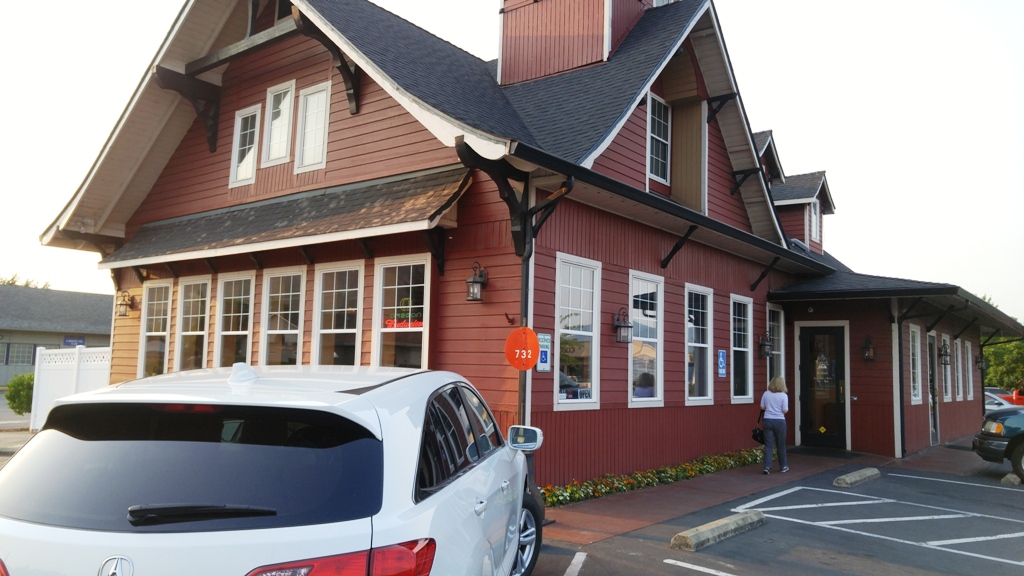
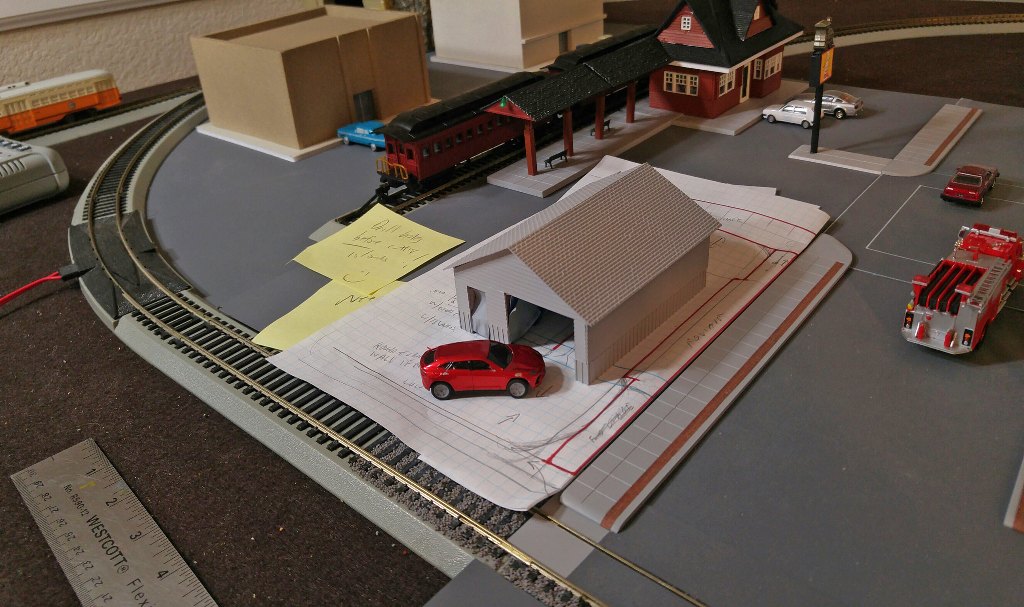
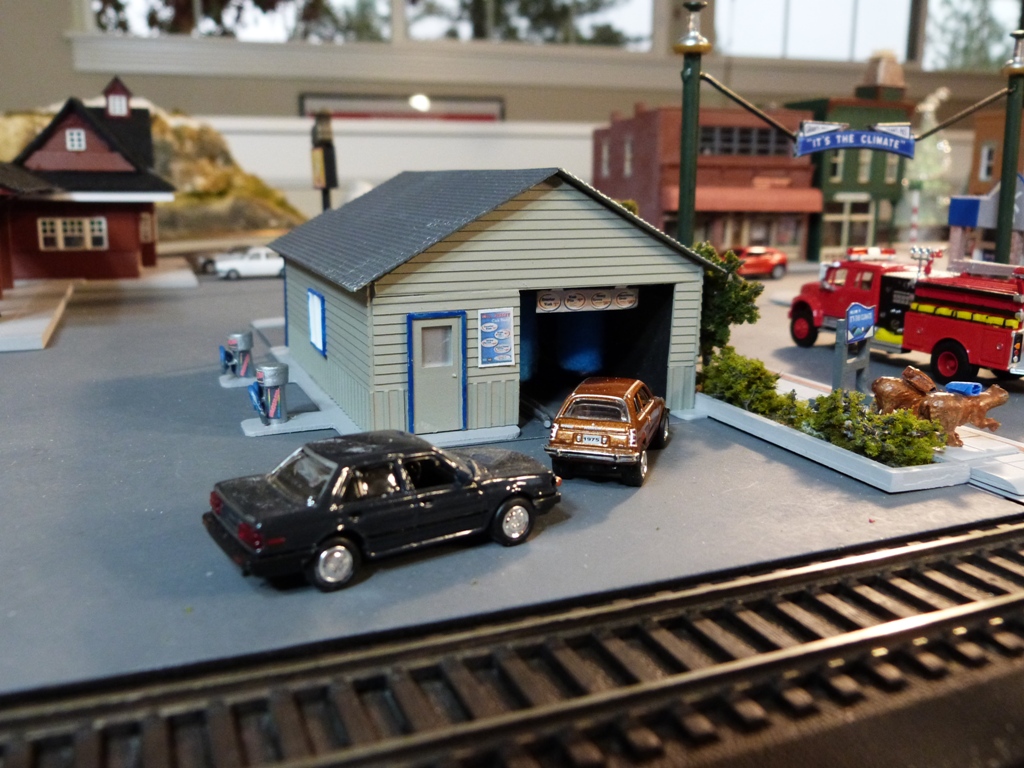
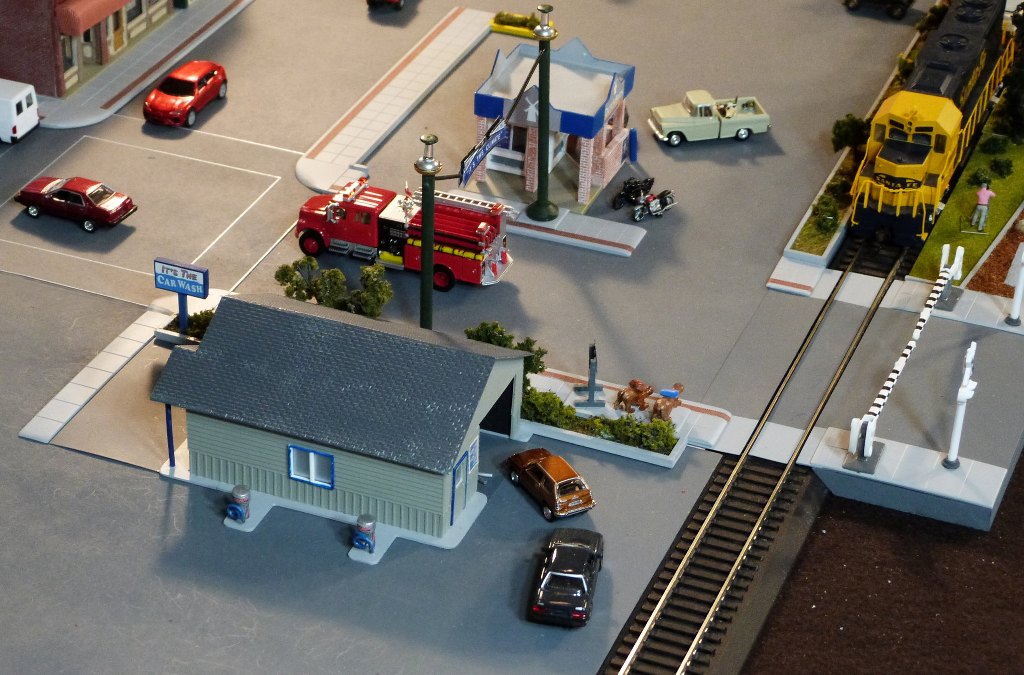
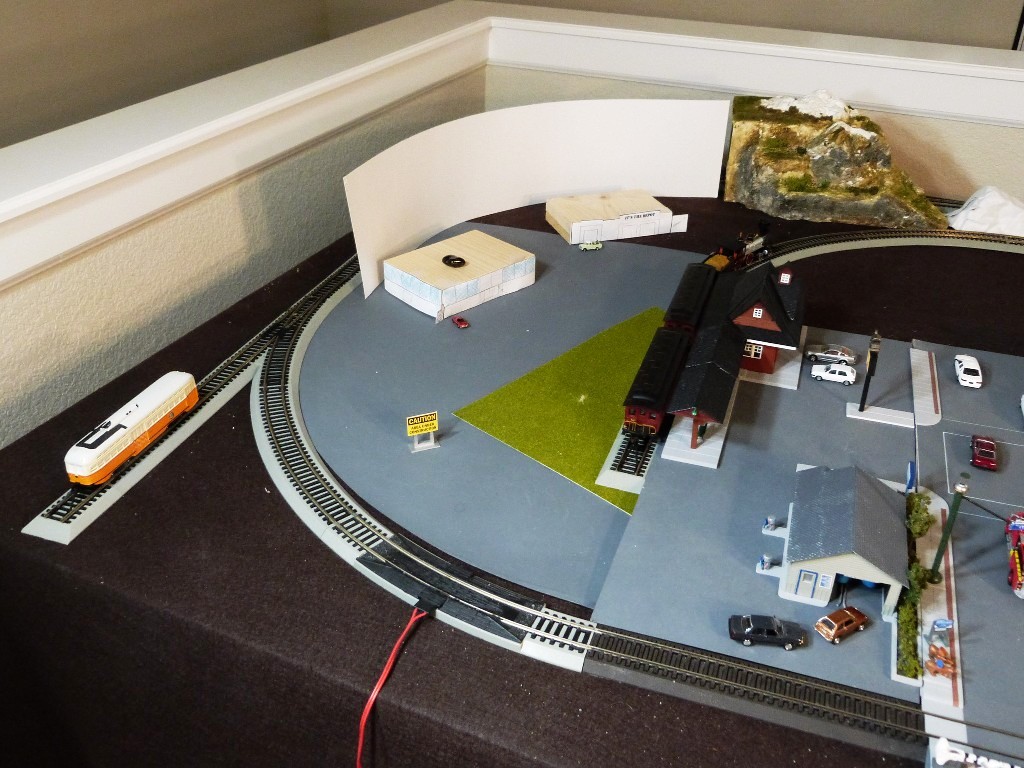
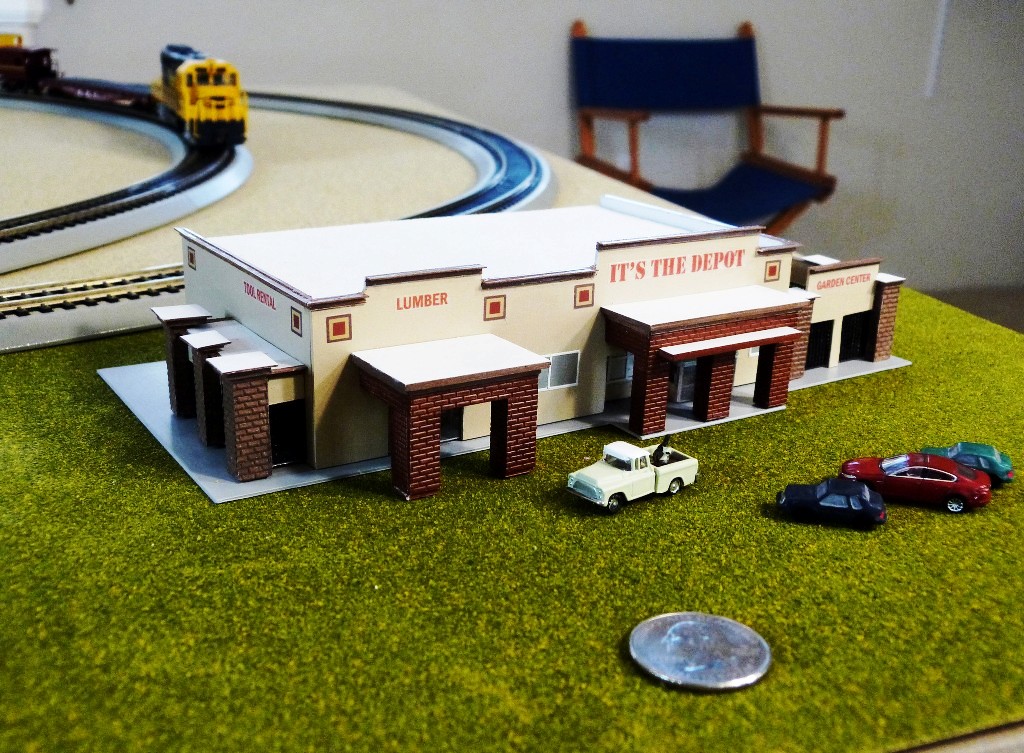
The Train DepotThis is a funny story. We had frequented a local restaurant interestingly called "The Train Depot." (It's decorated with railroad paraphernalia - lanterns, models, paintings, etc.) In the first phase of my layout, I was including local business that had some meaning to me, so I just had to build it – but I did it with a twist. How could I avoid turning it into a train depot? And it seemed like an early 1900’s steam locomotive (like the ones that helped put Grants Pass on the map) had to be included. I modified a kit I found on-line that resembled the actual building. In fact, I purchased two so that I would have enough parts. The outdoor sign is a close copy of the one used at the restaurant. An old Monopoly piece was used for the locomotive. It's the Car WashThe car wash was another scratch-built building, but much simpler than Dutch Bros. It is mainly a block of wood and foam, covered by styrene panels. I left it hollow so I could add a basic interior. By the way, in the real world, the Train Depot IS next to the car wash! (Such accuracy is often just a coincidence on my layouts.)
| |
|
|
|
|
|
|
|
|
|
|
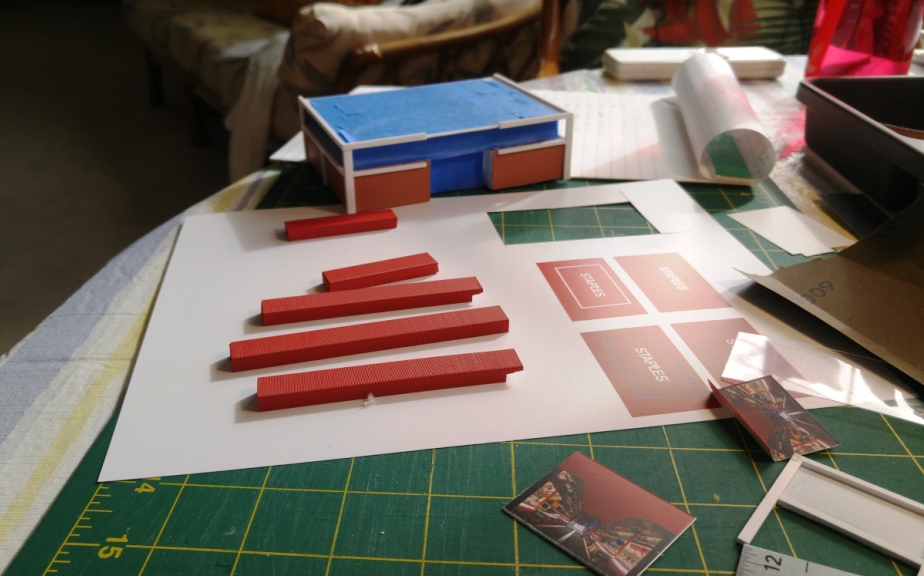
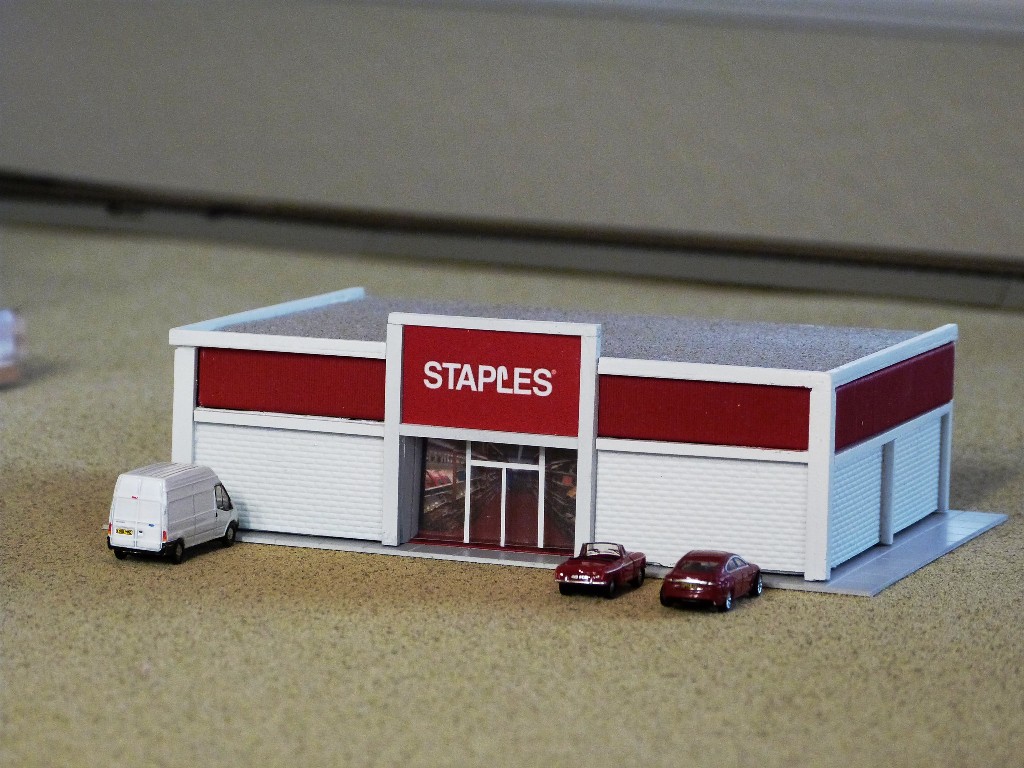
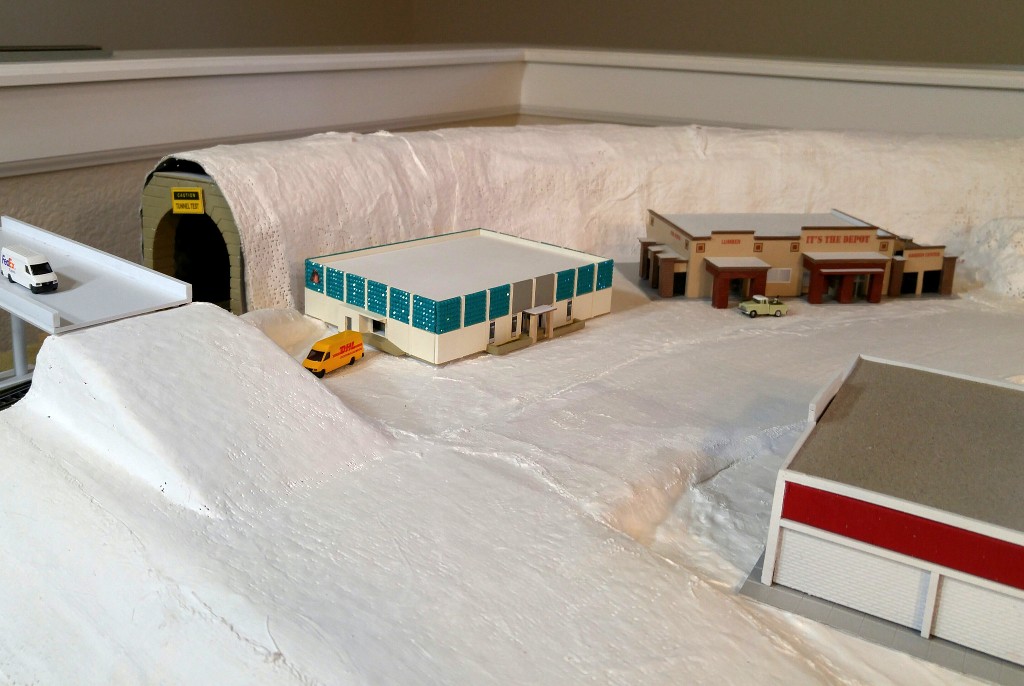
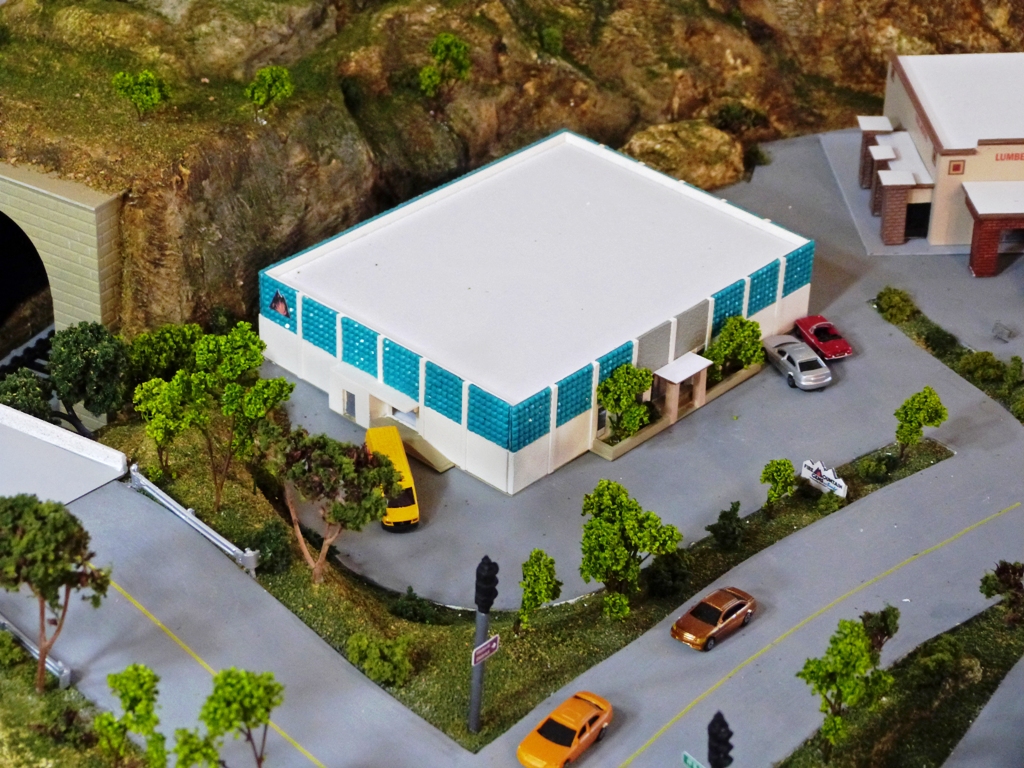
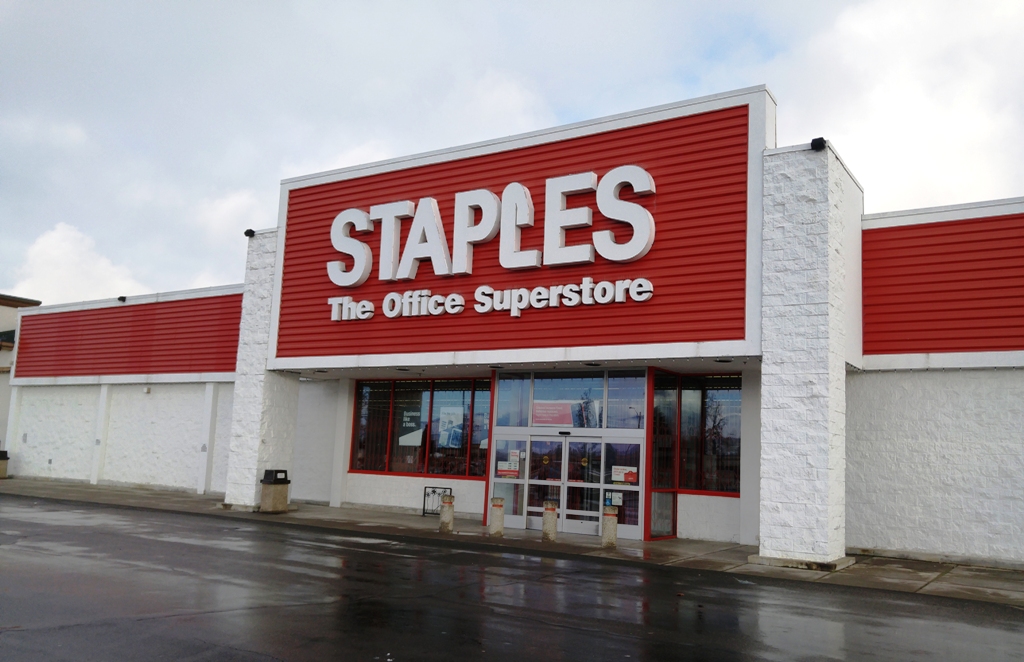
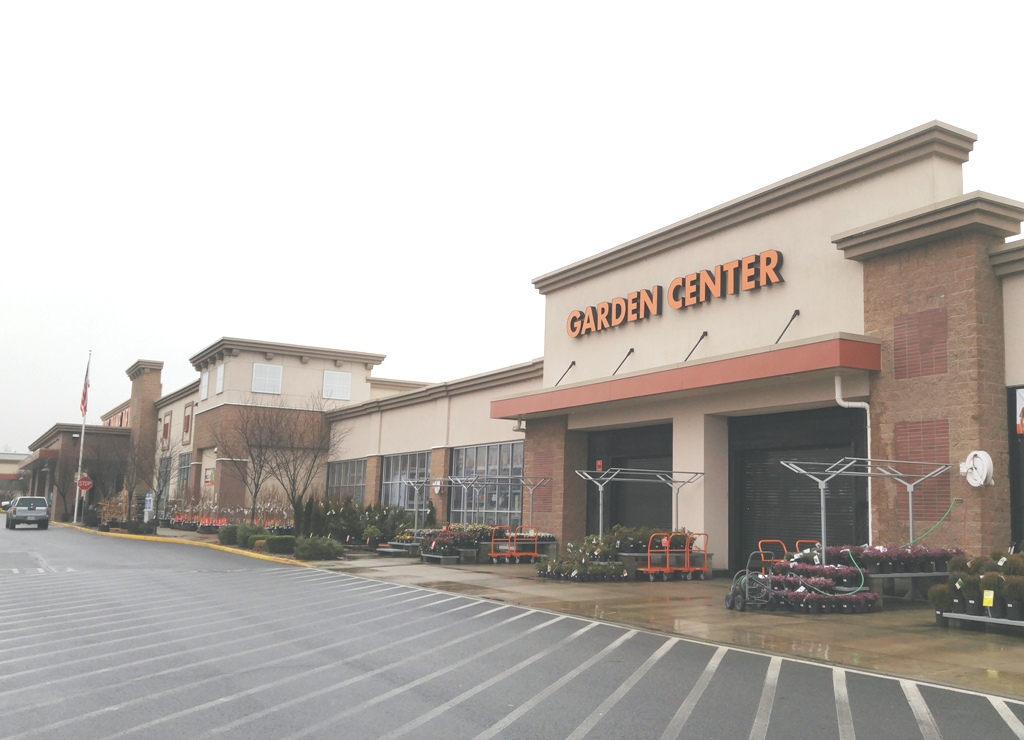
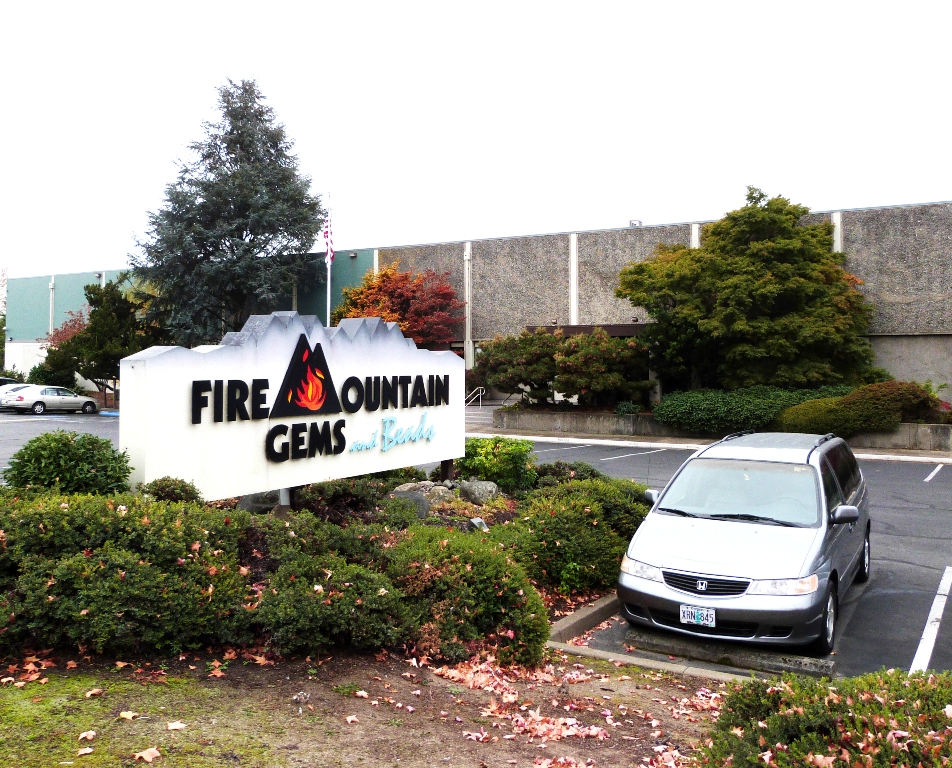
Eastside AreaWhile working on the central part of town, I placed a couple of small, generic boxes on what represents the east side of the city, since that area contains a few big-box stores. However I hadn't planned to model anything there. That changed when Sher, a friend of Mrs. Pauley, came to visit and wanted to go on a tour of Fire Mountain Gems (from which she purchased supplies) located near Home Depot. I had passed Fire Mountain thousands of times but knew very little about them. As it turns out they are a major supplier of gems and beads, and we were very impressed with their operation. When we got back home, Sher said, "Well, now you have to model Fire Mountain." I realized she was right. But I knew right away that meant modeling the entire area included Home Depot and Staples. Since space was limited on that side of the table, I decided to build the structures closer to N scale. Even so, they are all greatly reduced in size. Home Depot alone would have take up half the table, even in N scale. And not only is Fire Mountain actually a lot larger than depicted, they have another building next door. This is a perfect example of "selective compression" discussed on page 5. A tidbit about this diorama - when I built Staples, I decided, just for fun, to use real staples for the red band around the building. This was more difficult than I had imagined because staple are made to fall apart, not stay together. I wound up gluing the staples onto a strip of wood so that I could easily cut, paint and attach the sections onto the building. The Fire Mountain building has large square sections on the side of the building in a bluish contrasting color. Once again, I thought I’d have some fun and found a Fire Mountain product that looked like little twinkly gems on an adhesive backing. Perfect! |
|
|
|
|
|
|
|
|
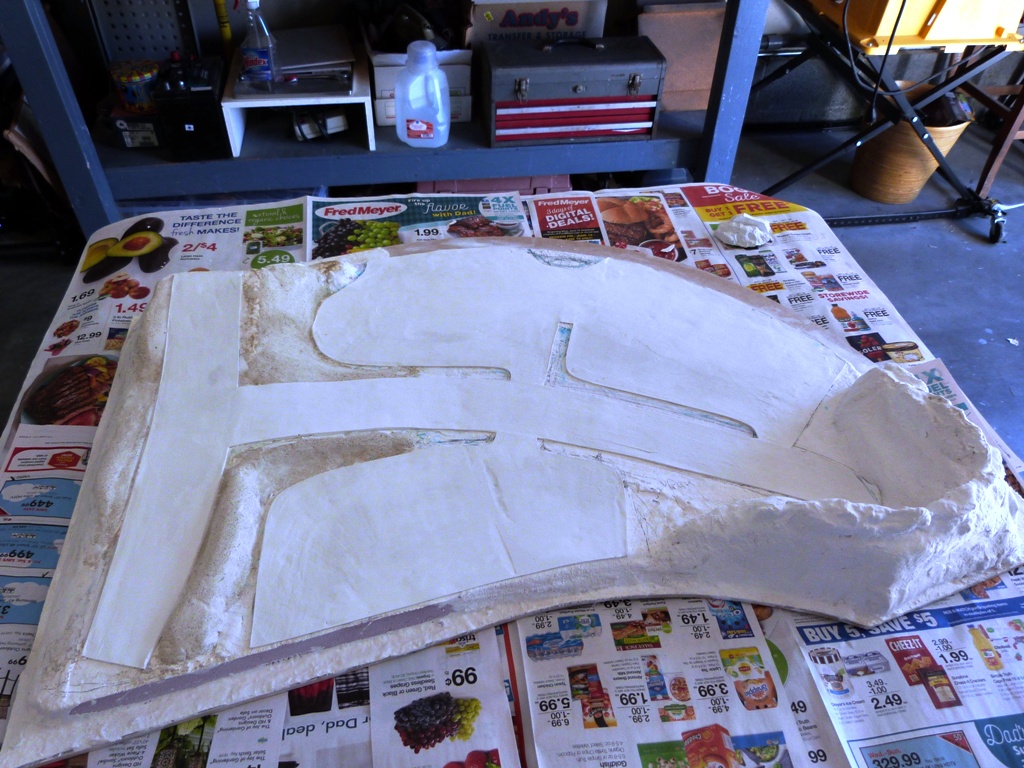
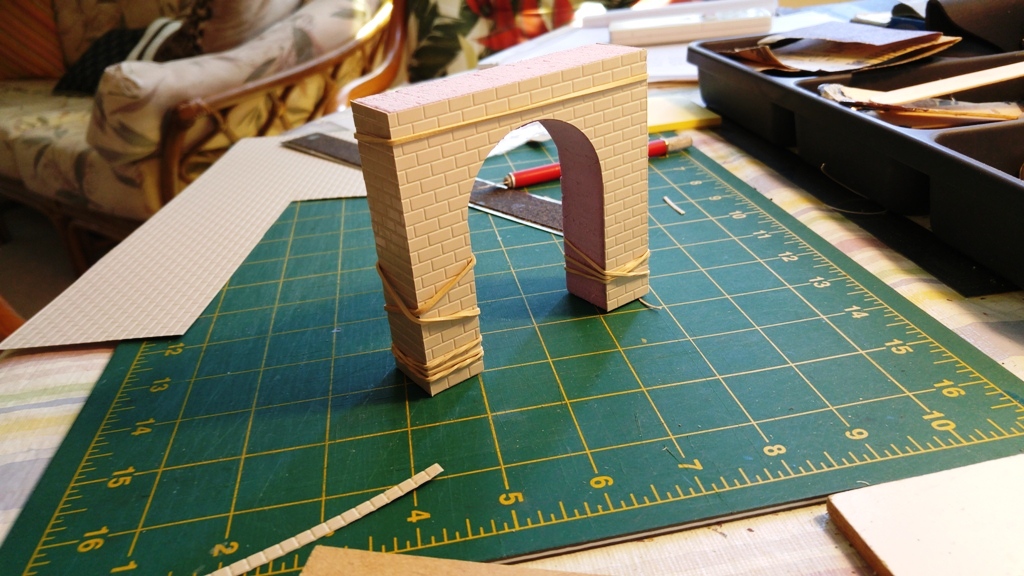
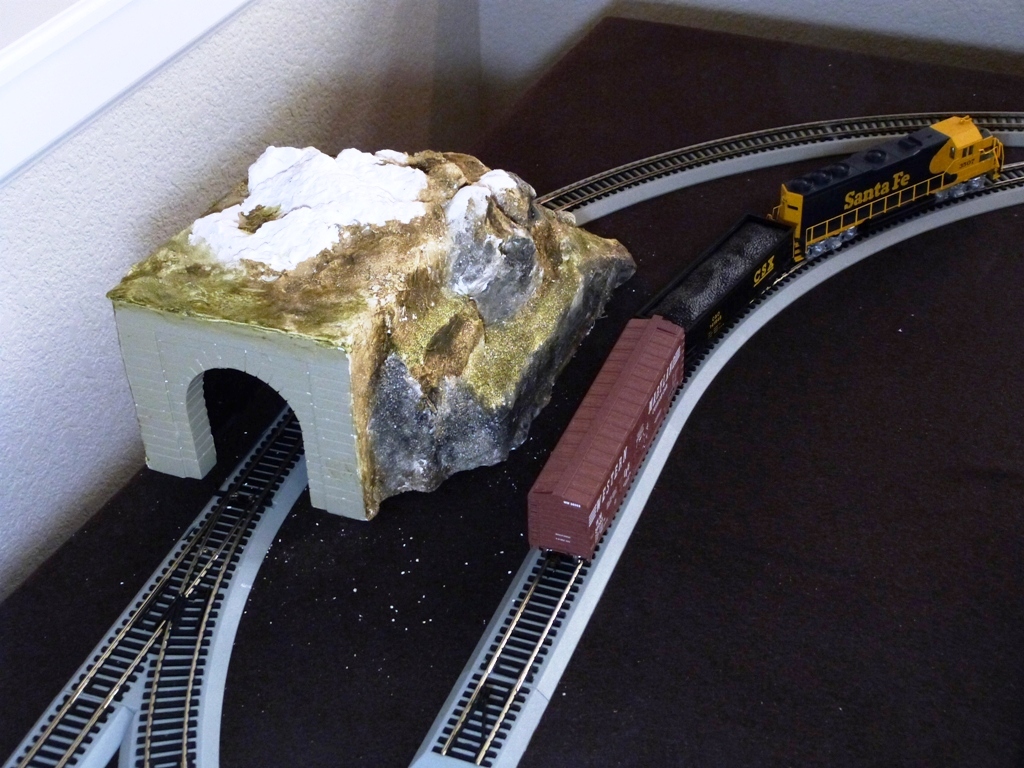
 Testing tunnel building techniques. (A tunnel surrounds the Eastside area.) |
| |
|
|
| |
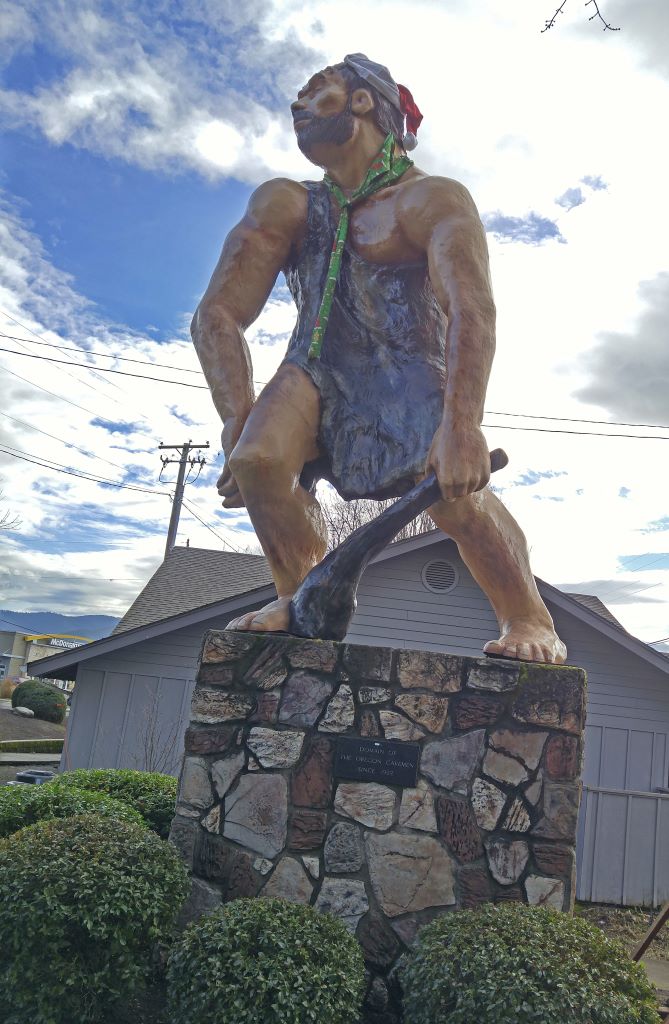
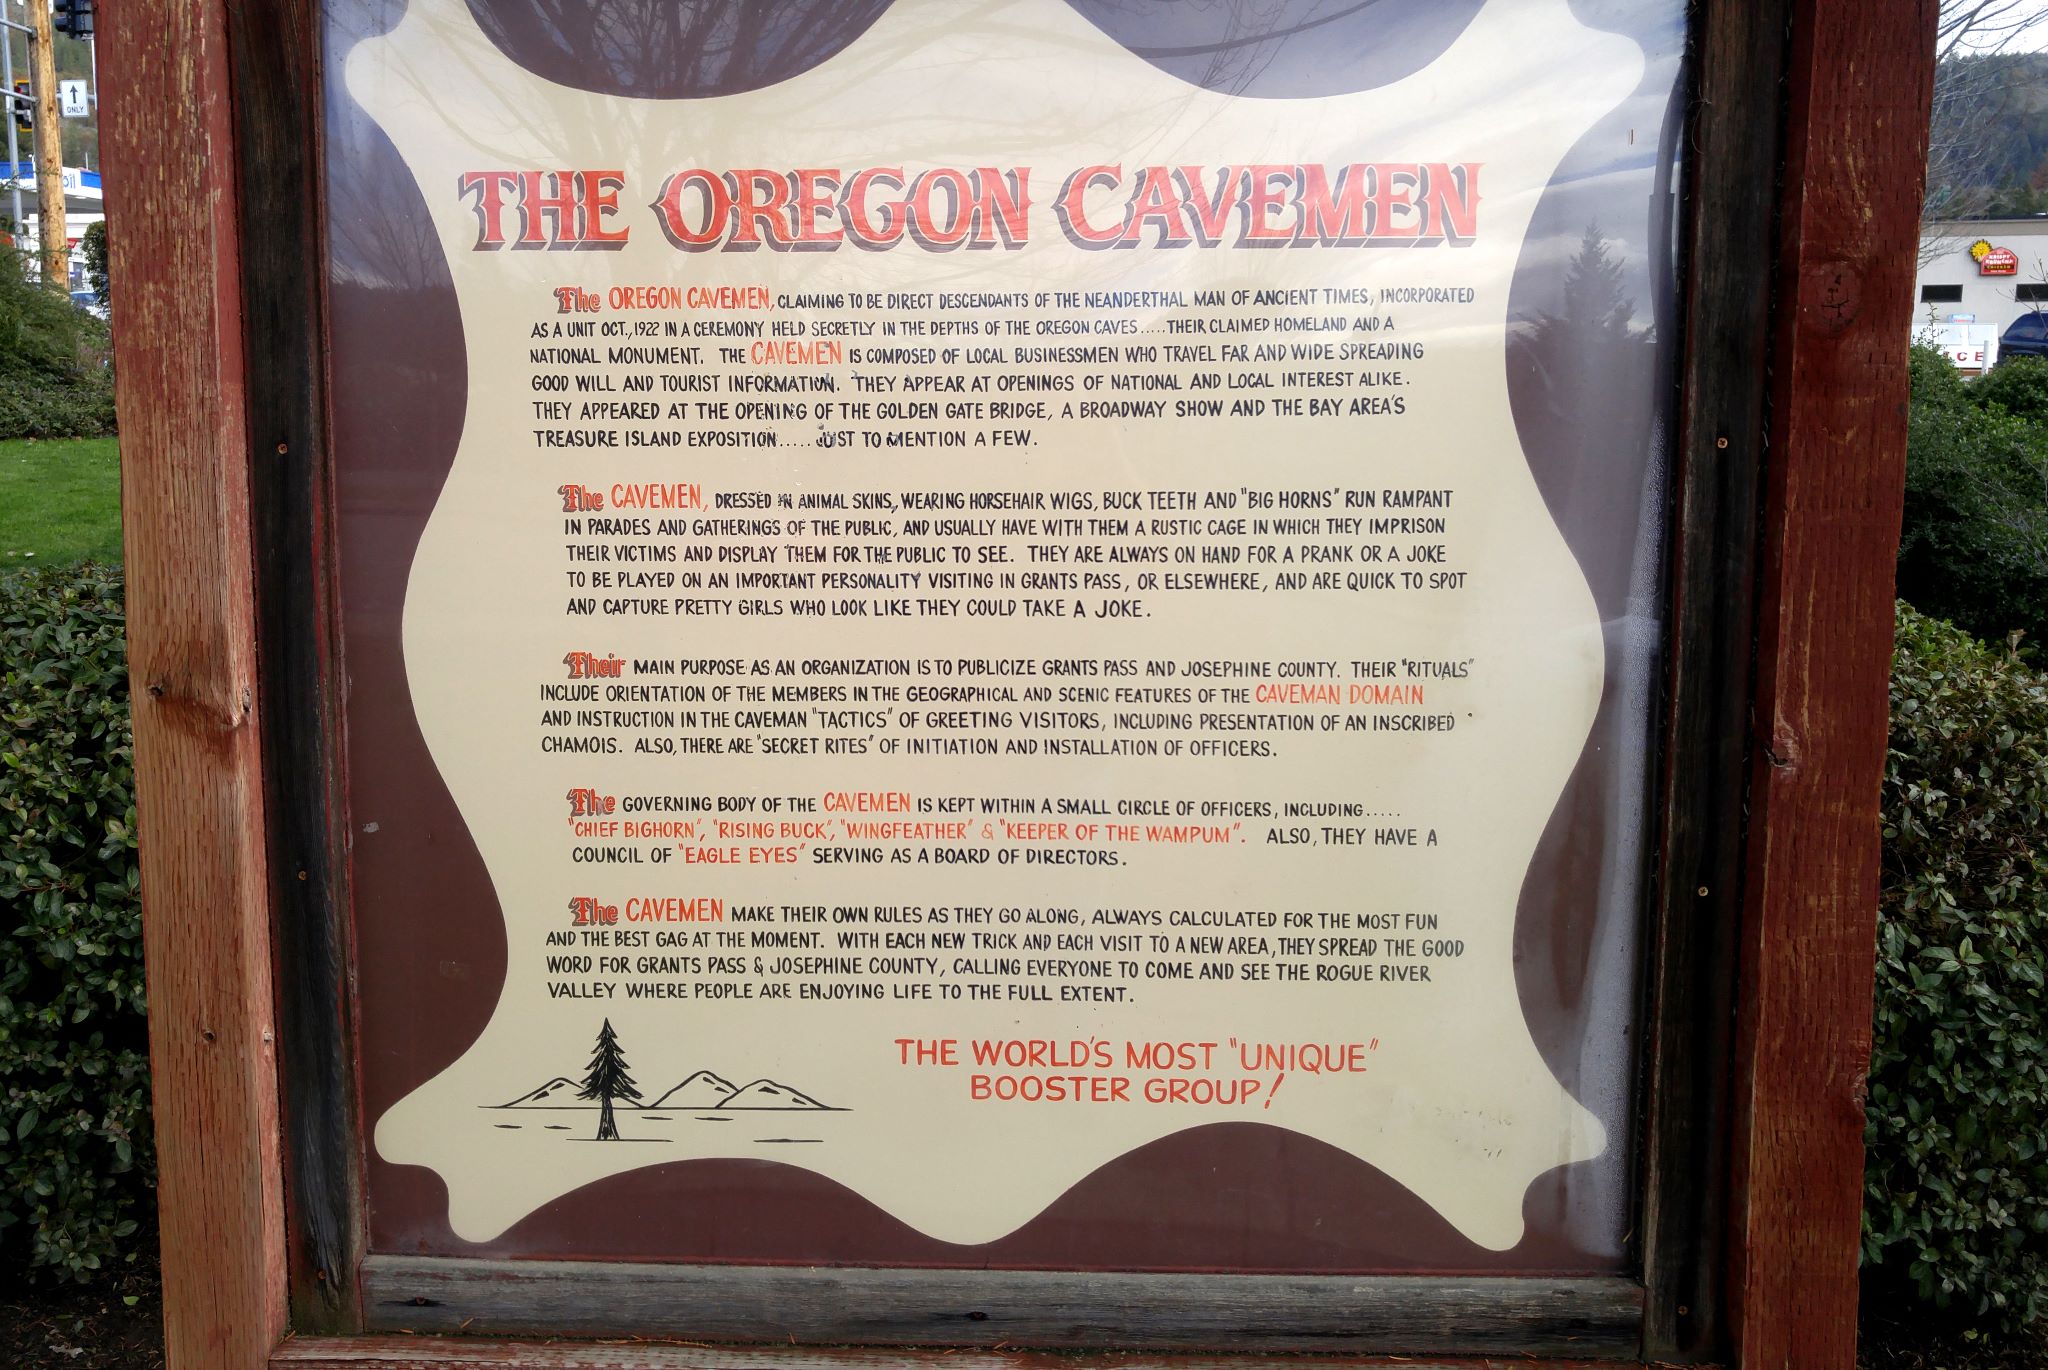
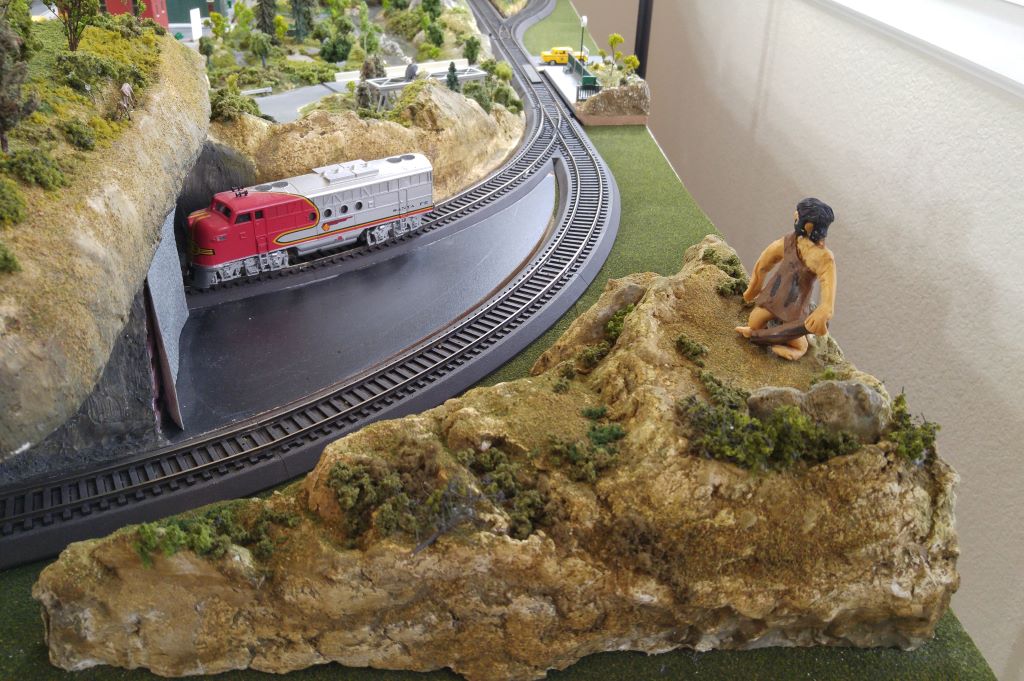
The CavemanFor better or for worse, the Caveman has been a mascot of Grants Pass since the early 1920s when some early businessmen incorporated the spirit of the nearby Oregon Caves National Monument and came up the idea. Well, we have a famous caveman statue greeting visitors coming into town on 6th Street outside of the Chamber of Commerce. My friend Michael noticed that he wasn't represented on my layout so he made me one out of clay. The statue is rather large for HO, so I gave him his own plot of land overlooking the town. It's a simply landscaped mound of foam, plaster and Scultpa Mold. Any resemblance between the Caveman and me is coincidental. |
|
| |