8.
Afta Plasta*
*Bostonian for After Plaster
In April, 2021, I took a little break from my main layout to start this new section.
As I mentioned in My N Scale Adventure, I'm starting to think about how I might enjoy this hobby should my space and other resources be diminished when and if I moved to a smaller residence. Besides the space challenge, there's a possibility I won't have access to a location where I can readily mix (and clean up) plaster or use spray paint.
So I've decided to do some experimentation.
My first step was to create a small, test diorama which I'm calling "Afta Plasta One." The test was to see what I could accomplish while avoiding the use of any type of plaster, spray paint or power tools. I'm also limiting the location of my work to the old kitchen table I have in my studio, avoiding the garage/workshop.
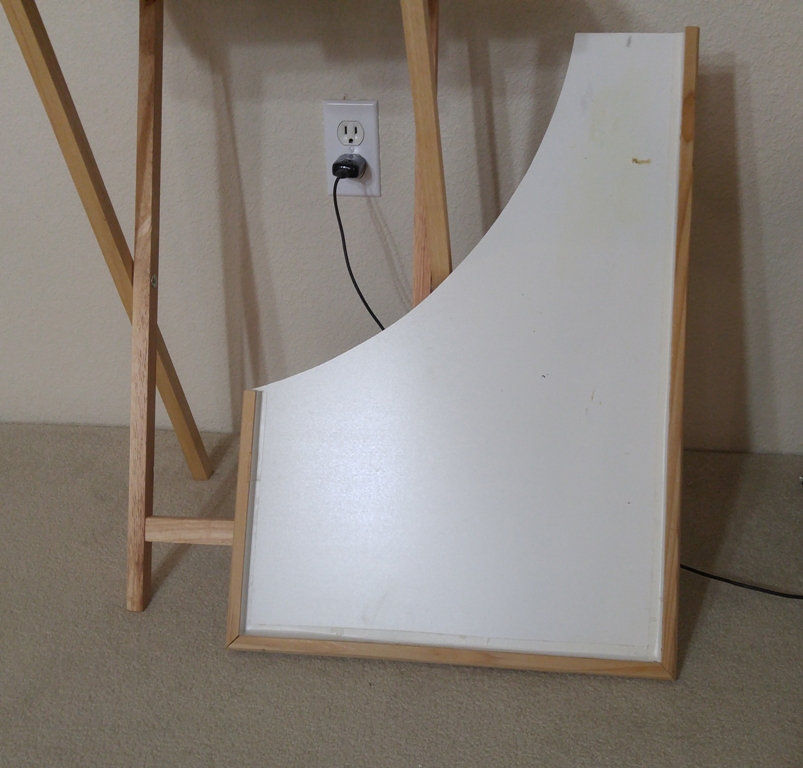
I first made a little tray-type of thing as protection from spills, either liquid or other materials like talus or ballast. The one I made was modified from a previous version with which I worked on the river, but a number of tray-like products like this are available at a dollar store.
|
|
|
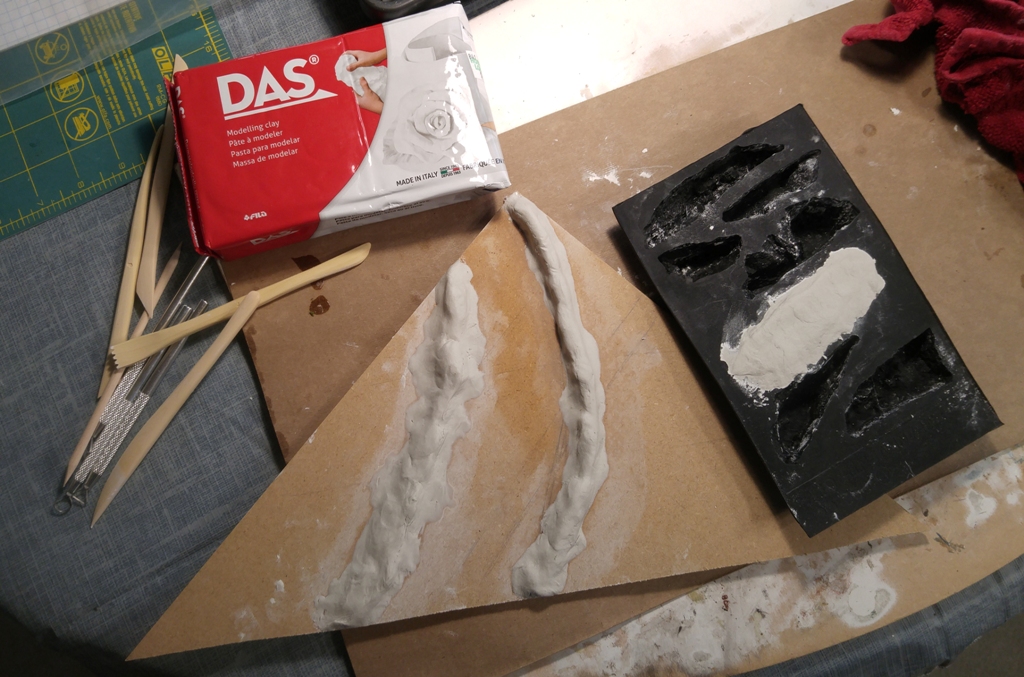
Air Dry Clay
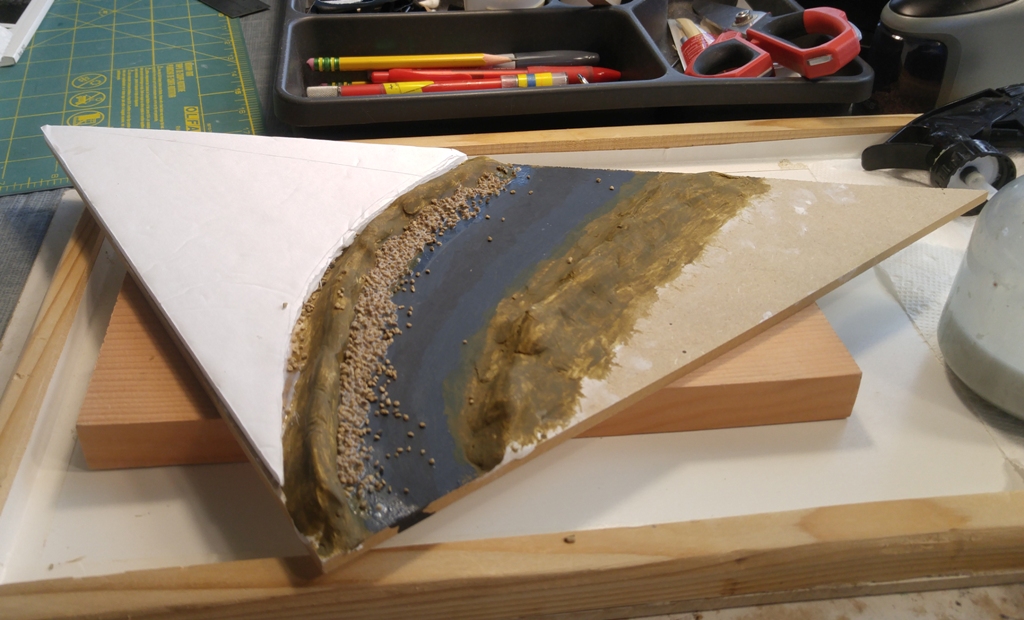
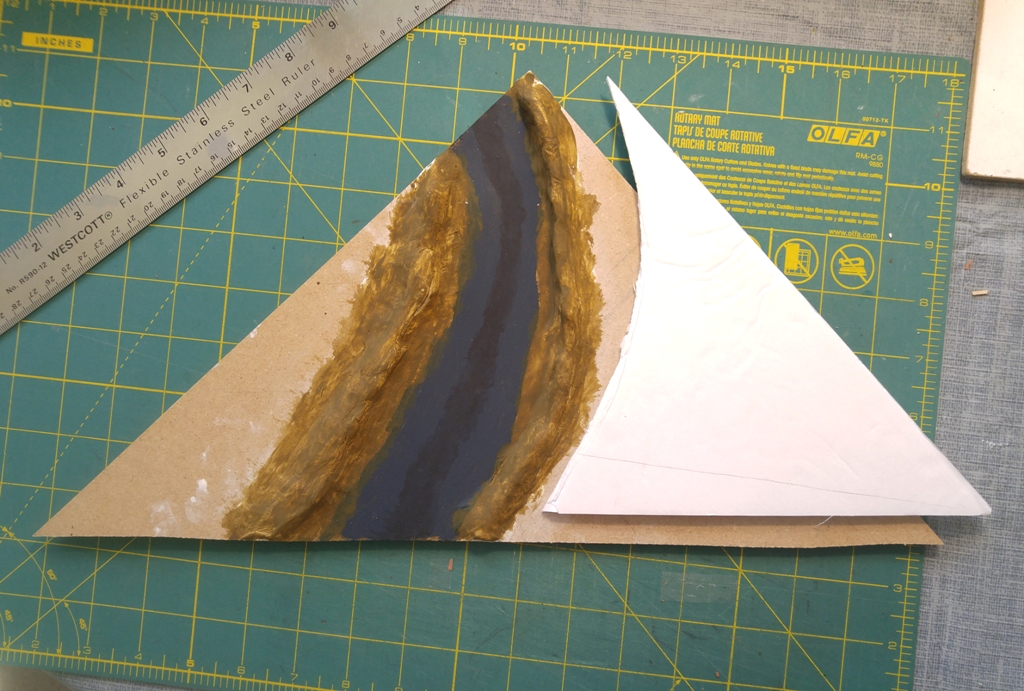
As the name implies, this is clay that hardens as it dries rather than having to be fired. Until a few weeks before I started this project, I had never touched it. I discovered the brand DAS clay in a video from Model Railroader Magazine's Video Plus series. It looked like a fun product to use. A couple of notes about DAS clay: If you decide to use it - or, come to think of it, any new product - watch a couple of videos on-line. This stuff is very easy to use, but a bit of advice and information will greatly improve your results. (Here's an excellent video on DAS clay: The Terrain Tutor.) Note that it's the only air dry clay I've used so far. (By the way, DAS is not the cheapest on the shelf.) When the clay was dry (I waited two days), I painted it with various colors of undercoats I've used on plaster in the past. The plasters are porous and absorb the pigments evenly when dry. Although the clay doesn't absorb the paint the same way, it is quite acceptable. And I'm sure there are other paints that can be used with clay. (More experiments to come.) By the way, clay can be a little messy. Make sure to protect the table and floor around your work area. I painted the riverbed (which was just the surface of the MDF) with WS Navy Blue Undercoat adding black to the center to simulate depth. I glued on a bit of talus to the shoreline and then also used a bit of Earth Undercoat along the edge of the talus.
|
|
|
|
|
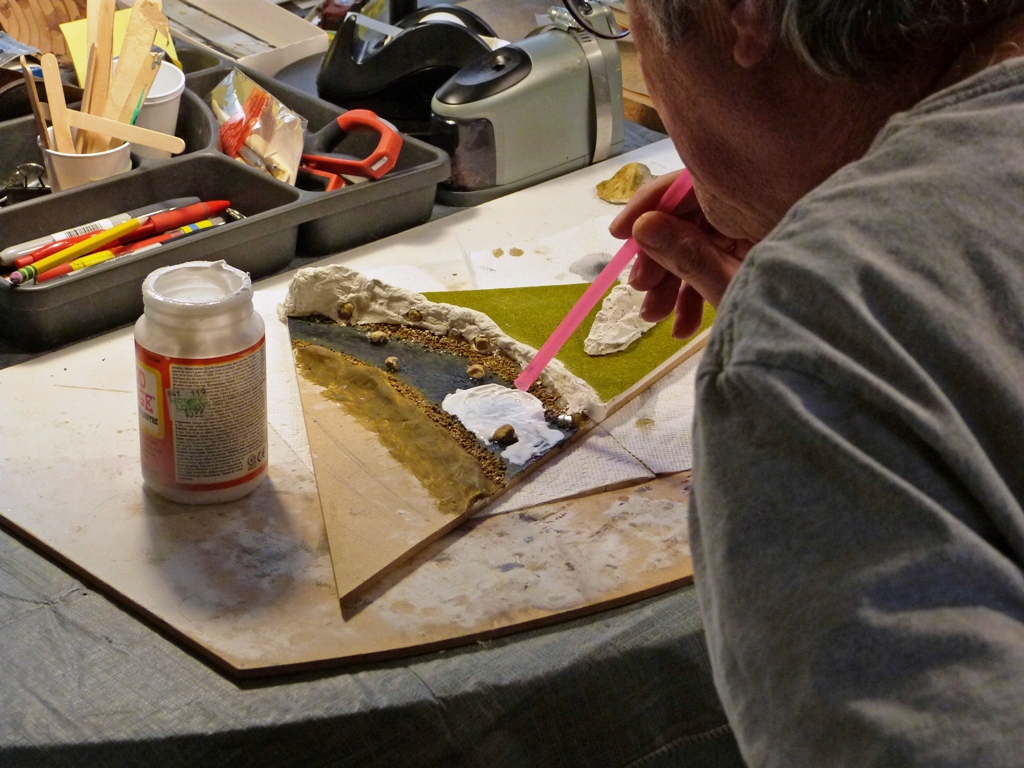
Most of the dioramas and layout sections I've assembled previously are on a bedrock of some type of plaster to build the terrain to a desired height and shape. So without plaster, I had to find substitutes. The surface of foam core board is paper and, since getting it wet would not be good, I didn't think it would make a good substrate for affixing scenery material. So I covered it with a little piece vinyl grass mat. From my past experience, I knew that most scenery material is easily applied to it, and, as a bonus, if a section is left empty, it has a lawn. I also sprinkled on a bit of ground cover.
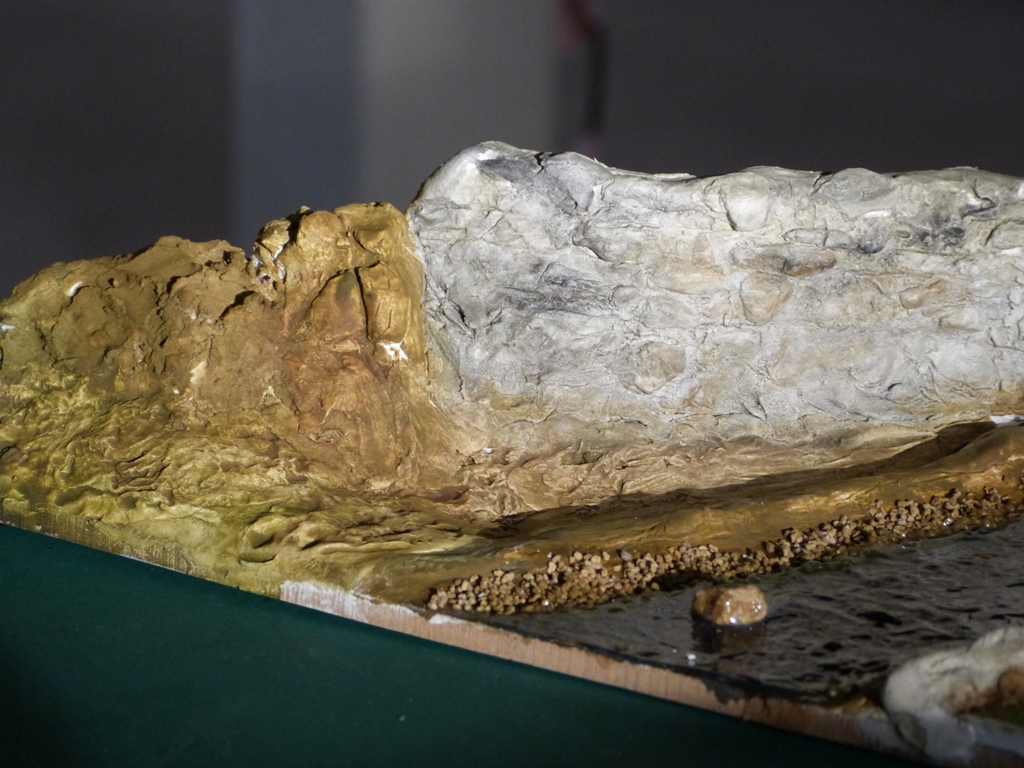
Using clay is where some sculpting skill would be a real asset. Unfortunately, I never took that class, so even with the little sculpting tool kit I got, my little hills lacked realistic detail. I addressed this by using a cast rock to indent the clay. And to keep this test valid (i.e., not using a plaster casting), I made a rock by stuffing clay into a rubber mold. (Because it shrinks, it doesn't stick.) DAS clay takes impressions very well. If I start to use clay on a regular basis, I might sacrifice a couple of my rubber rock molds by cutting them up to use as texture presses. (My first idea, turning them inside-out, didn't work well.) The single piece of rock in front is from WS C1233, Embankments. The flexible mountain behind the river is WS C1248, Rock Face. When I put clay in the first mold, it didn't dry very well, even after two days. Of course that seemed logical since the clay hardens when the water evaporates, and it doesn't do so through the rubber. But the texture remained in tact, and the entire "rock" was flexible when I pulled it out. That gave me an idea. When I molded my larger rock face for the background mountains, I used that technique to bend the rock to fit. (Can't do that with plaster!) Water In one of the many videos or forums I visited, I discovered a pretty good technique for creating water surface texture using Mod Podge and a straw. After a layer of Mod Podge is applied, you blow air through the straw to make ripple patters. I used this technique successfully on my main layout when I added texture to the "water", and I wondered if it could be used by putting Mod Podge directly on the painted river bed without any other water product. While it doesn't result in the same depth as several layers of Realistic Water, it looks quite acceptable – certainly better than paint alone. Mountains Clay worked well for the small hills, but mountains require a lot more volume, and a large, solid clay mountain didn't seem practical. It would be a bit expensive and would take a very long time to fully dry. I could have cut up a few pieces of MDF to use as layers, but using a band saw would be cheating for this project. So I used a combination of foam core board and pink foam to build up a taller terrain and covered it with a layer of clay. I had several concerns doing this. The first is that air-dry clay shrinks, and the manufacture suggests not using stiff armatures as the clay might crack when it dries. But I thought a few cracks could be easily covered with landscaping products. As it turned out, cracking was not a problem. I was also a little concerned that the foam board wouldn't like the wetness of the clay, but it turned out fine. In fact, I'm surprised at how good the clay mountains look after they'd been painted. |
|
|
|
|
|
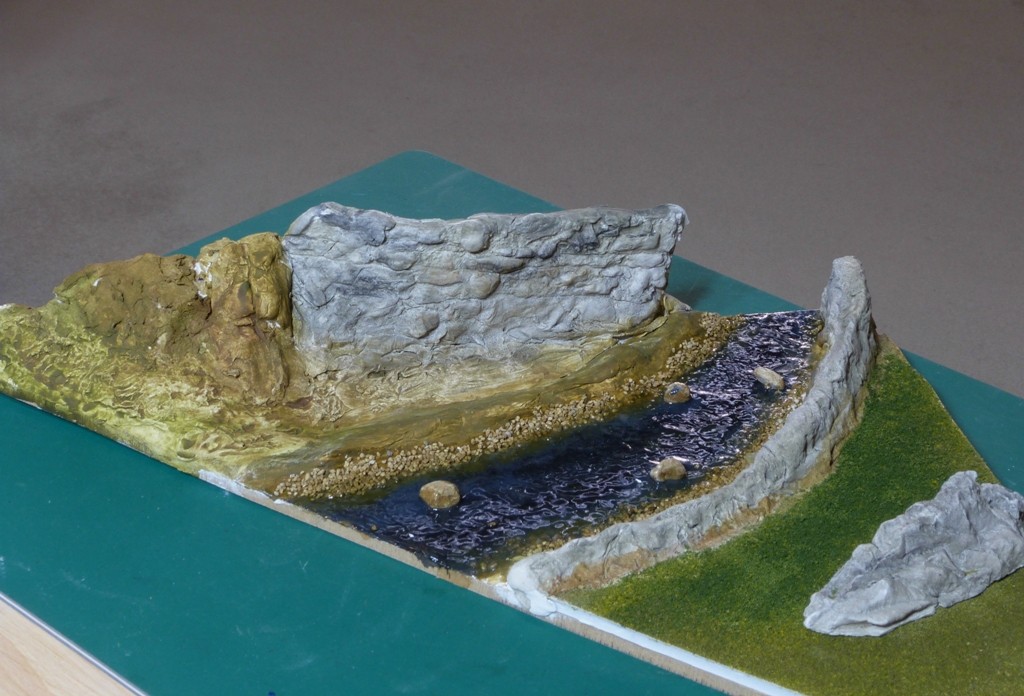
Summary All in all, my first test was successful. I found that the techniques I wanted to try worked well. I'm glad I got to practice them, because my next step will be to create a "real" diorama using those techniques – and others. (A design is already underway.) Stay tuned. And if you have any suggestions or wish to share your production experience, please drop me a note.
|
|
|
|
Afta Plasta Continued
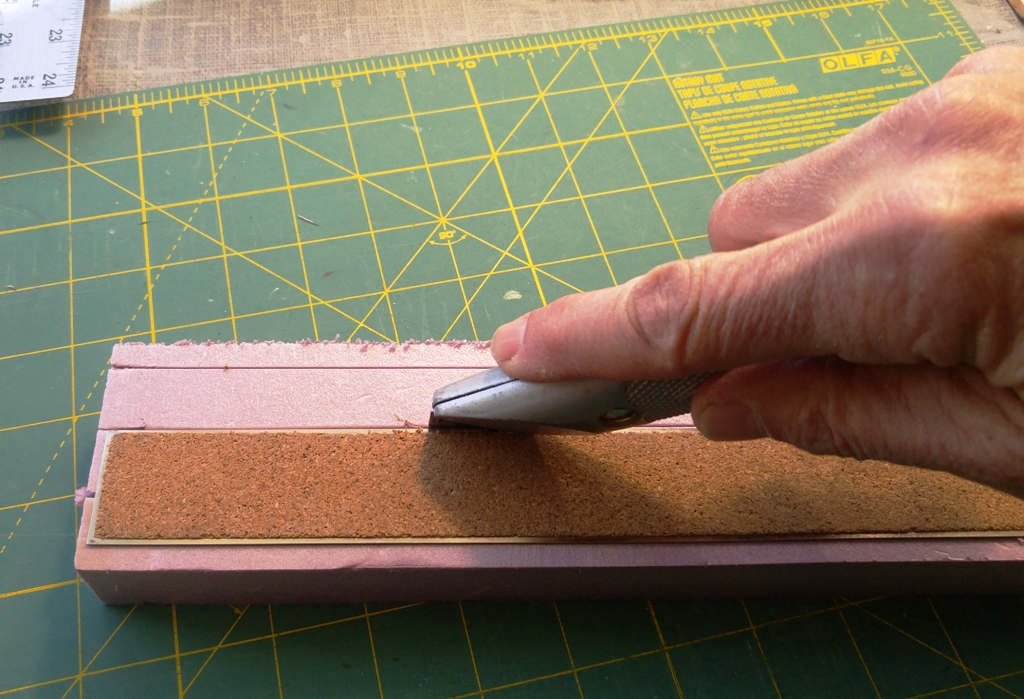
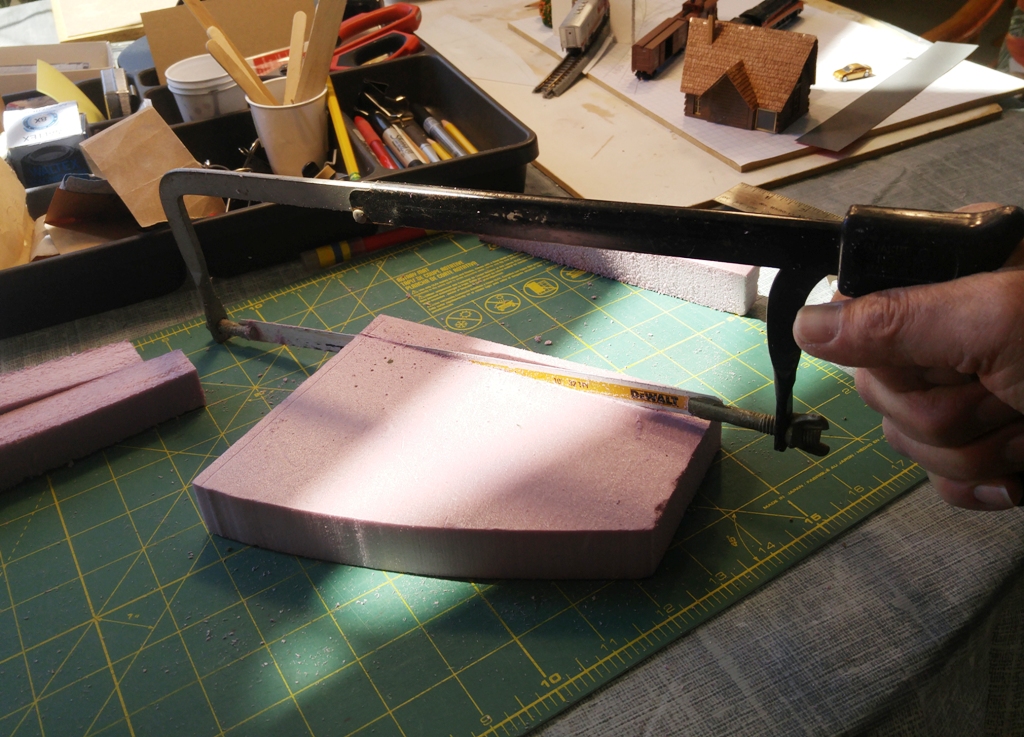
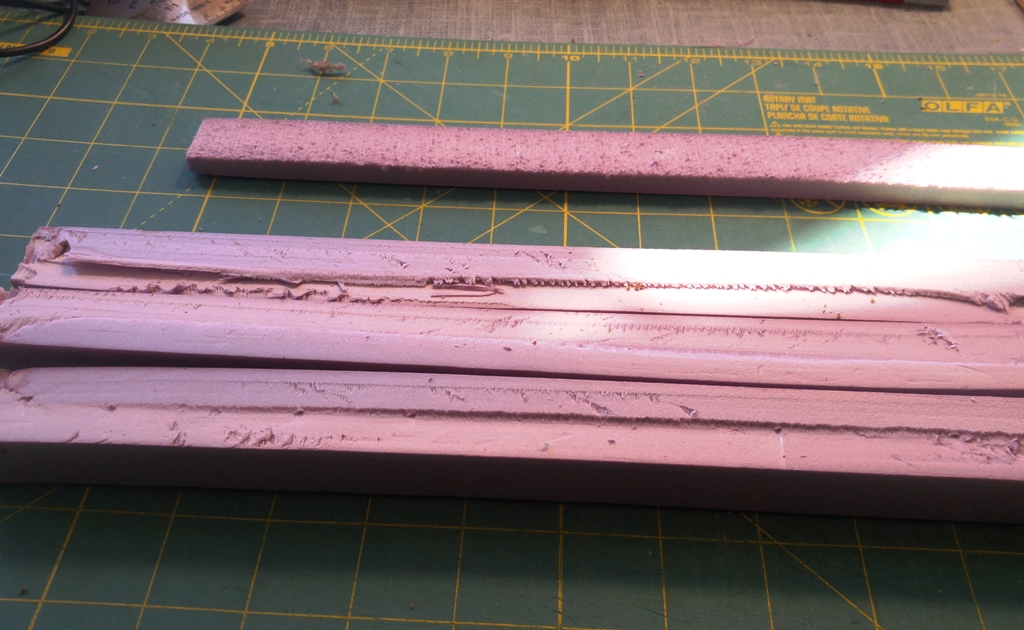
One of the things I knew I had to address was building up part of the terrain. Normally this is fairly simple using pink foam, plaster products, Sculpt-a-Mold, etc. Although I was able to raise the terrain a bit in my first test, I needed to add at least 3/4” to a section of this scene. Using pink foam and/or pieces of MDF would be simple – if I had been able to use a band saw. Those products are a bit challenging to use without being able to cut them accurately. For example, the foam I use comes in 1" thickness. Slimming a piece down to 3/4" by hand is not easy. I first tried cutting the foam into 3/4" strips using a box cutter thinking I could then glue them next to each other. I came close, but the strips were rough and uneven. With a little practice, I probably could have become more accurate. I could also have sanded the strips with a course sandpaper, but I knew from experience that it would be extremely messy. It might be OK to do in a garage, but not in an office or den. Then I tried a hack saw. Pretty much the same results - not very accurate. |
|
|
|
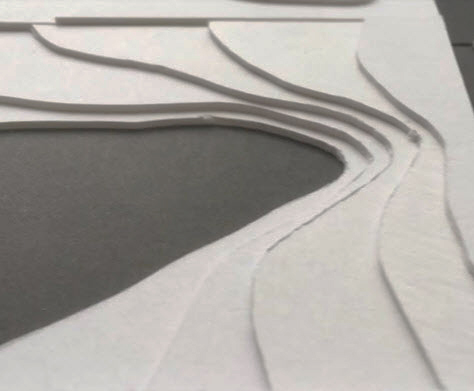
Not happy with the pink foam idea, I decided to try something I'd thought of while making my first test – foam core board. I was a little concerned that the moisture in the clay might adversely affect the paper and the boards used as a mountain armature. But it seemed to work fine in the first test diorama, so I thought I'd give it a try. Afta Plasta Two - yup, another test! This time, I cut a few pieces of foam core board, and, using Tacky Glue, I glued them together forming a slightly rising terrain. (Since the surface is just paper, I'm sure any white glue would work fine.) At this stage, I had essentially created something that looked like a hilly terrain in an architectural model (see below). |
|
|
|
|
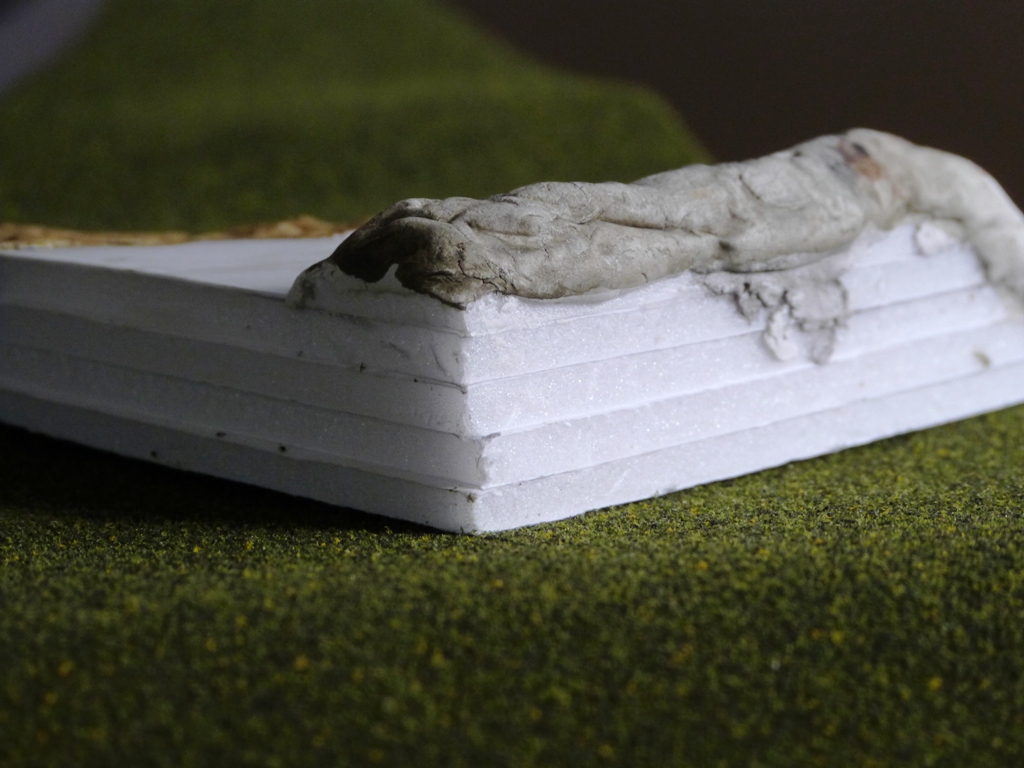
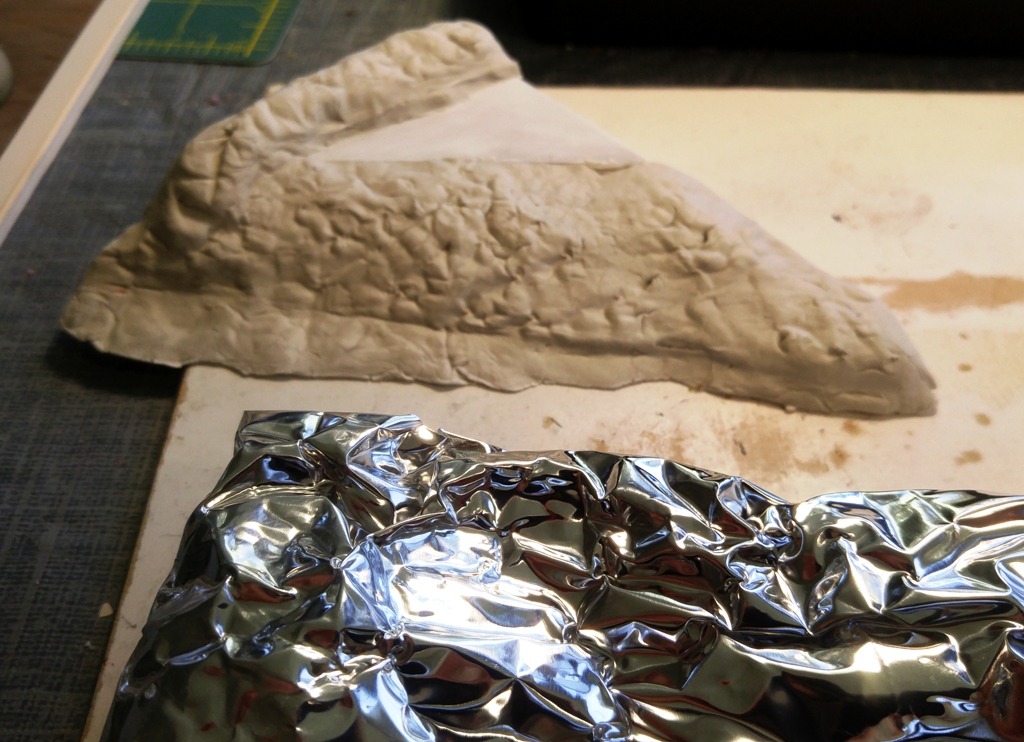
I filled in the slopes with clay, affixing a small piece of styrene to the top surface as a future test. At first, the clay was a bit loose around the base. But I figured that since the clay shrinks as it dries, it could tighten up. It did so nicely. Someone with a bit more artistic talent than I have could easily make some very creative and intricate terrains with foam core board, an X-Acto, a little glue and clay. But, as I mentioned above, my sculpting skills are virtually non-existent. However, I needed a way to make the shape look more like a mountain than a pile of clay. Using the inside of the rock molds may have sufficed (if I were to sacrifice one as described above), but in pondering other possibilities of creating impressionable texture, I noticed a piece of Shaper Sheet on which I had recently performed a test. Shaper Sheet is a neat material. It's essentially a thick and strong piece of aluminum foil that can be scrunched into different shapes. One side is covered with a felt-type of material that accepts Shaper Sheet Plaster which will harden the structure. For obvious reasons, it is very useful for creating terrains. Plus because it can be shaped and landscaped easily, it makes a great transition piece between several modules. Check it out at Woodland Scenics. The little piece I found was perfect. I crumbled it up and pressed the pattern into the clay a few times at different angles and with some additional scrunching. |
|
|
|
|
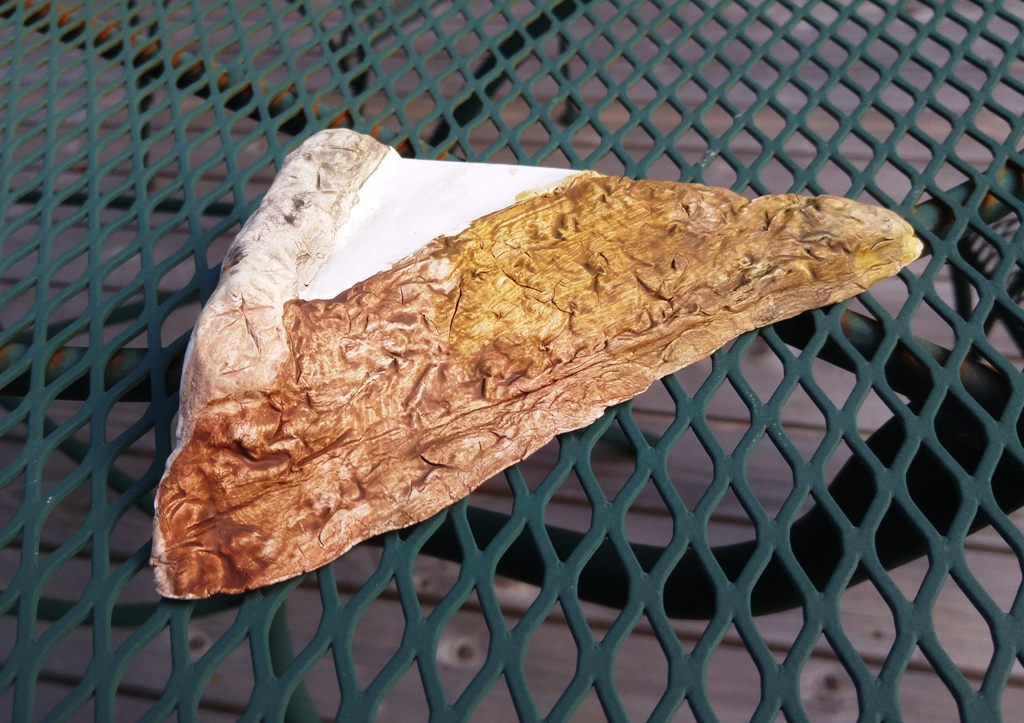
When the clay was dry, I painted it with WS pigment colors. The results were very encouraging. So with this test successfully completed, it's on to making a real diorama using the Afta Platsta techniques. (See the next page.) | |