2.
The Rogue River
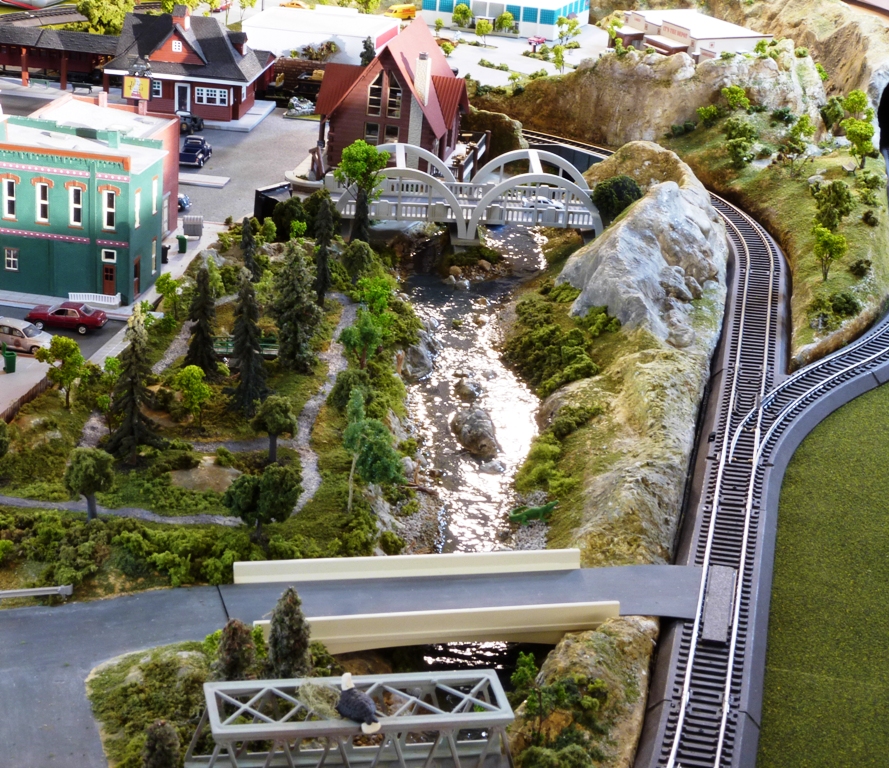
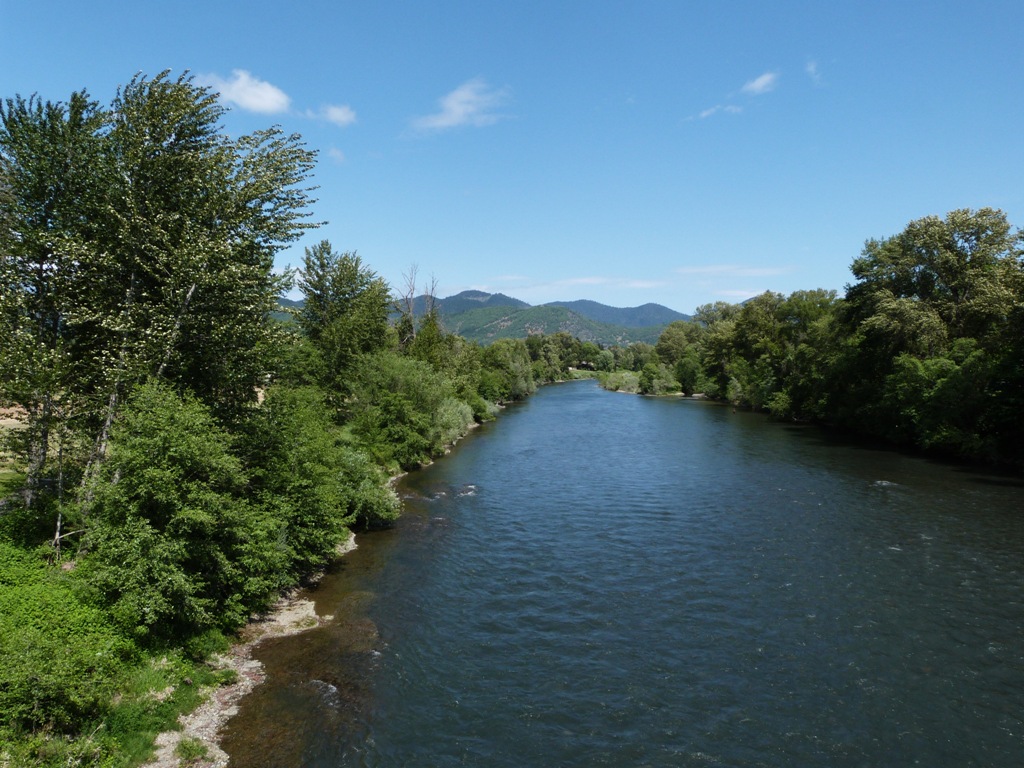
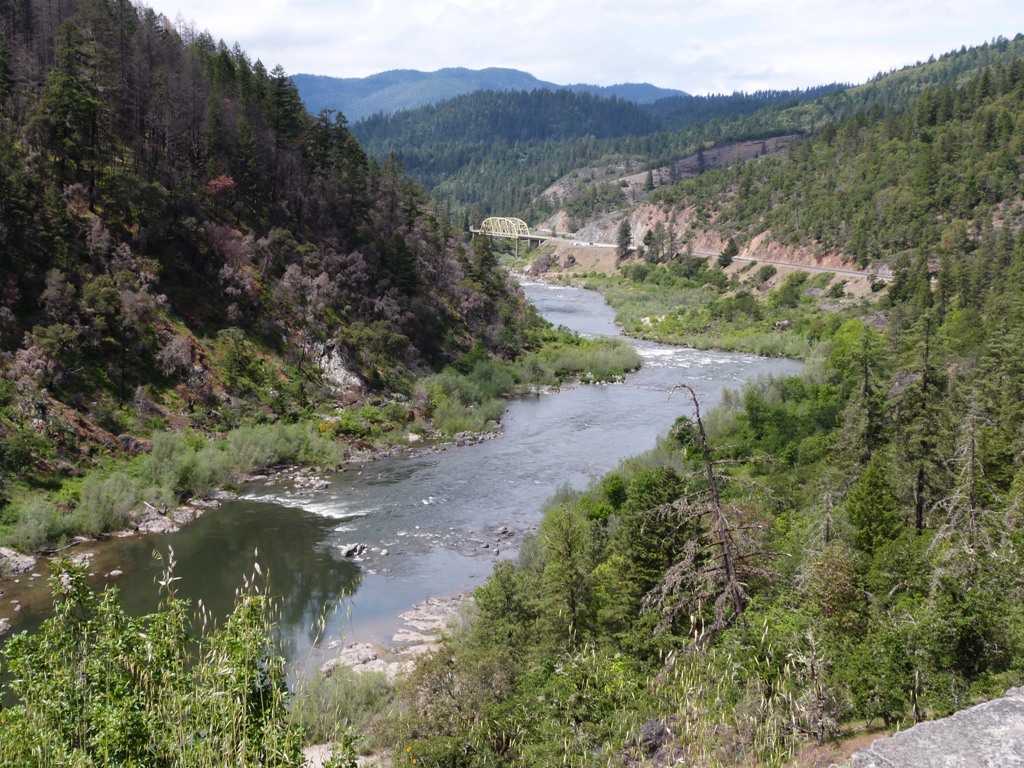
Grants Pass is probably most famous for the spectacular Rogue River which runs through it. Since it wasn't on my master plan (because there was no master plan) I hadn't thought about how to create a river on a piece of plywood. When I decided to include it, at first I was going to use paint and texture to simulate water. But I realized that such a large and important piece deserved more.
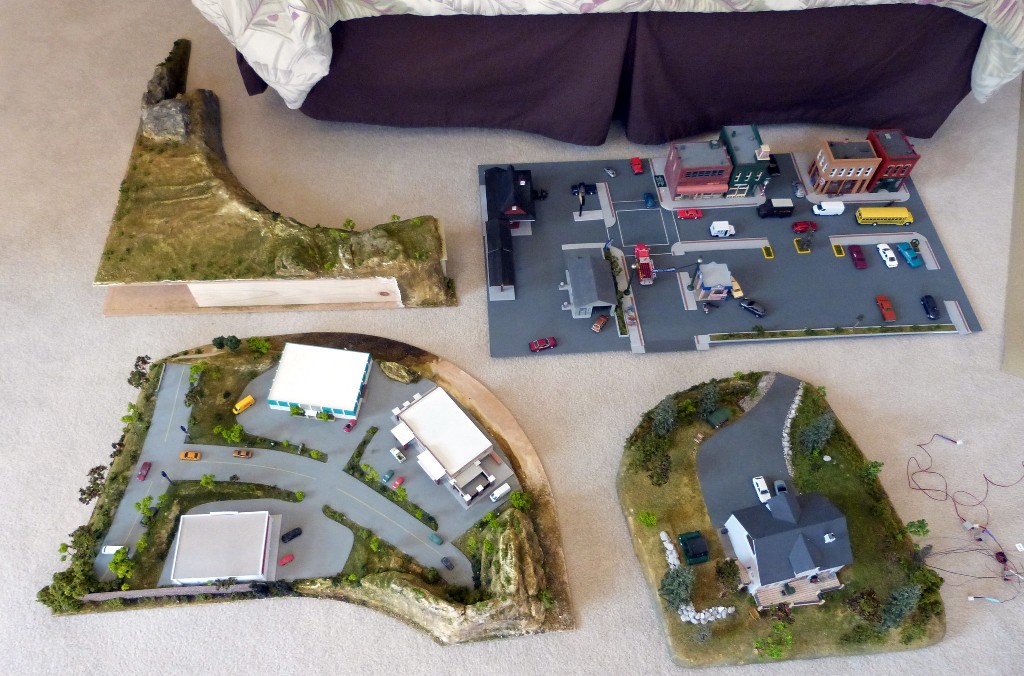
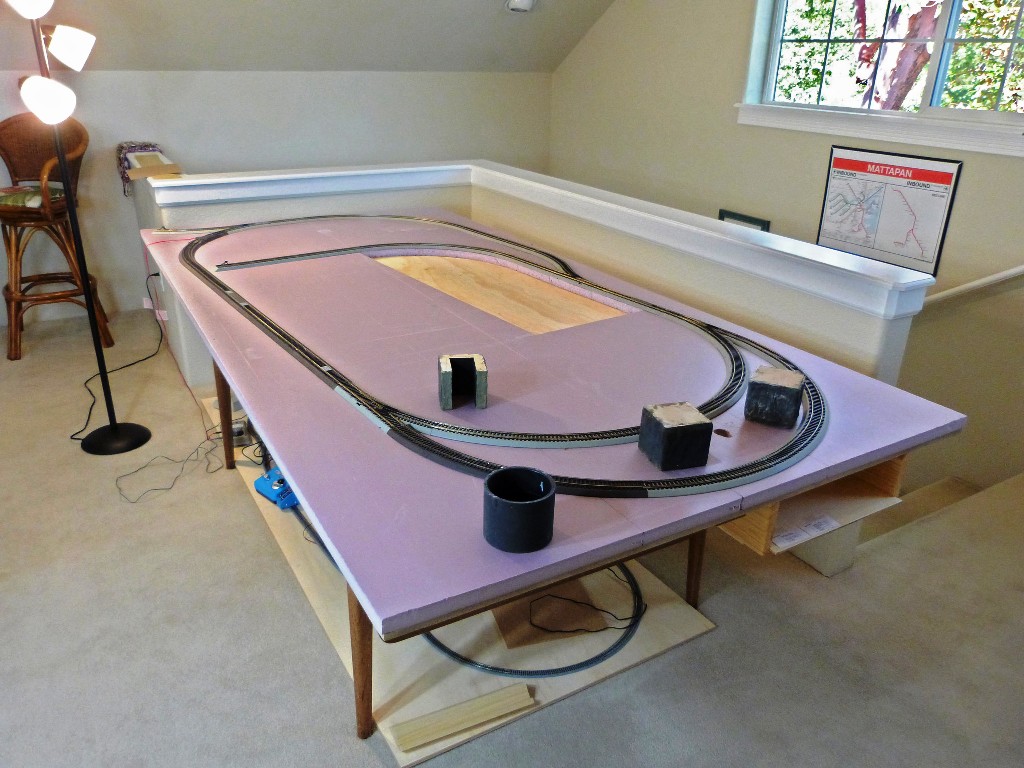
The foremost challenge was creating the needed depth. I resolved that issue by placing a 4' x 8' x 1" sheet of pink foam (the brand name is Foamular) on top of the plywood base, raising the town and surrounding neighborhoods. I was then able to carve out the river area. I also added a small pond in the park and there's a good chance that I might use the "excavating" technique in a later expansion elsewhere on the layout.
|
|
|
|
|
|
|
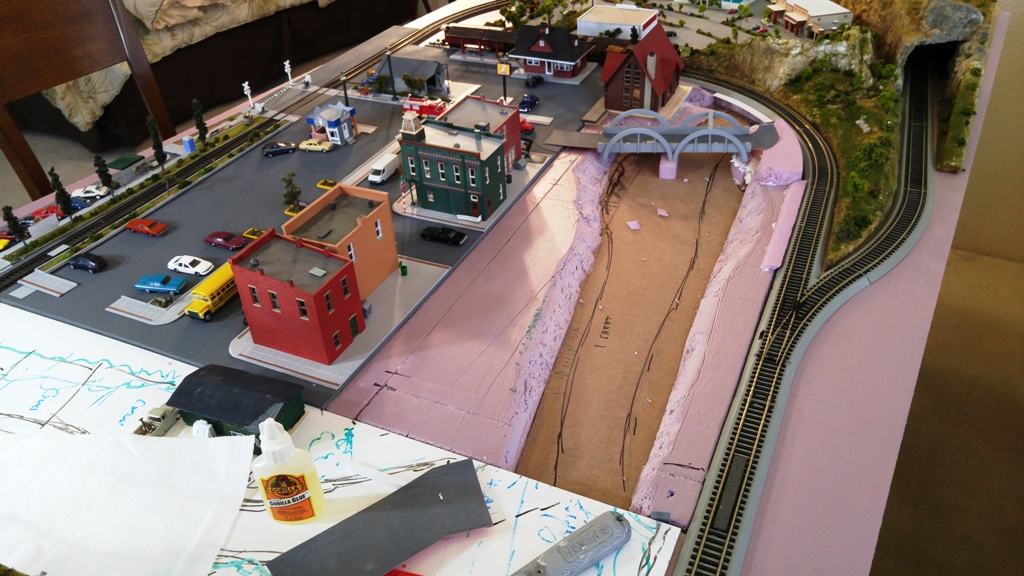
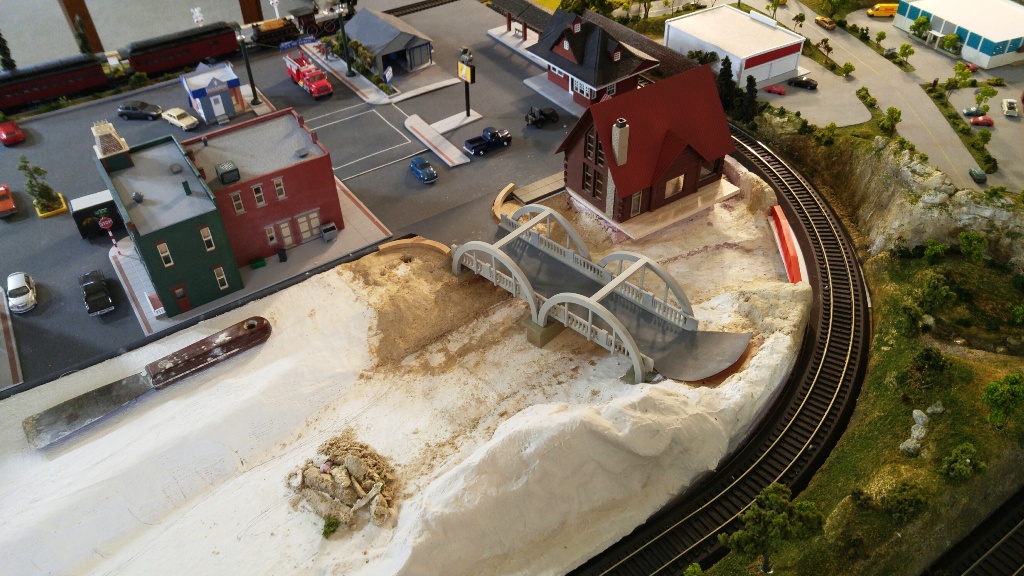
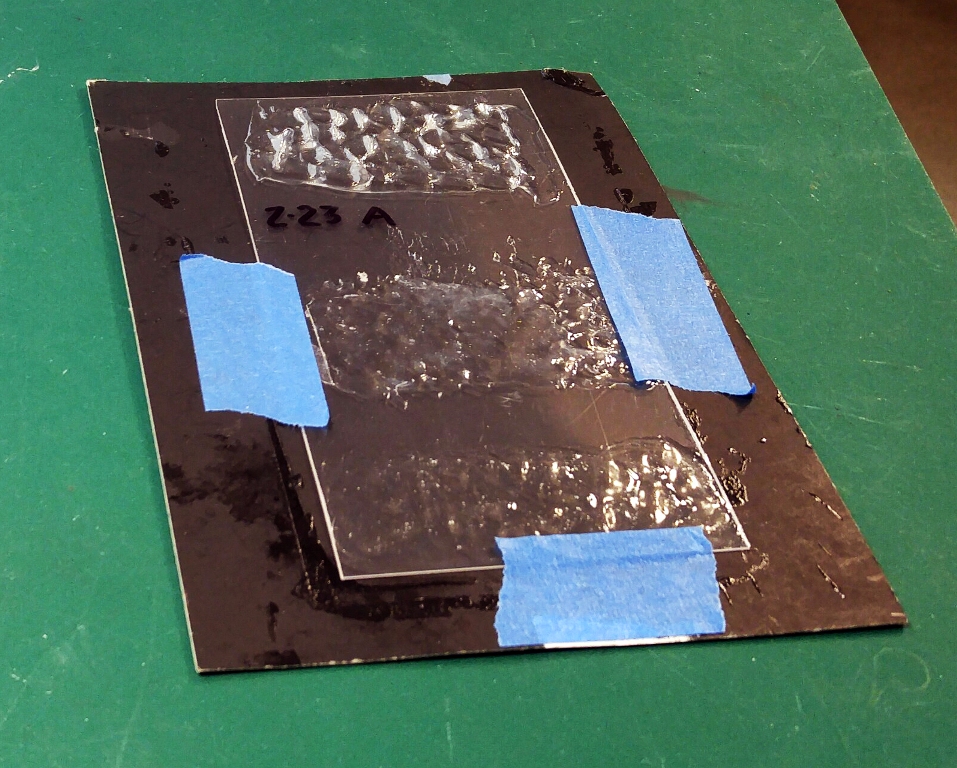
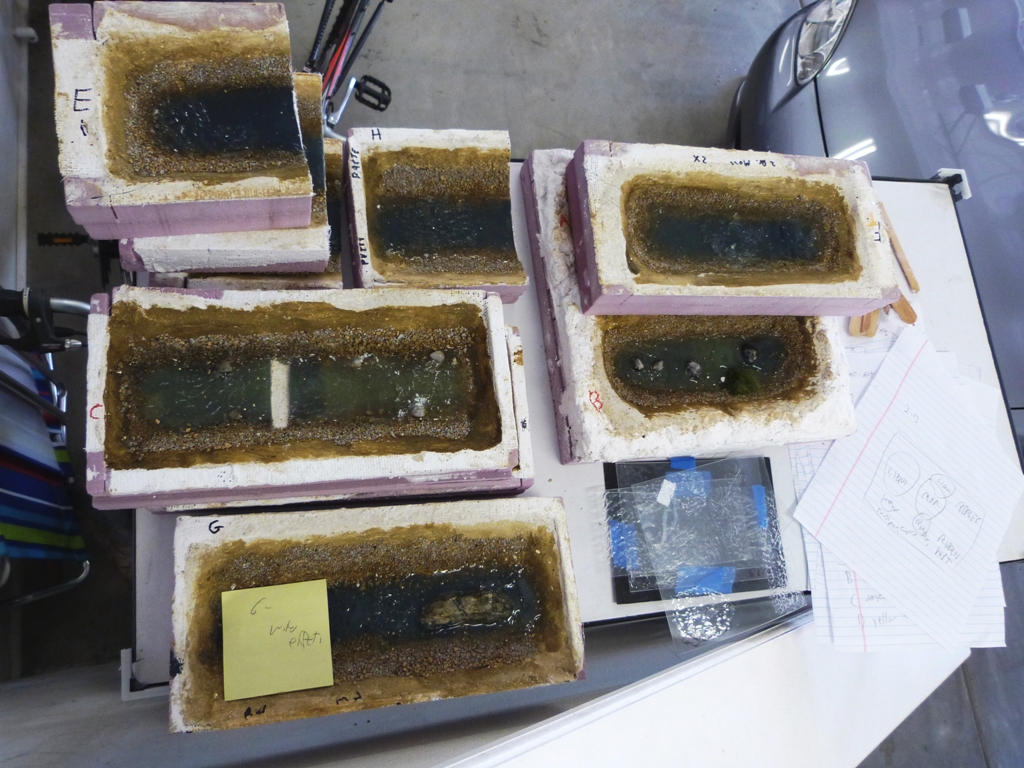
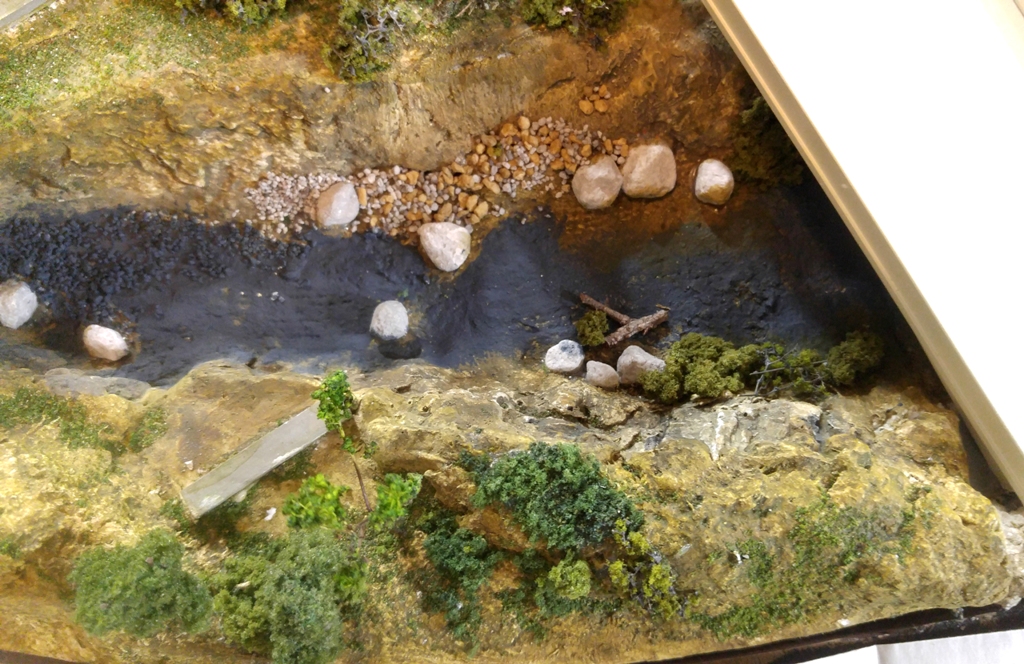
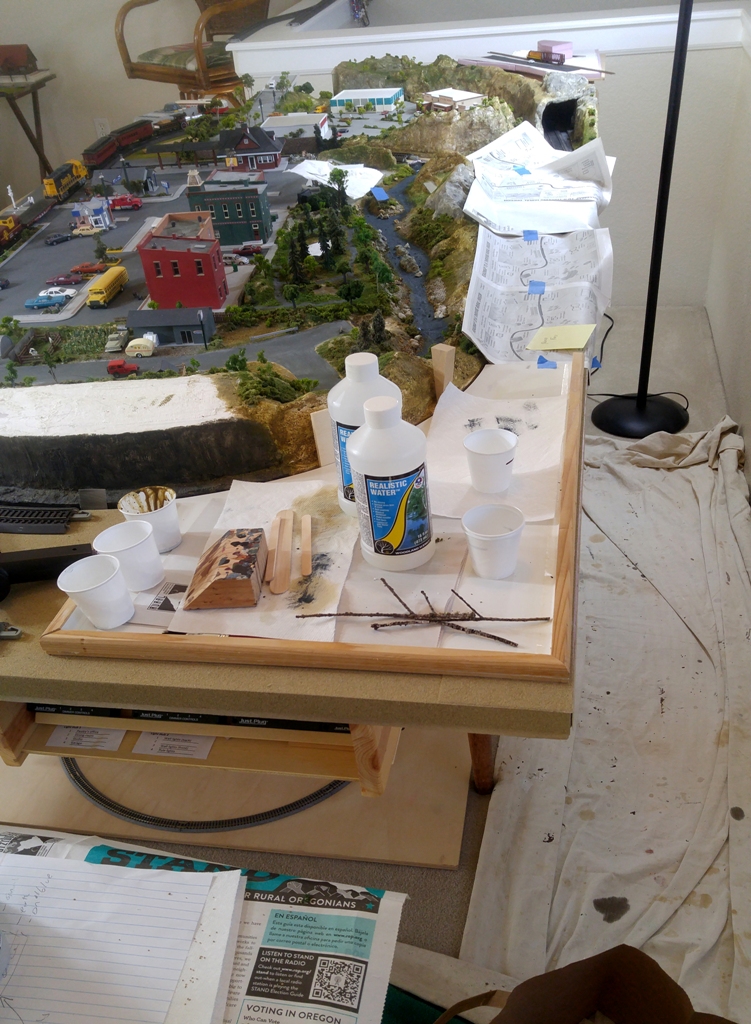
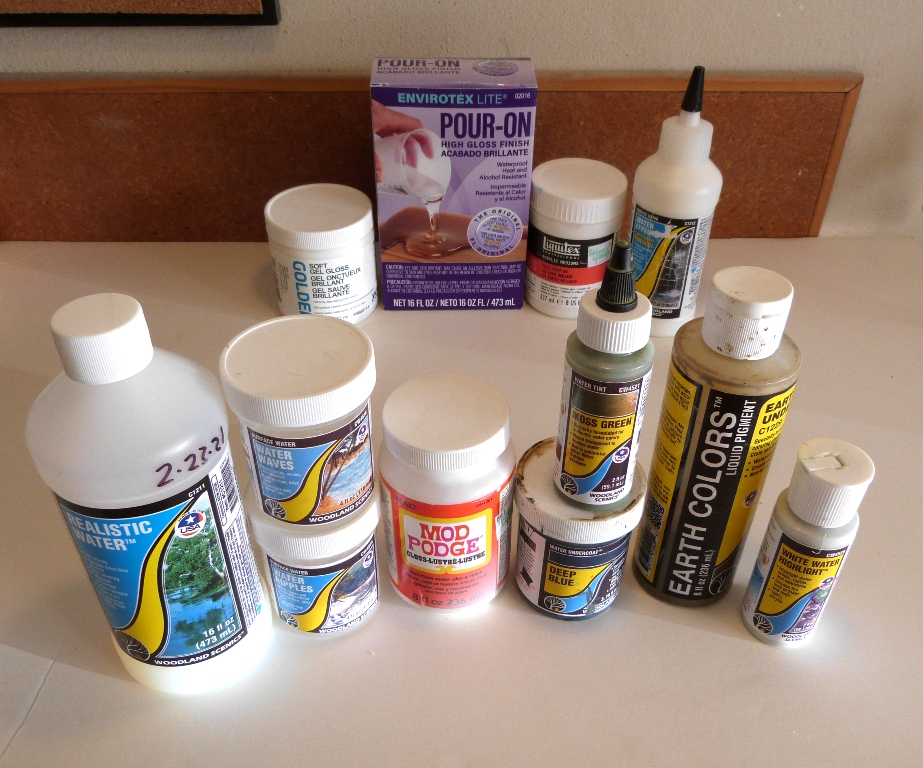
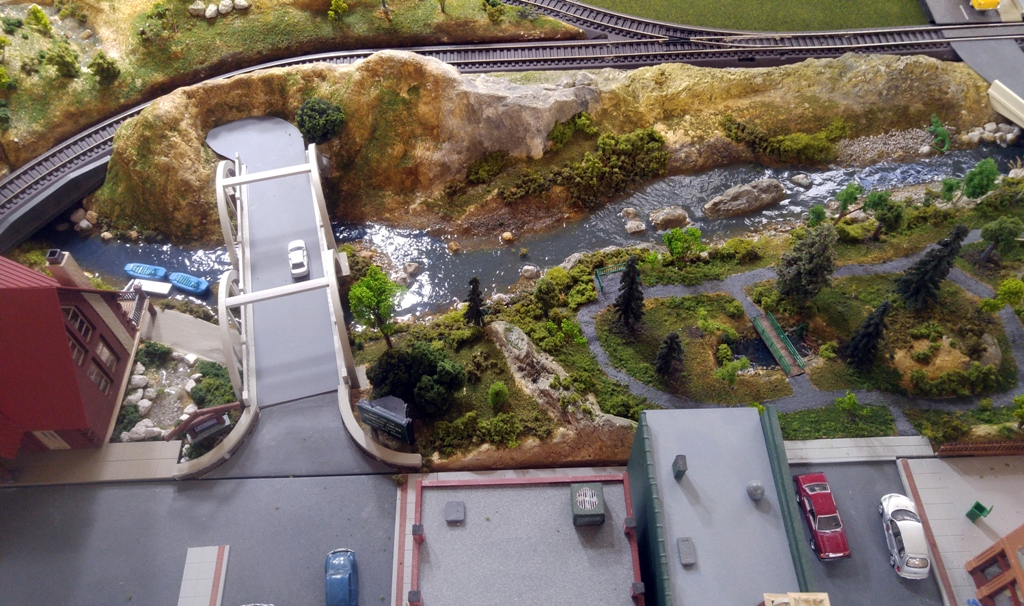
With very little experience modeling water, I spent a year (on and off) in research and testing, watching videos and trying dozens of products and techniques (see the pictures above). But by the time you read this, I will have discarded most of my collection of water tests. (It's like throwing away your old homework after you graduate.) In March 2021, using results from all those tests, I prepared the riverbed and added the "water" and surface texture. (After the riverbed was painted and landscaped, it actually started to look like a river even before the first drop was added. Kind of neat!) I used three layers of Woodland Scenics Realistic Water (waiting 48 hours between pours!), a bit of Moss Green tint in the middle layer, Mod Podge gloss for most surface texture (blowing through a straw in some areas to attain a water ripple-like pattern) and a bit of Woodland Scenics Water Waves and Water Ripples for a rougher, rapids-like look in a couple of spots. |
|
|
|
|
|
|
|
|
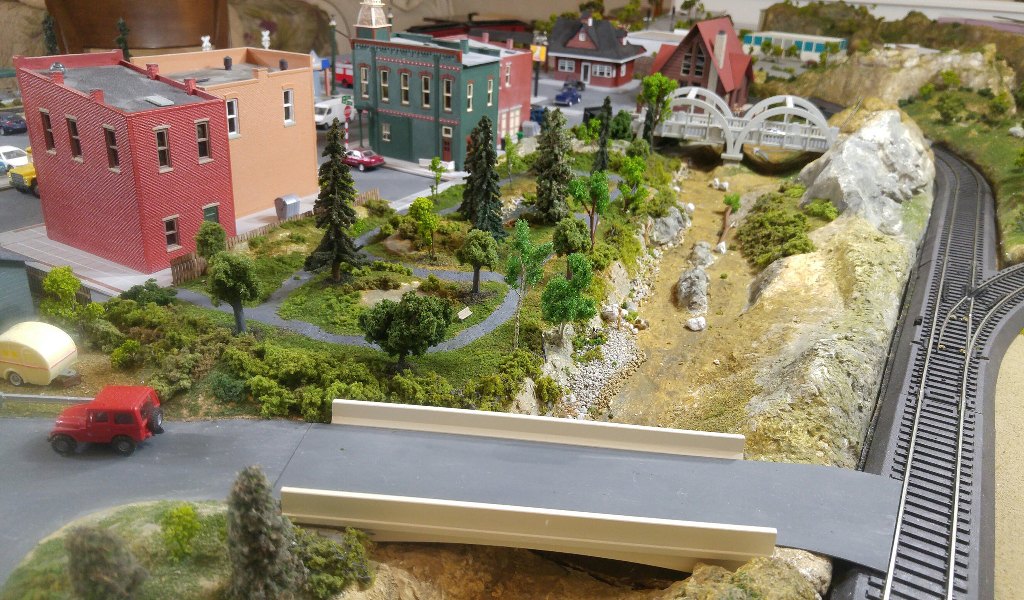
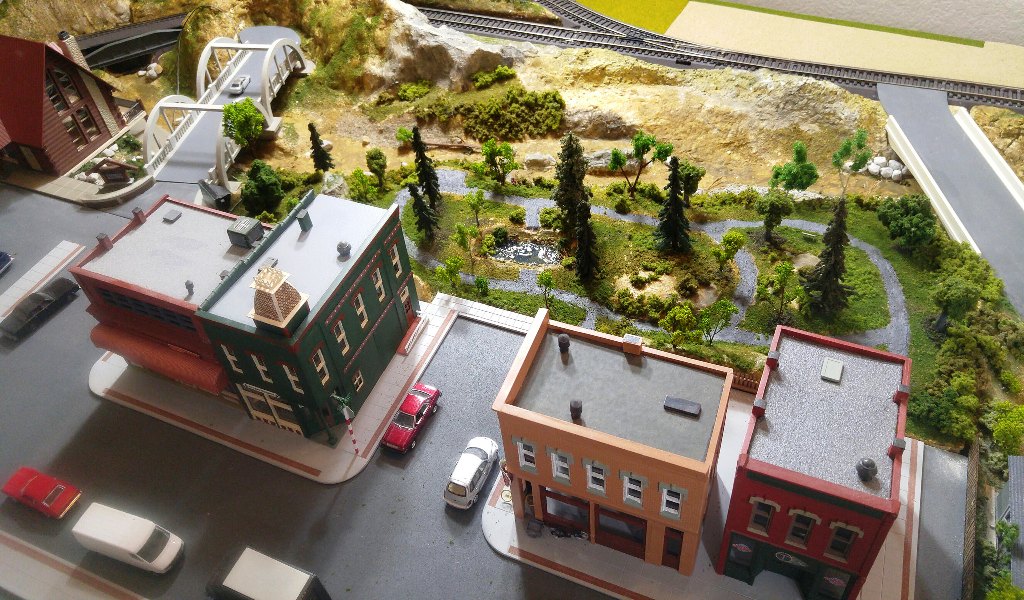
If you would like more details about my water modeling techniques just let me know. Reinhart ParkReinhart Volunteer Park, along the Rogue River, is a large recreational area containing multiple sports fields, tennis courts, a number of picnic areas and several miles of walking/biking paths. I had originally intended to place a small sports field or two on the property, but realized I had nowhere near enough space to do that. So to keep the park a proportional size, I decided instead to make a simple area containing just a few familiar tidbits like the pond, bridge and overlook. |
|
|
|
|
|
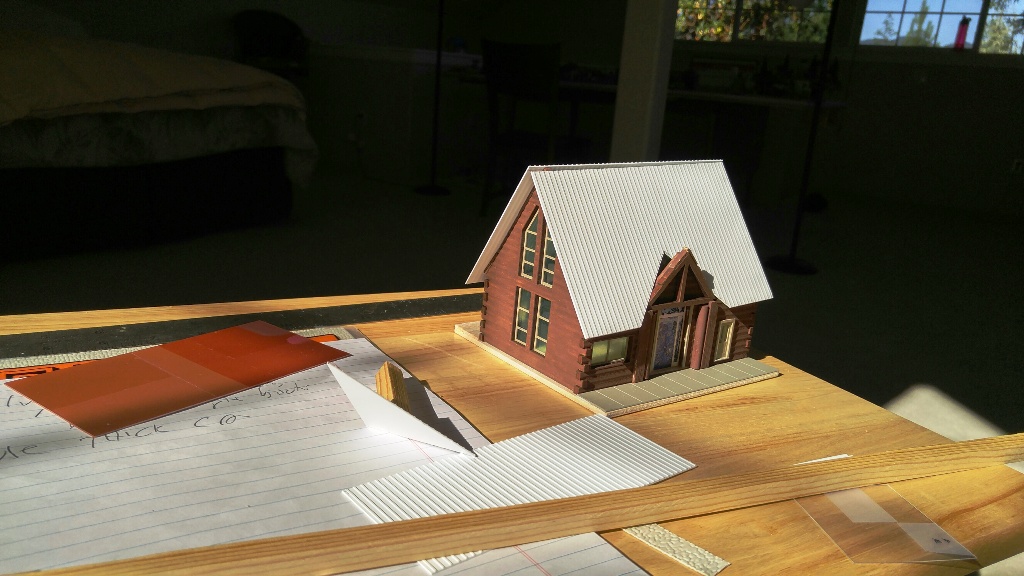
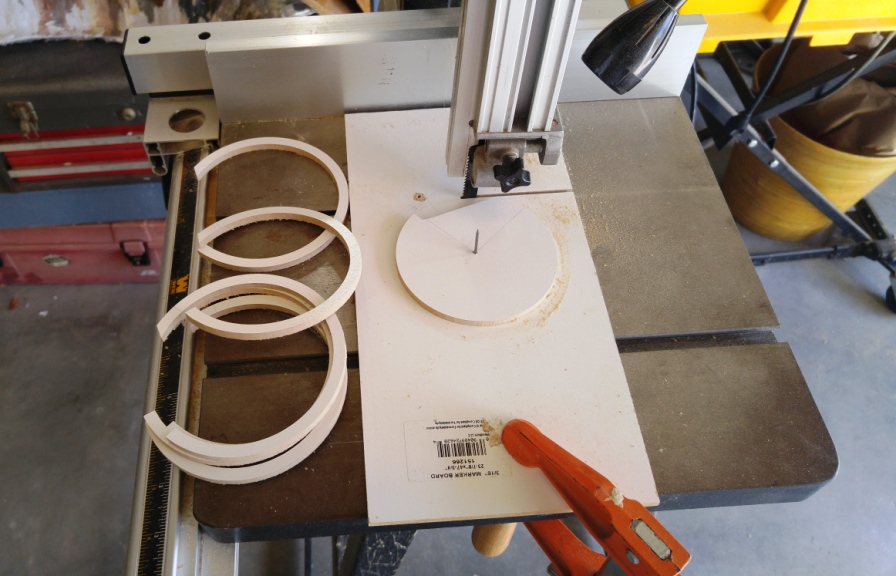
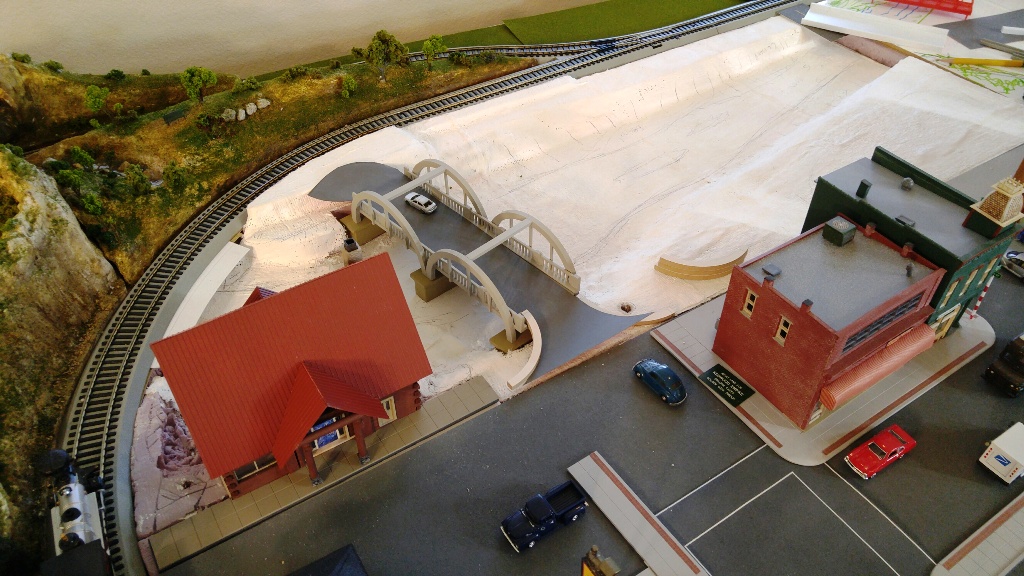
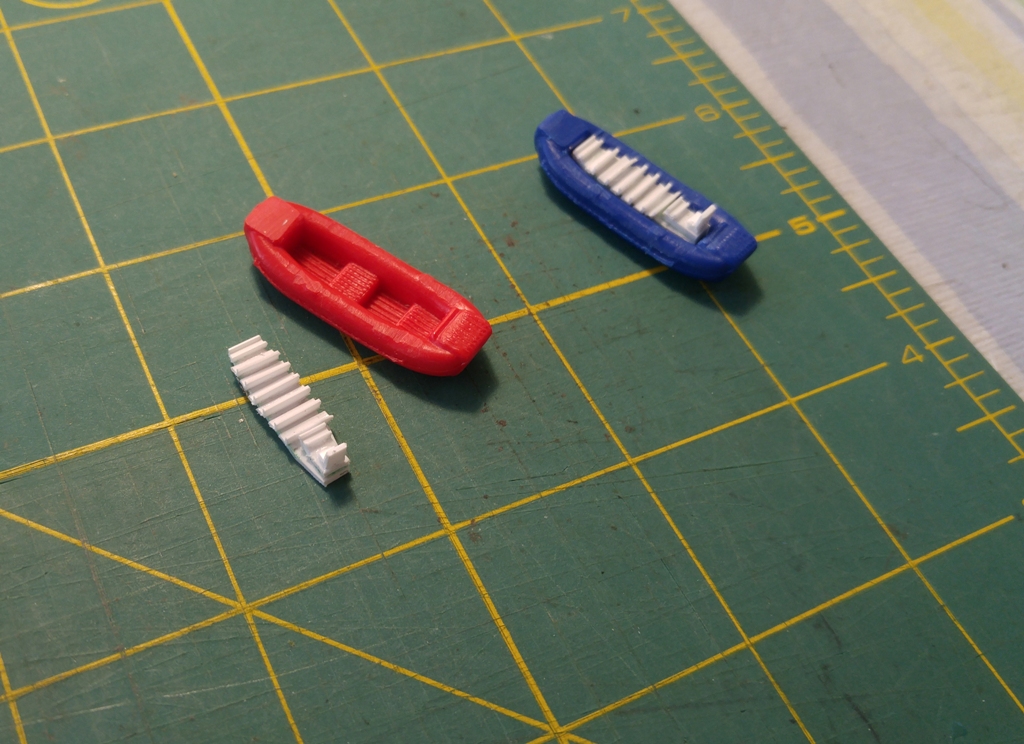
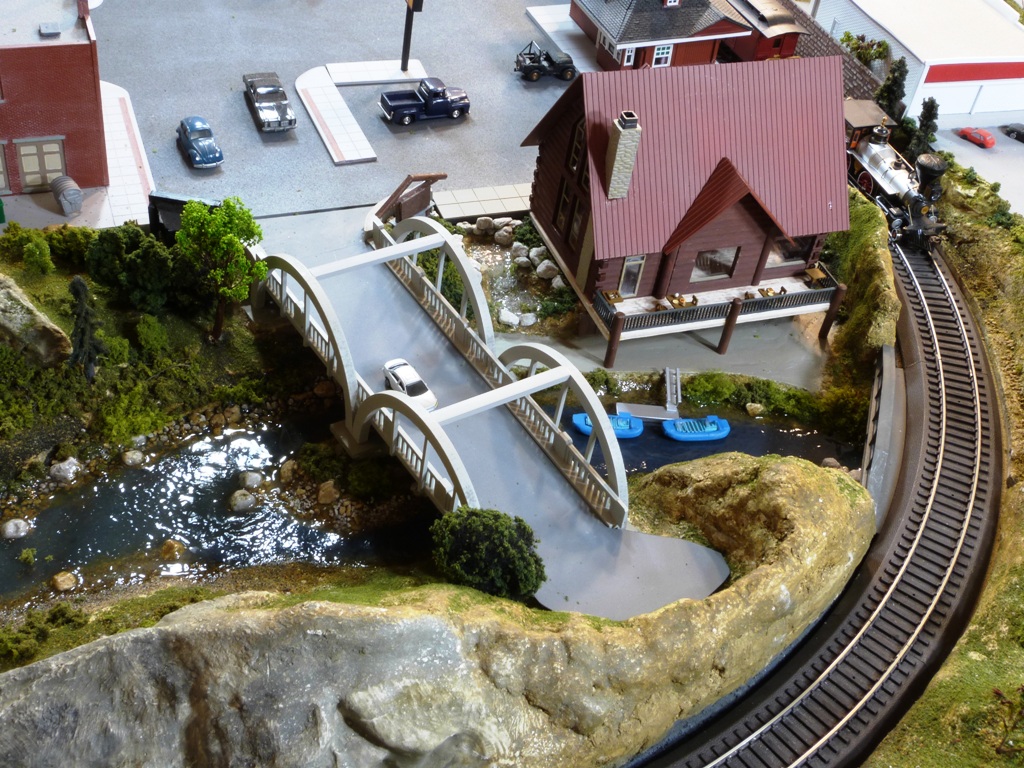
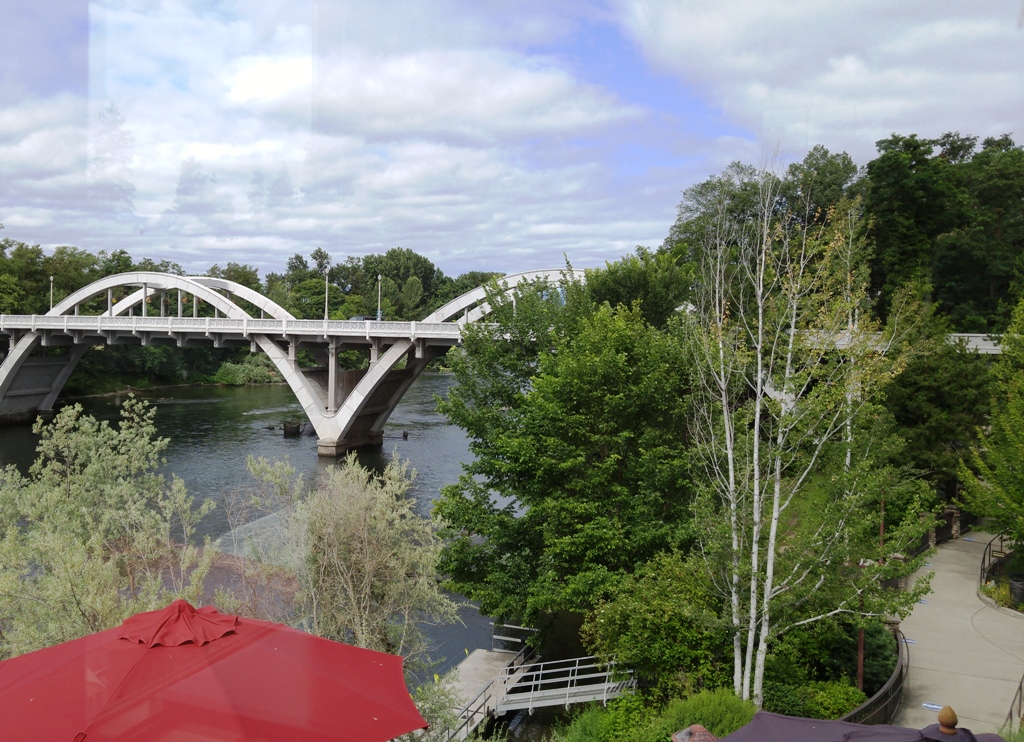
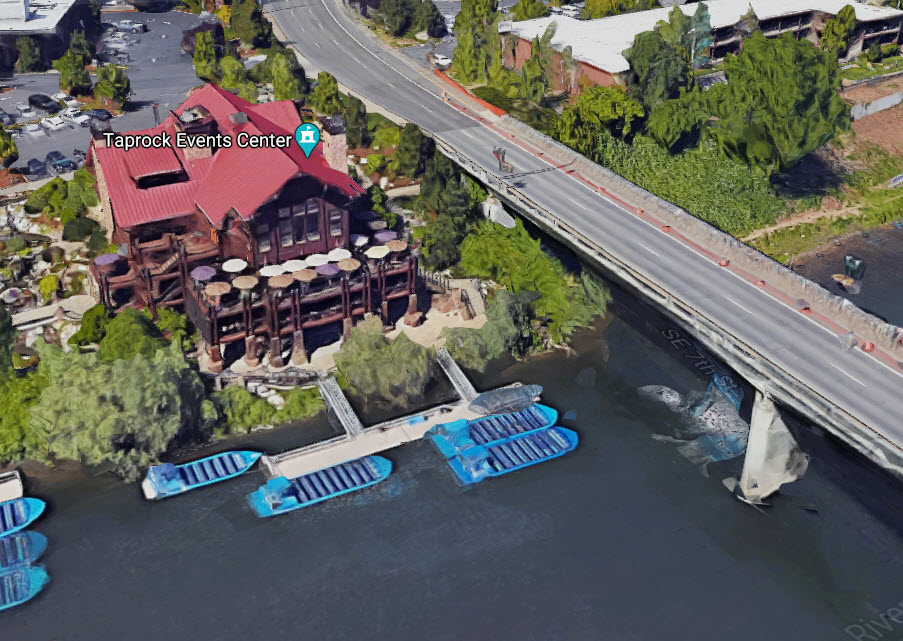
Taprock, Jet Boats and the Caveman BridgeTaprock is a locally famous restaurant on the Rogue River. It's a large, dynamic-looking structure that sort of resembles a ski lodge. The views of the river, either from the dining room or the deck, are fantastic. The kit-bashed building that I created is much smaller than it should be, but the major features, colors, landscaping and location (not to mention the sign) make it easy to identify. Any depiction of Grants Pass and the Rogue River isn't complete without the famous Hellgate Jet Boats. They start the trip at a dock behind Taprock. (Check out the pictures below.) By the way, if you're going to be in this area during the summer months, they are well worth the adventure. (Think of me when you jet down the river!) Although finding an "off-the-shelf" solution for the boats was unlikely, I got a couple of HO scale row boats and built a new interior more closely resembling bench seats. Adjacent to Taprock is another popular landmark, Caveman Bridge. Its unique arches were a challenge, but I made a jig for my band saw and created them out of thin MDF (medium density fiberboard) pretty easily. |
|
|
|
|
|
|
|
|
|
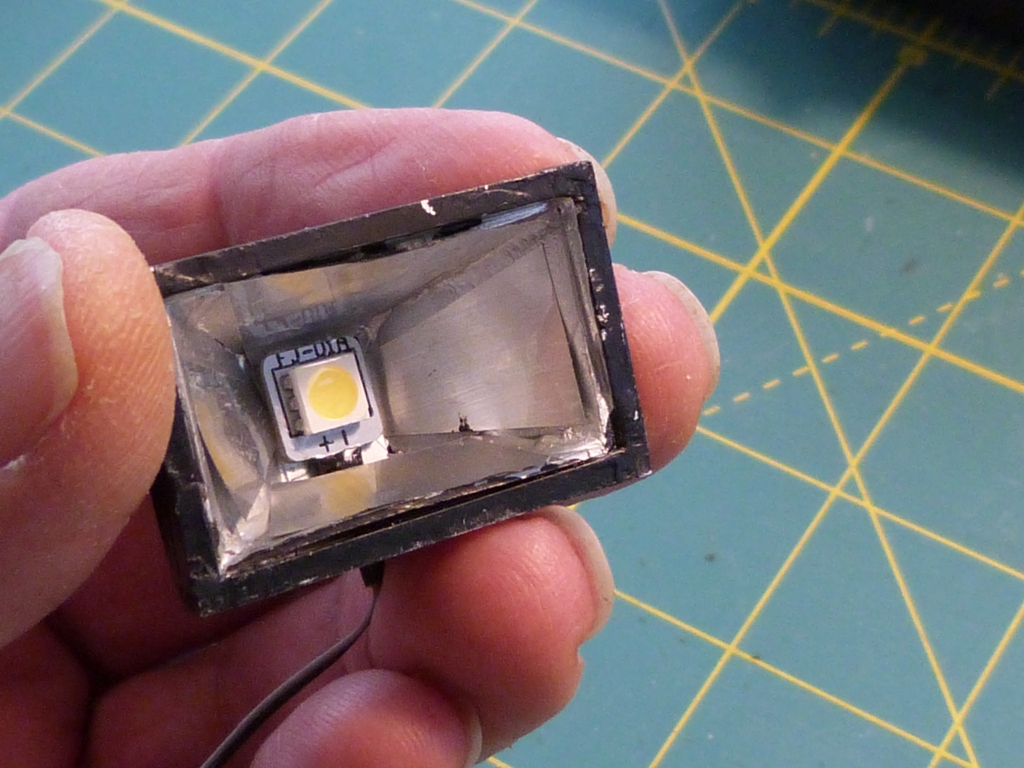
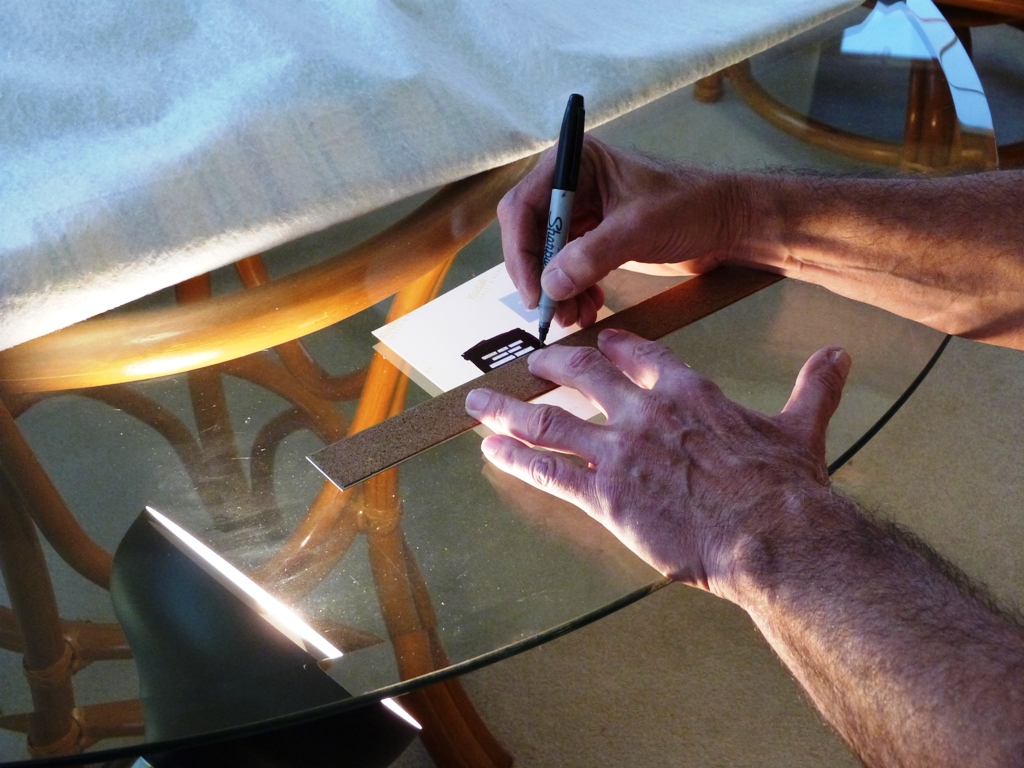
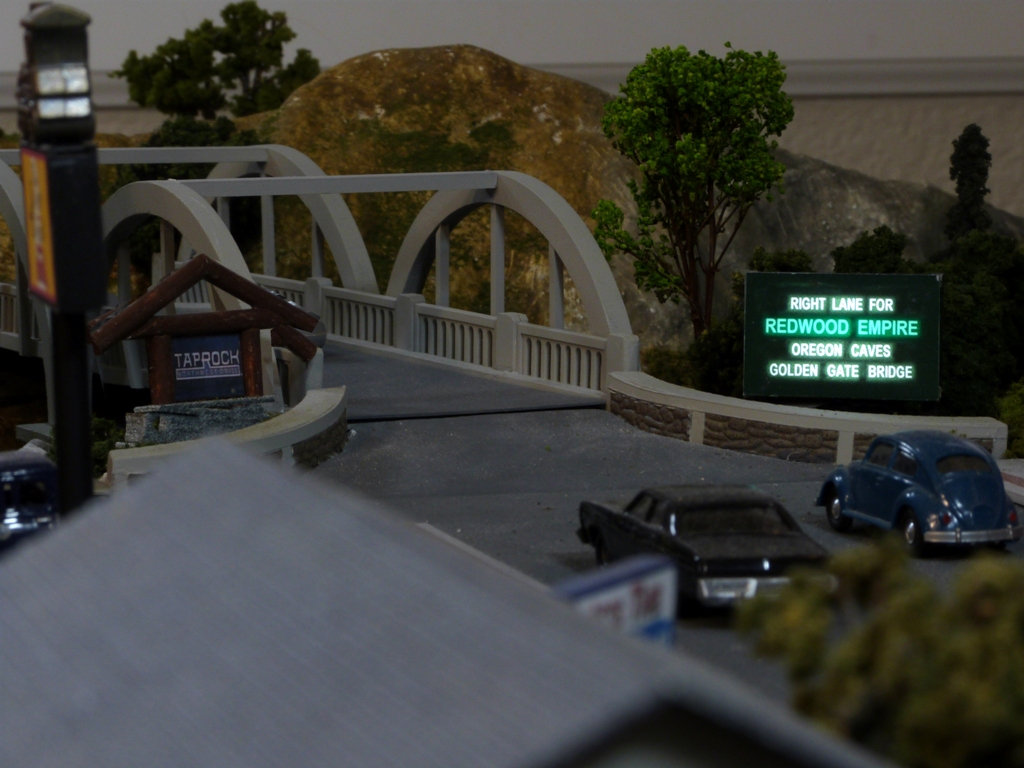
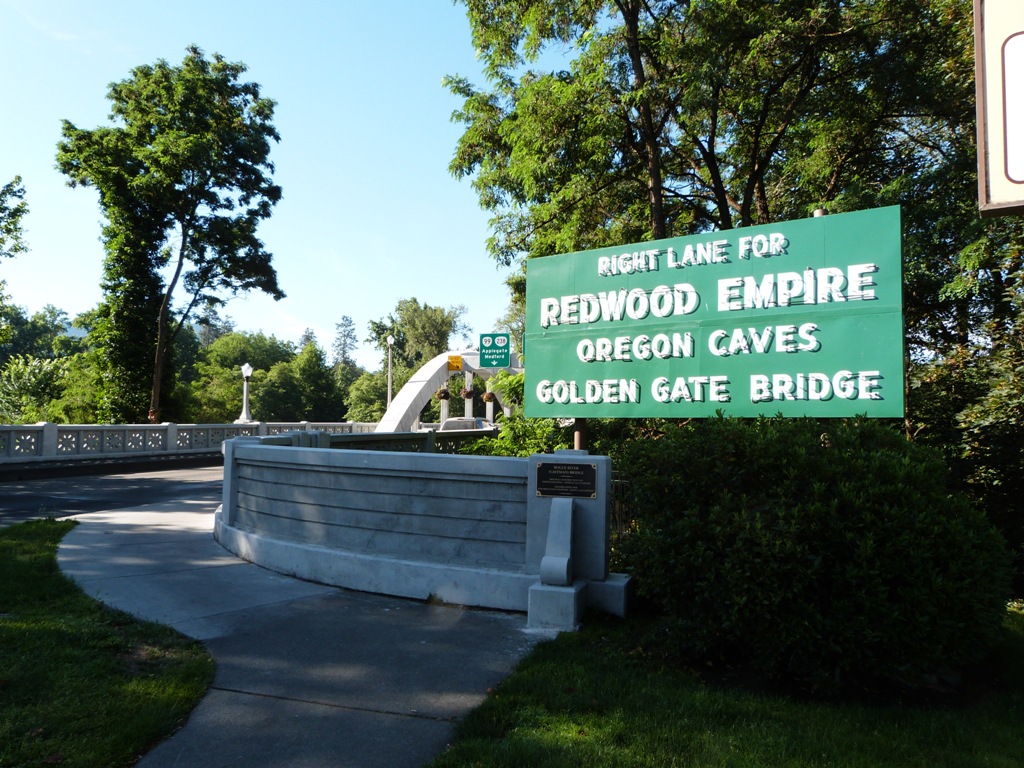
Redwood Empire Sign (a.k.a. Redwood Sign)It's never been my goal to model the entire town. But there are several landmarks that I thought would add interest and entertainment. The Redwood sign is a locally famous artifact erected in the 1940s and has recently been repaired with new neon. Since I was making the sign during the refurbishment, I decided to try and illuminate it and I accidentally found a way to create a neon light effect. I made a small frame out of styrene pieces and placed a small box behind it. (It sort of looks like an old television.) It was easy to recreate the sign in Microsoft Word using white type on a black background. After printing it on photo paper, I cut it to the size of the sign, put a small light behind in the box, and realized it looked pretty good. But in my first test, light bled through the solid black areas a bit, so I knew I would have to make some type of mask. Using an ultra-fine Sharpie, I drew boxes around the words and blacked out the large solid areas. But because I was afraid the ink would run, I left a little space between the letters and the lines. This turned out to be the key to attaining a "glow" around the words. |
|
|
|
|
|
|
At the end of 2021, not long after the famous Redwood sign pictured above was refurbished, a car hit it. Well, in a case of art imitating life, my kitty recently happened to jump onto my layout and knock a car into the river taking out a tree in the process. (I decided to leave it like that.)
Fortunately, no one was seriously hurt in either event – not even the kitty.
|
|