6.
Other Dioramas
When I started in model railroading, I didn't see this coming. But as my creative juices started flowing while building my main layout, I kept getting ideas about other scenes.
The first was Riverside, described previously. The ideas kept coming!
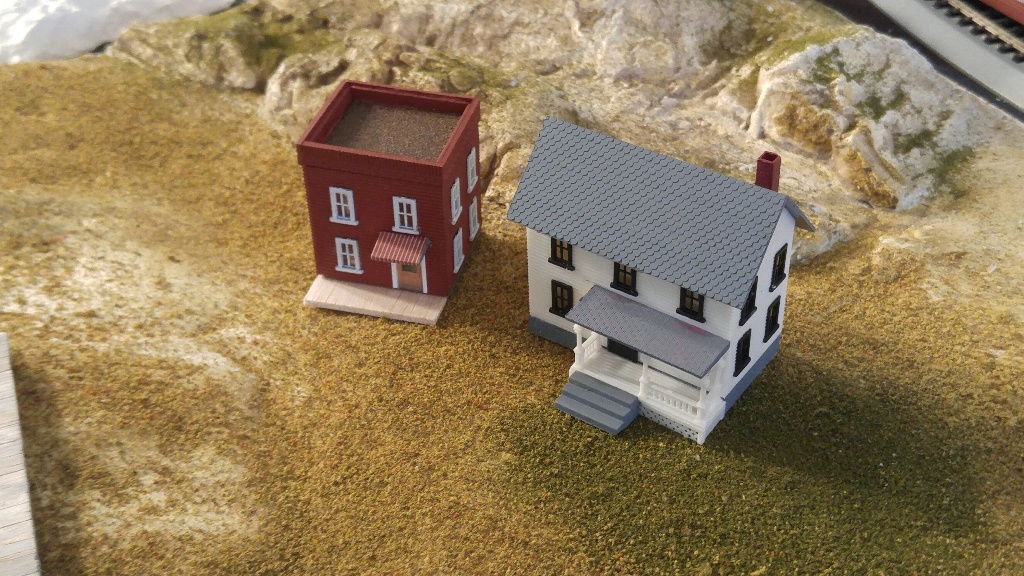
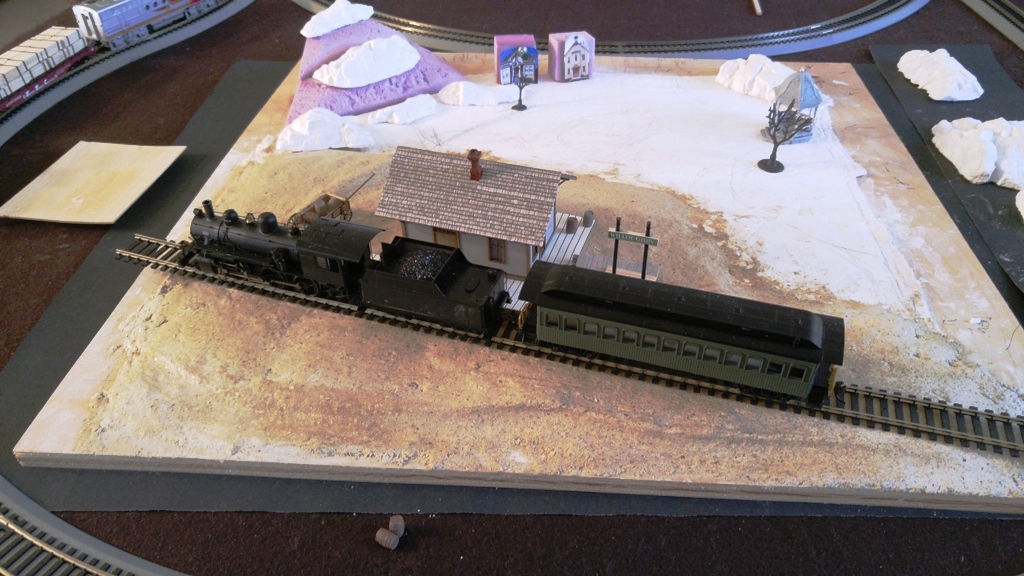
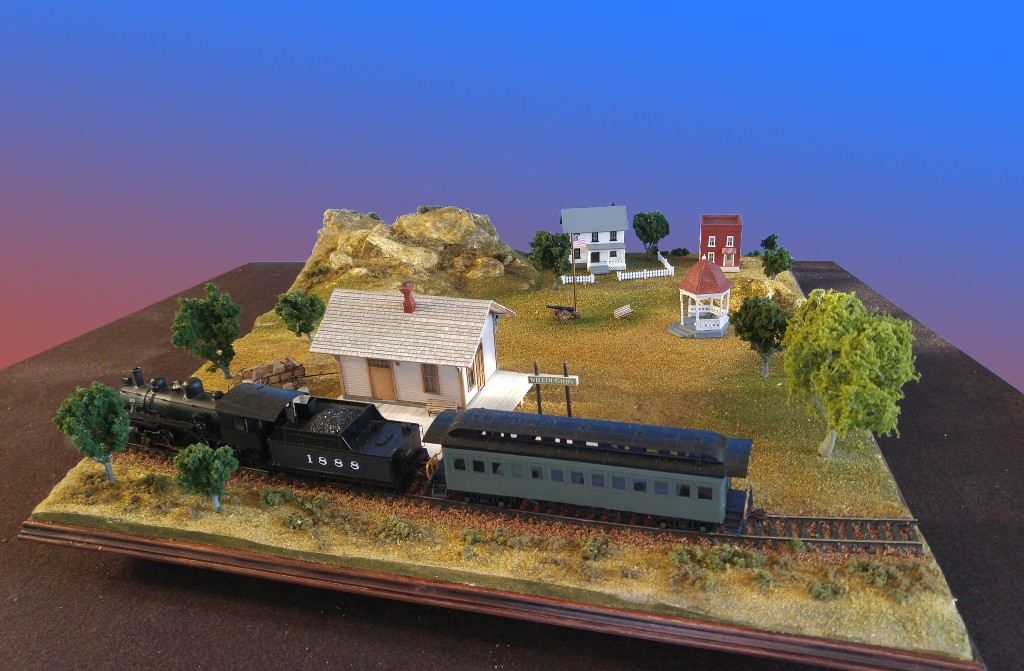
Willoughby
On the first day of a new job back in 2002, I walked into a co-worker's office, and on the wall was a sign that read, "Willoughby. Next time, I'll get off." This diorama is dedicated to my friend, Sheila.
I recognized the quote immediately, from a 1961 episode of The Twilight Zone, A Stop at Willoughby. I won't bore you with the details (it's all on-line), but for some reason the scene depicted came to my mind as one of my first "real" dioramas.
I wanted to include a cast, but never found the right ones.
|
|
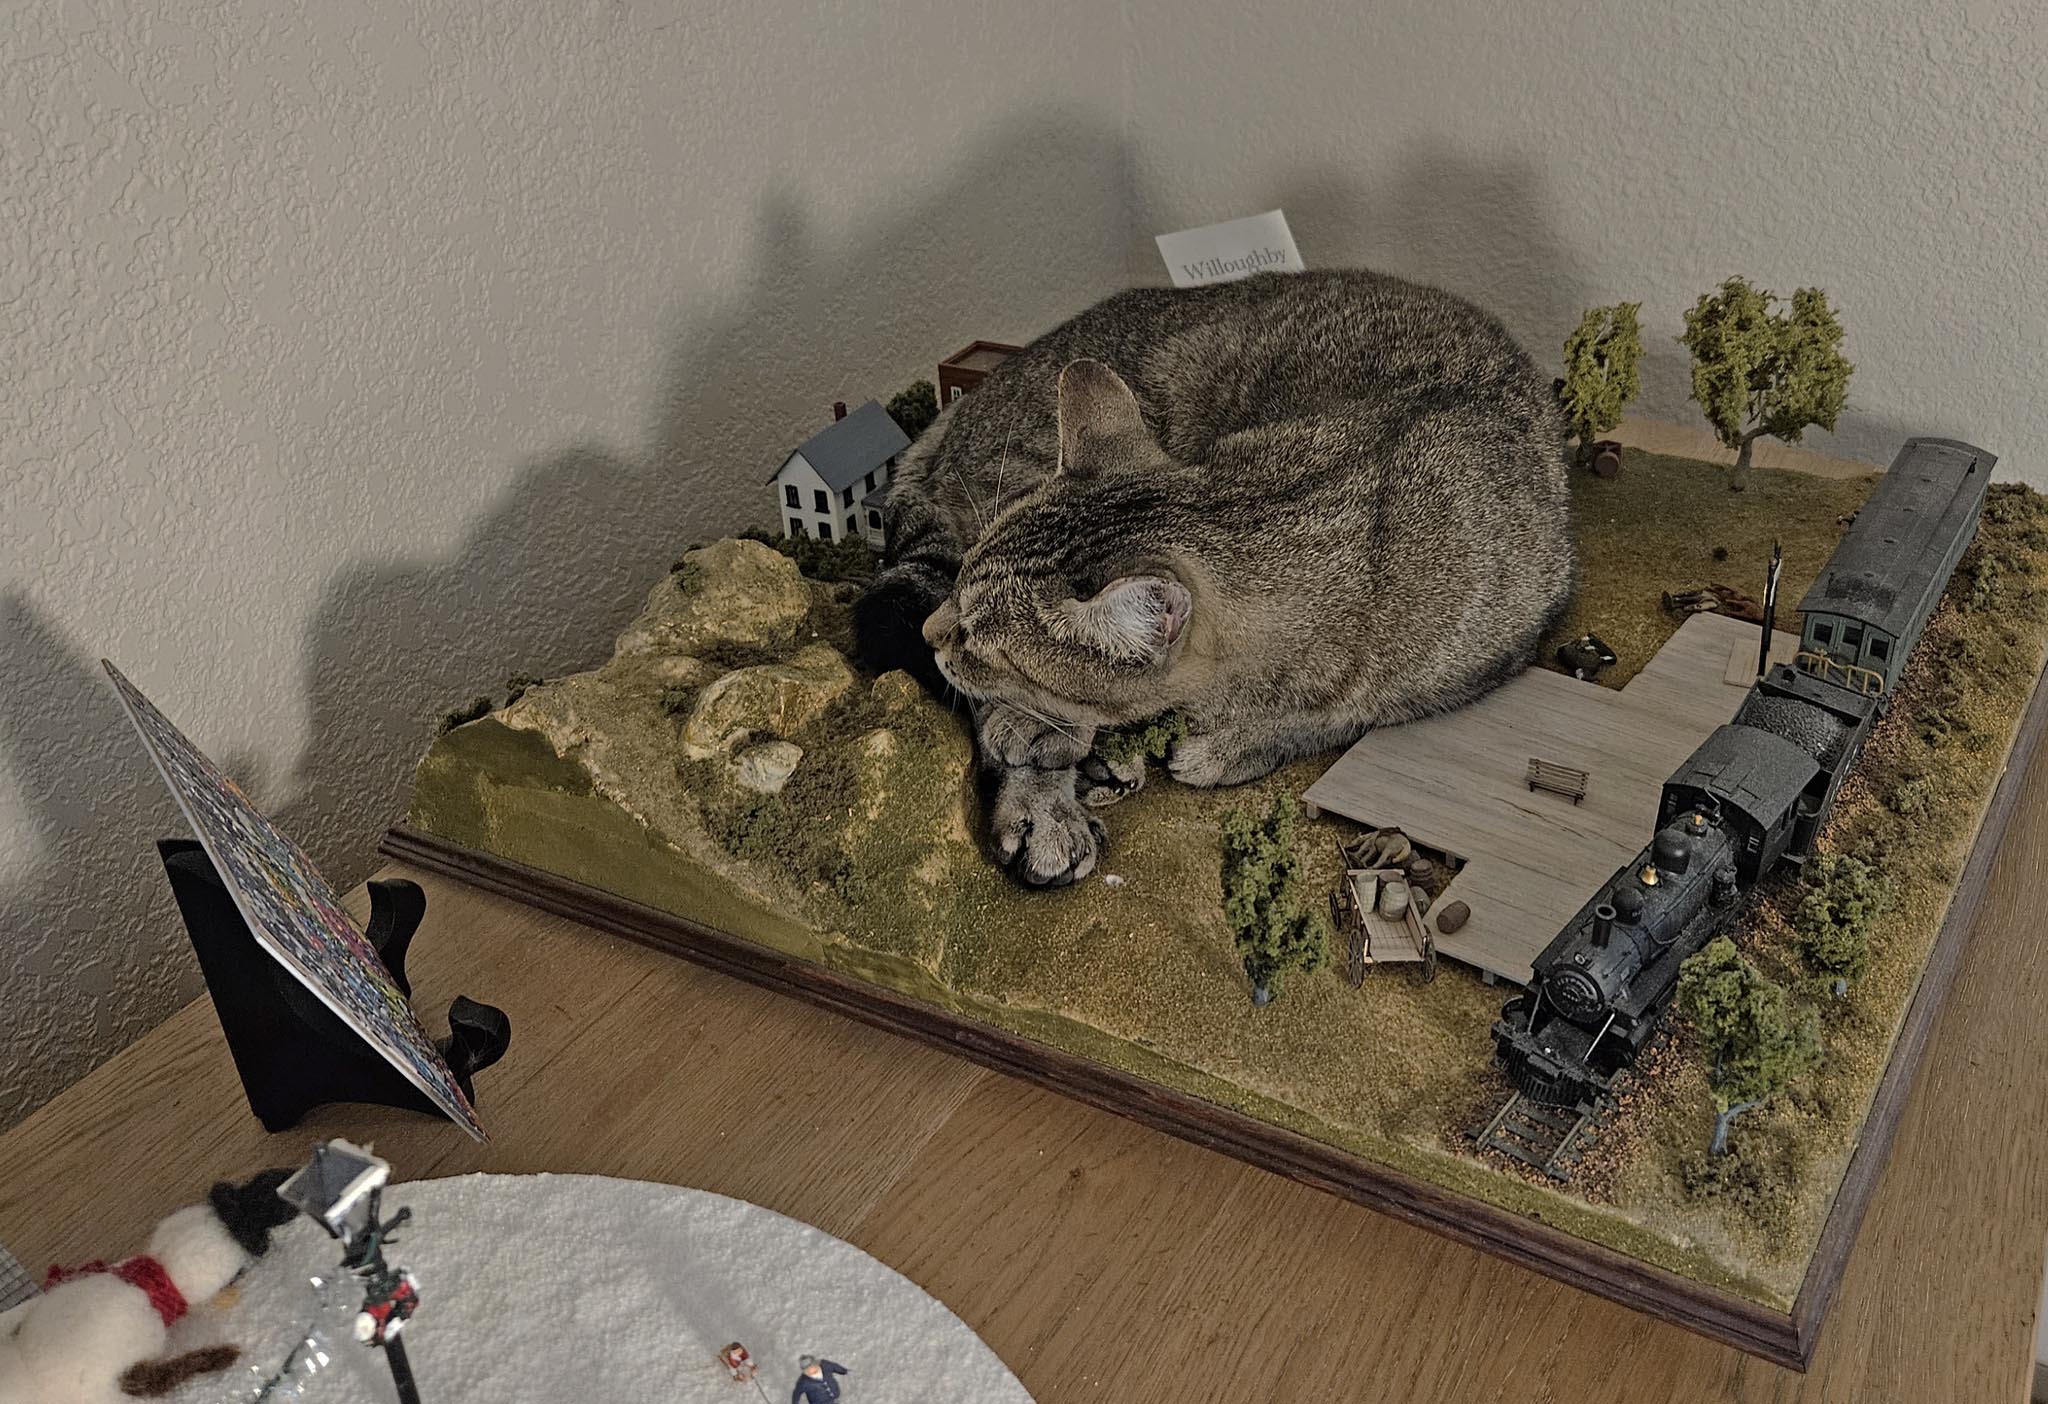
 Willoughby - somewhat artistically presented... |
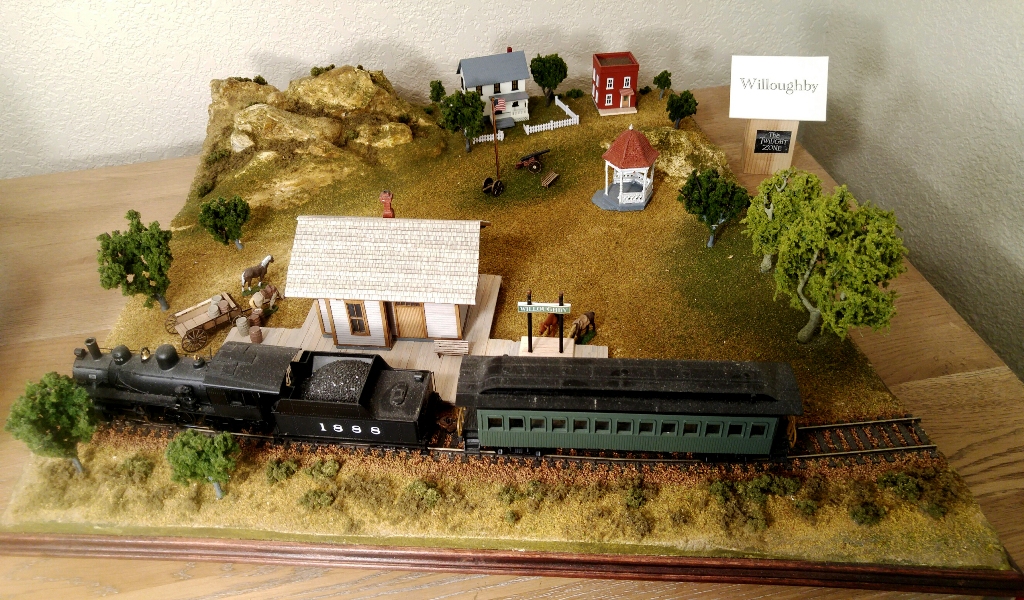 ...and sitting on the shelf. |
Fast Forward August 2025 Peeka has recently begun to show a desire to spend time in Willoughby, built back in 2020. At first, I kept moving her out. But in thinking about it, I realized that she's actually enjoying it more than I do. So, I gave it to her.
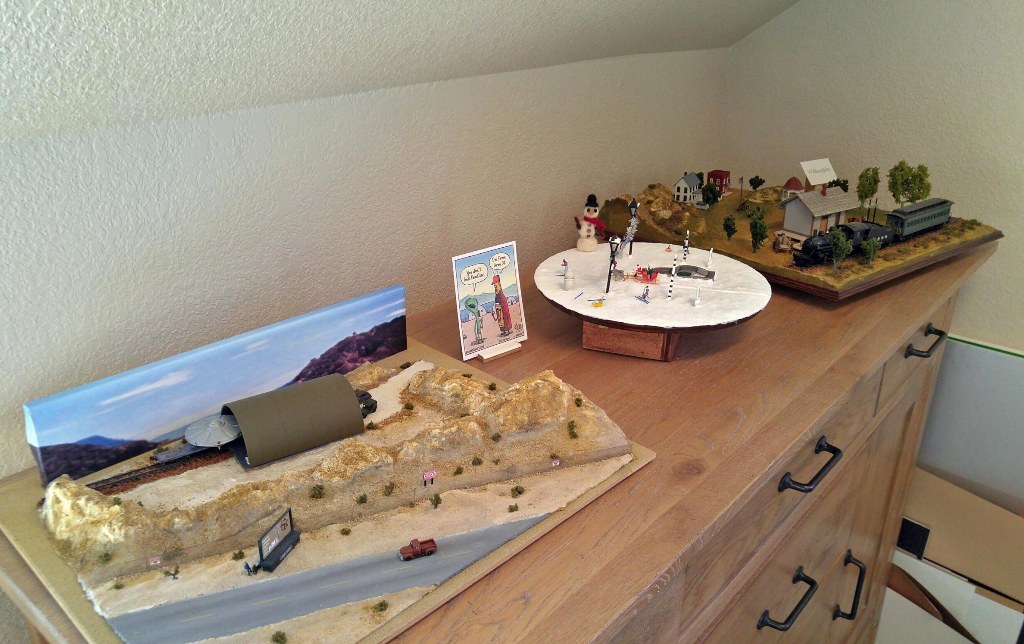
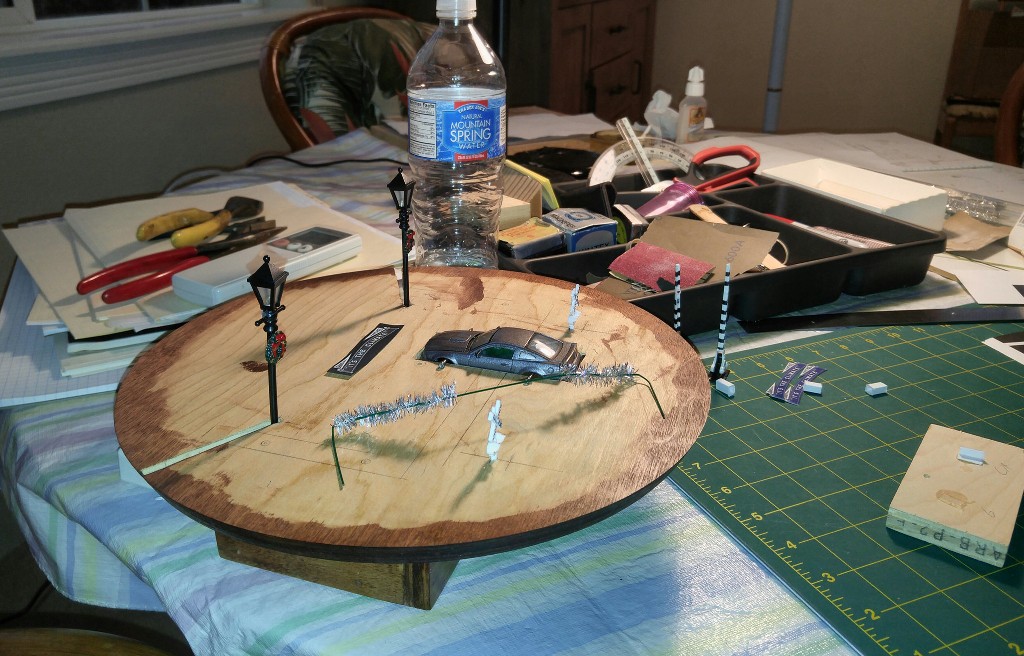
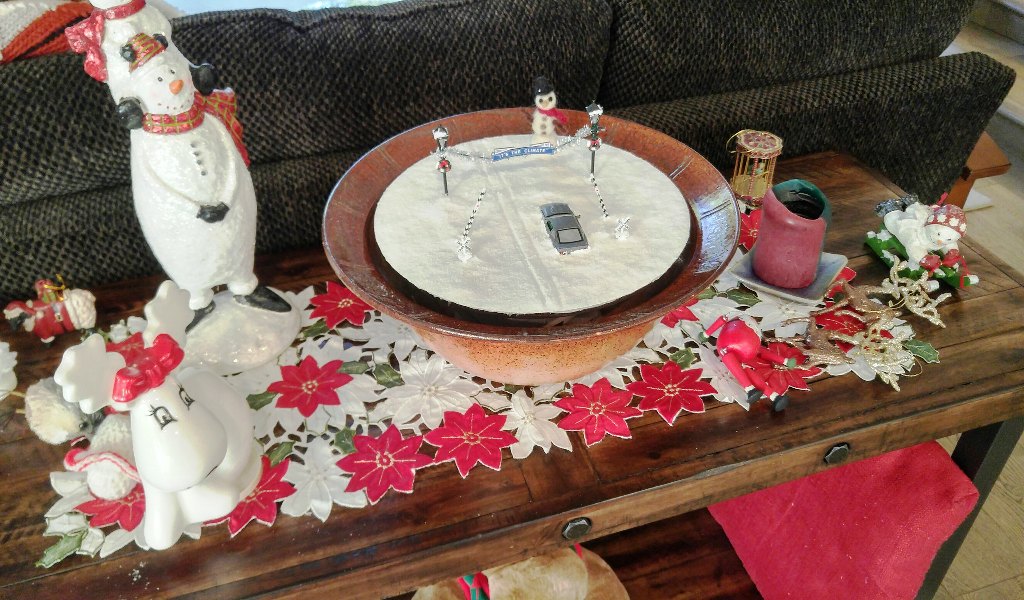
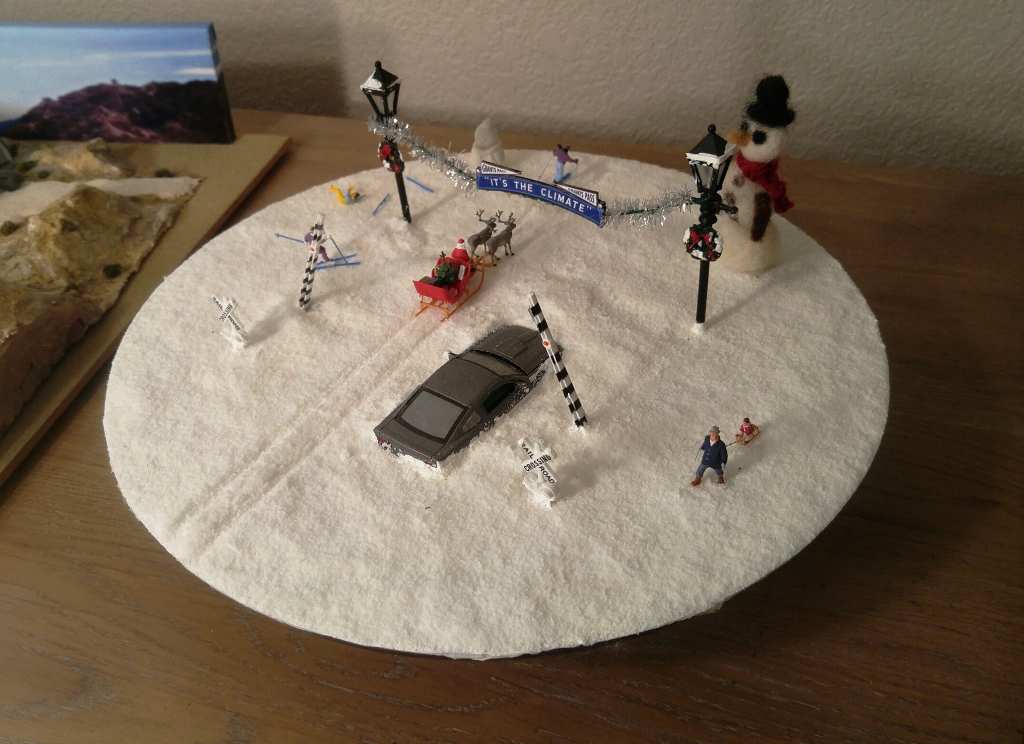
Holiday Diorama - "It's the Climate"This diorama was inspired by a piece of pottery in our living room that Mrs. Pauley had purchased at a charity event in 2018. It had held some autumn-related decorations. But I realized it needed winter-themed content. The scene shows that the winter can be annoying for some (like that poor guy in the Mustang stuck in the snow) while fun for others. The "It's the Climate" sign is a local landmark that been around for something like a hundred years. Grants Pass's climate is probably pretty nice for folks from Canada, Alaska and the North Pole. But for someone like me who lived the previous 40 years in southern California, "It's the Climate" is the punch line of many jokes between me and Mrs. Pauley when the weather is less than optimal. (Although I've got to admit that the colors in spring and fall win me over every year.) | |
| |
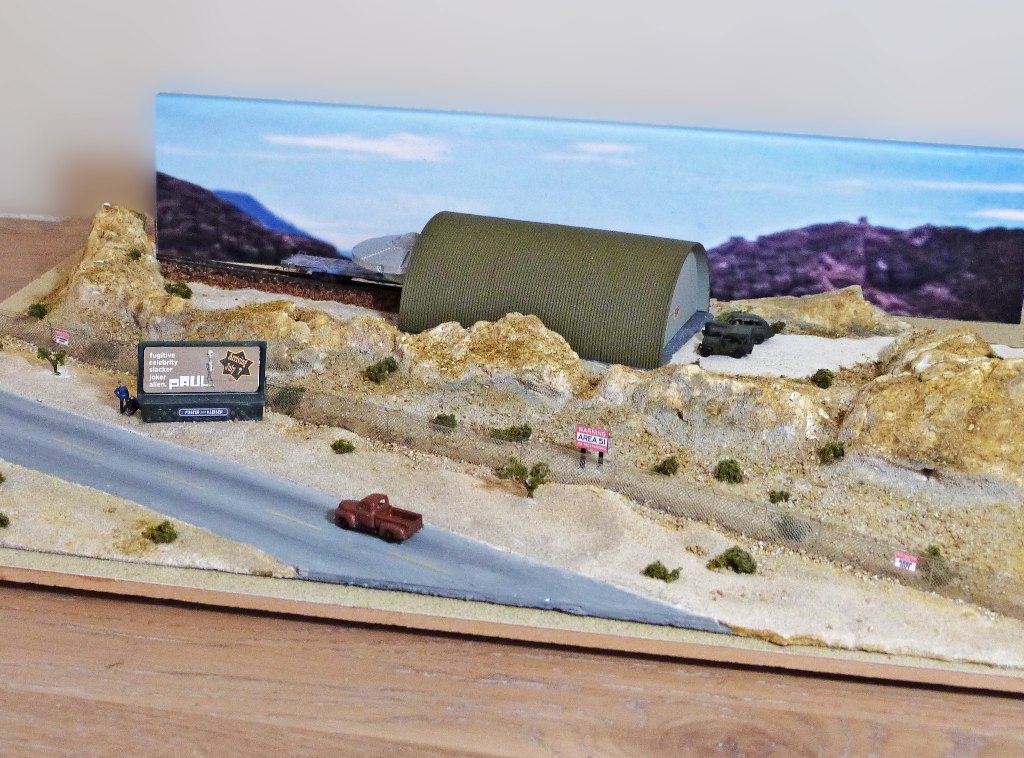
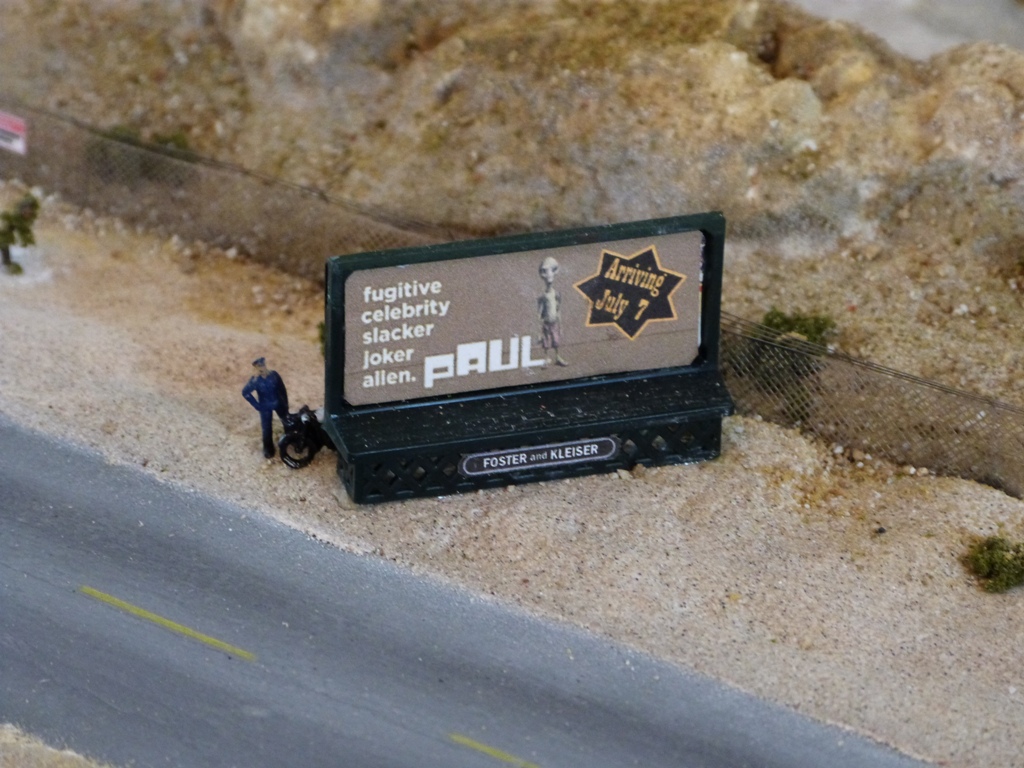
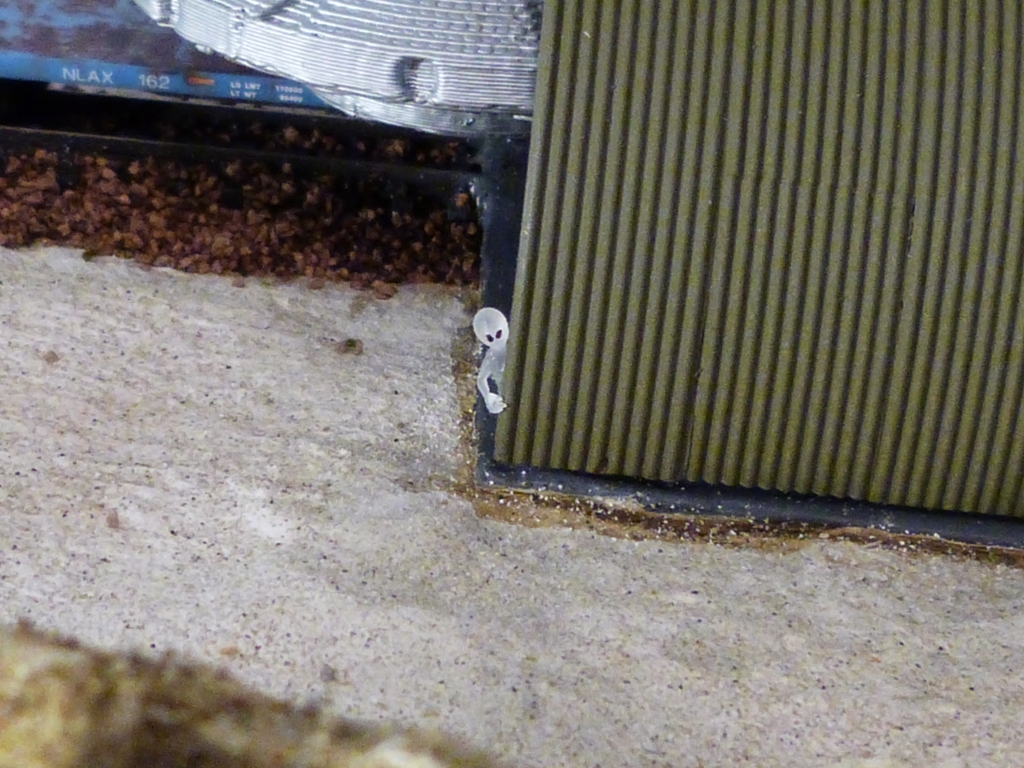
Arrival of PaulMy friend Kirk took a tour of Micro Trains, a model train manufacturer located in nearby Talent, Oregon. When the tour was over, they let him pick a railroad car from a surplus supply. He chose an N scale flat car and, not being a model railroader himself, asked me if I would like to create a diorama around it. Since Kirk had worked for JPL (and the flat car was a model of one once used by NASA), I created Area 51 - complete with a flying saucer and an alien. I also included a poster for the movie Paul - a very cute flick about the alien who was responsible for the infamous UFO crash in 1947. So the title, "Arrival of Paul," has both a cinematic reference and a personal one. ;) By the way, NASA wasn't established until 1958. But as you know by now, I don't let reality stand in the way of creativity - or anything else - these days. | |
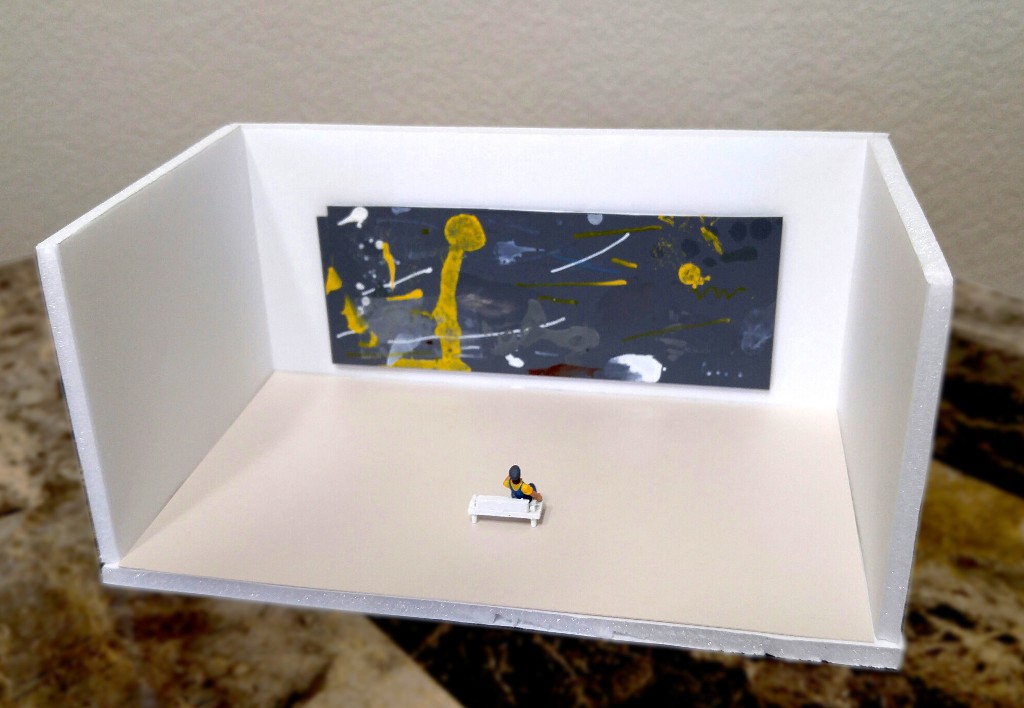
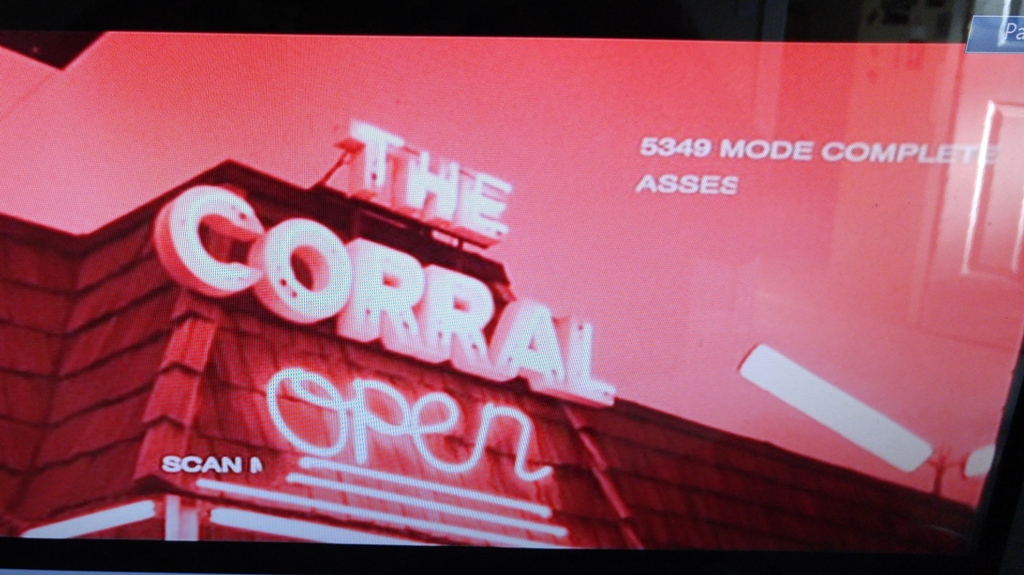
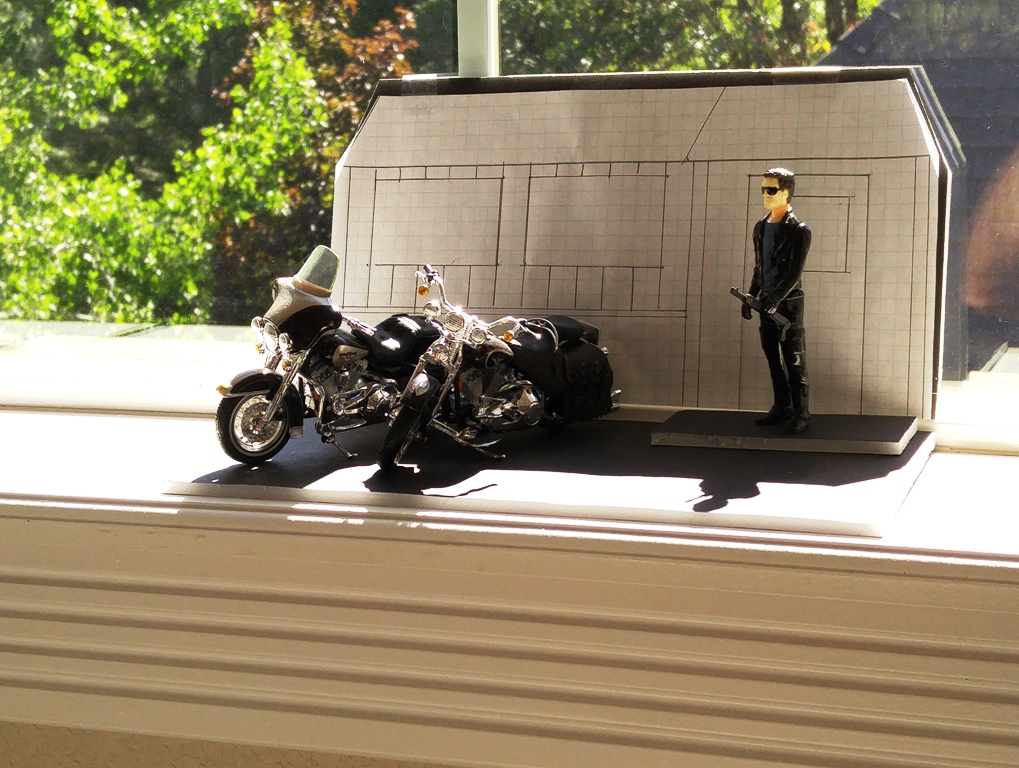
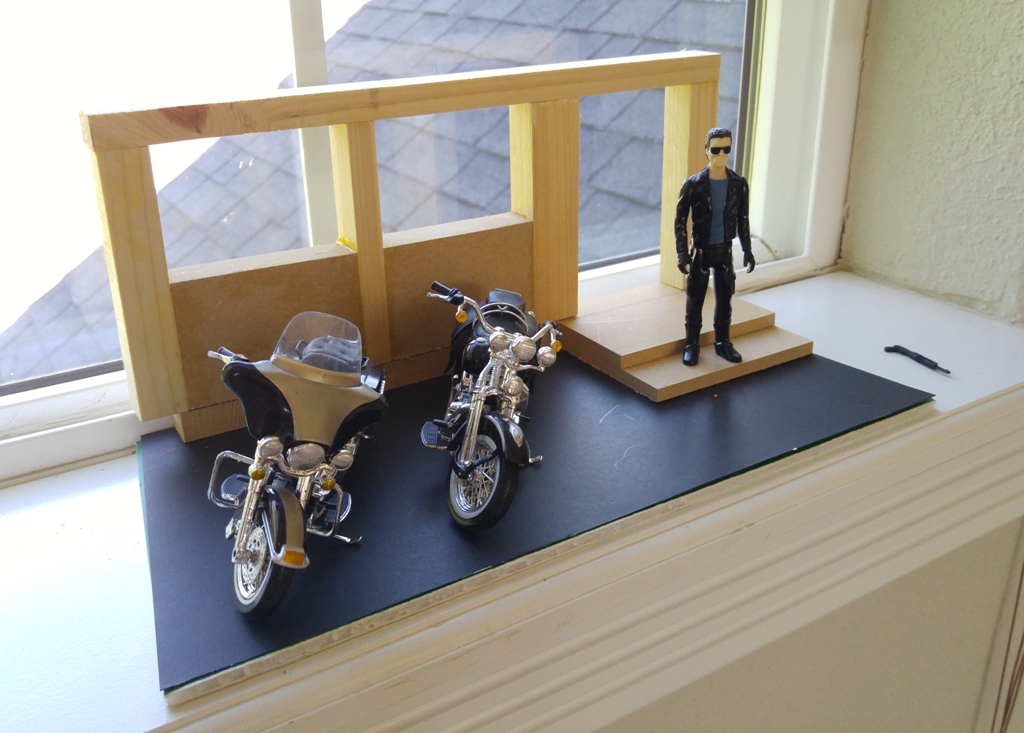
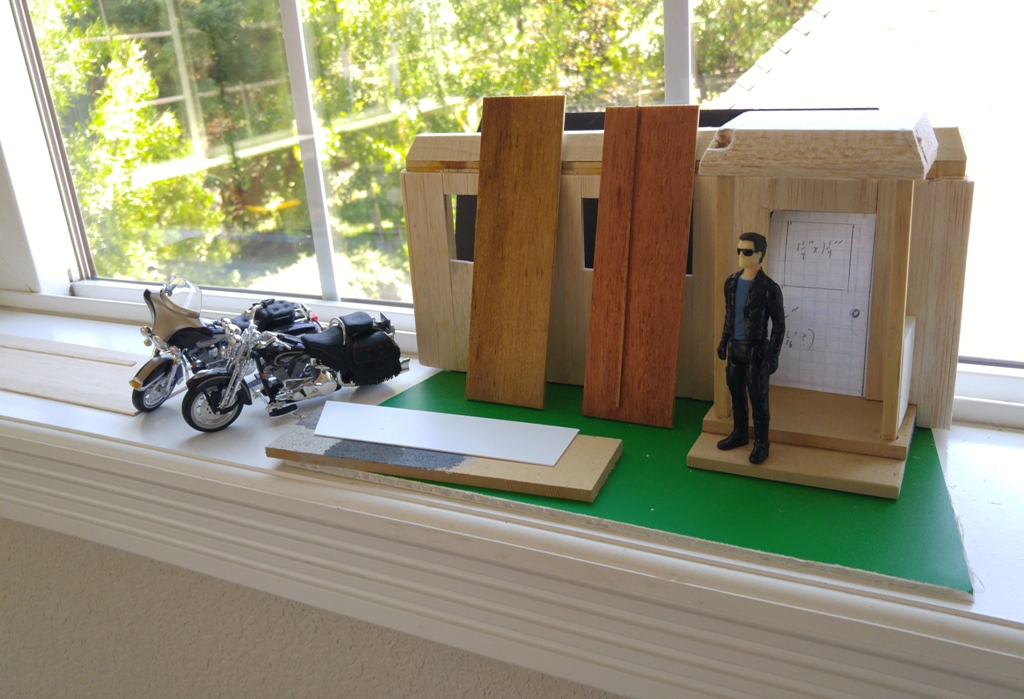
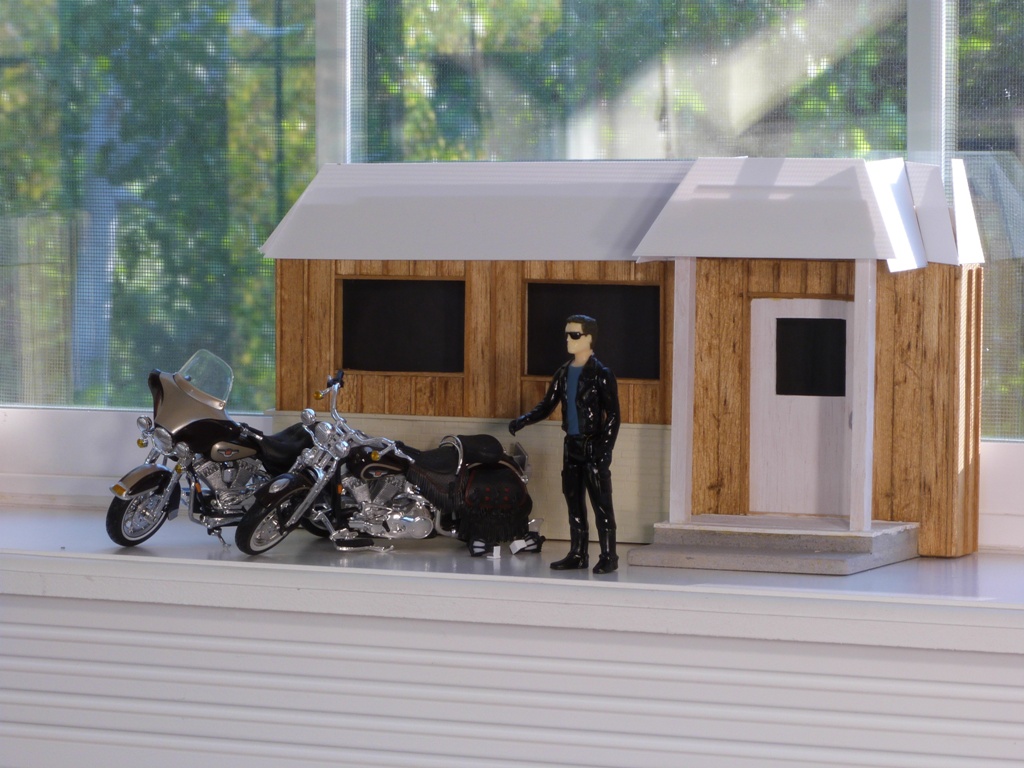
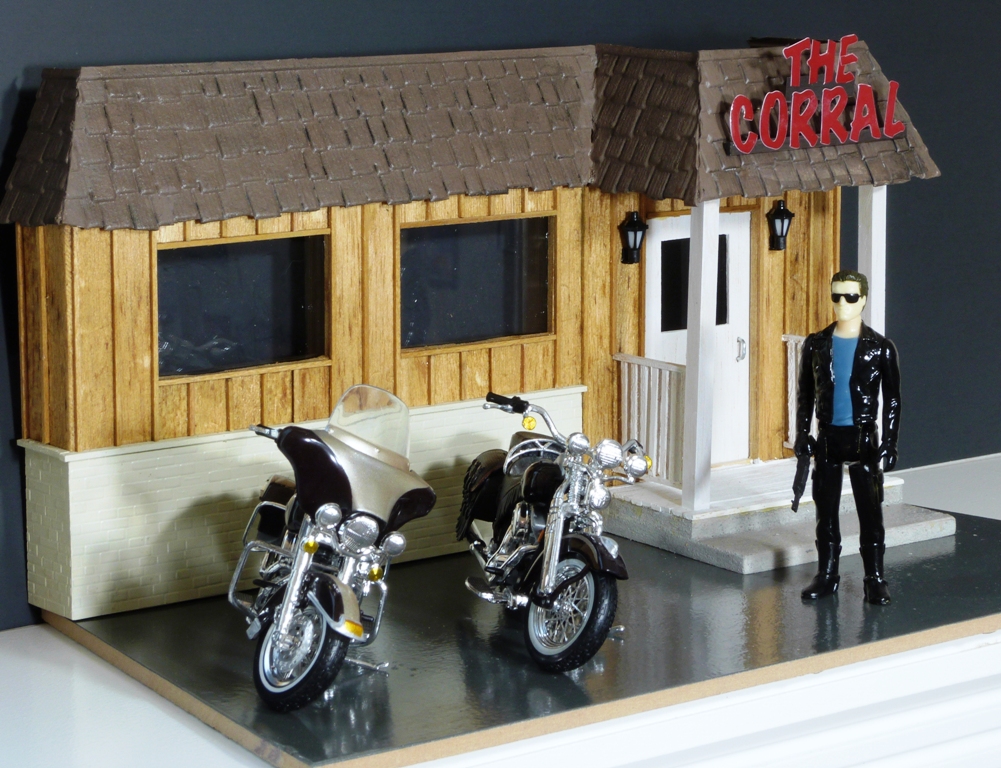
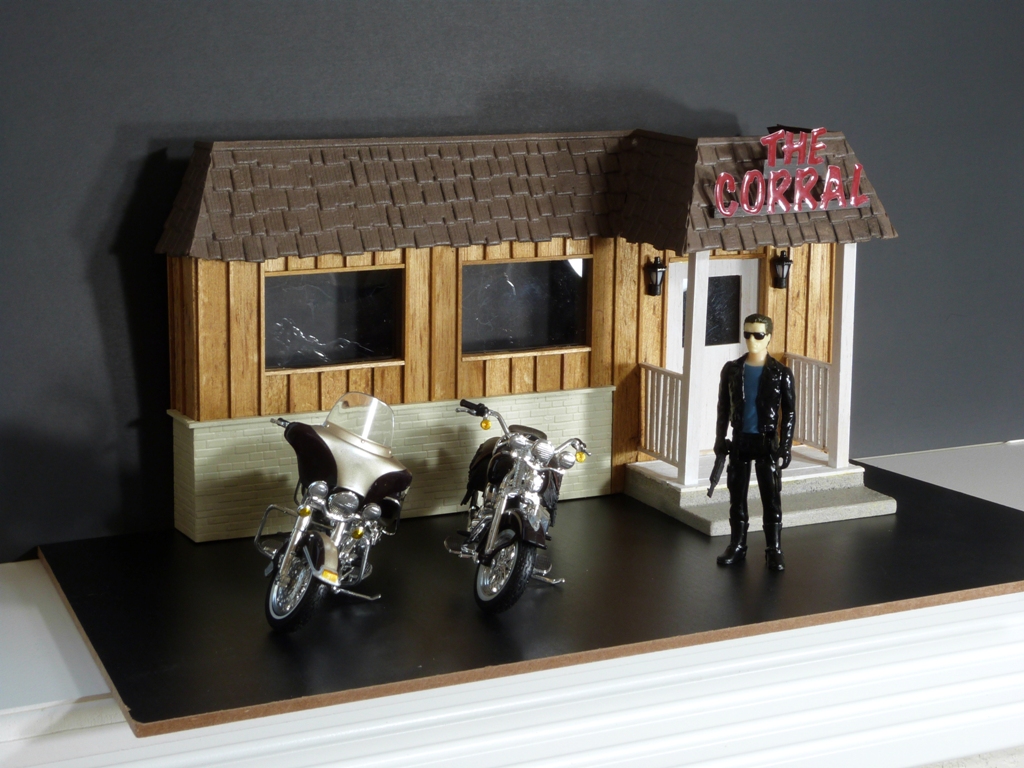
'What is Art?' GalleryI was cleaning up the studio one day and came across a small piece of styrene on which I had done some painting tests. I thought it sort of looked like a piece of modern art that should be hanging on the wall of a gallery. Suddenly I thought, "Hey, I build dioramas!" So I pulled out some scrap pieces of foam core board and in an hour, the gallery was on my shelf. I imagine that the guy on the bench with a cup of coffee must be contemplating the question. By the way, this is the first diorama presented on this site which didn't have rails running through it. (It isn't the last.) Bad to the BoneHere's another non-train-related diorama, somewhat related to the "It's the Climate" holiday diorama above. In 2018, Mrs. Pauley and I attended a charity event that included a silent auction. As mentioned, she bid on and took home a very nice piece of pottery that we put in our entry way. It became the inspiration - and seasonal location - for that winter scene. At the same event, I wound up with a very large basket consisting of five 1:18 scale motorcycles (new, still in the boxes), several motorcycle books and some other stuff. When I first looked at those models sitting in that basket on the table, I instantly thought "diorama," and I knew what I was going to do - I had to have it. I was surprised at how difficult it was to find a 1:18 scale Arnold in correct Terminator 2 guise. But after searching on and off for well over a year, somehow one popped up on-line. And, except for having to paint his khaki pants black (Really? The Terminator? In khakis?), he was perfect for the diorama I had envisioned – the first scene in Terminator 2, at the Corral bar. I wanted to create a simple display for Arnold and a couple of the motorcycles. The song "Bad to the Bone" came to mind. (Spoiler alert: Although that George Thorogood piece played at the end of the scene, Arnold actually turned out to be a good Terminator in this movie.) | |
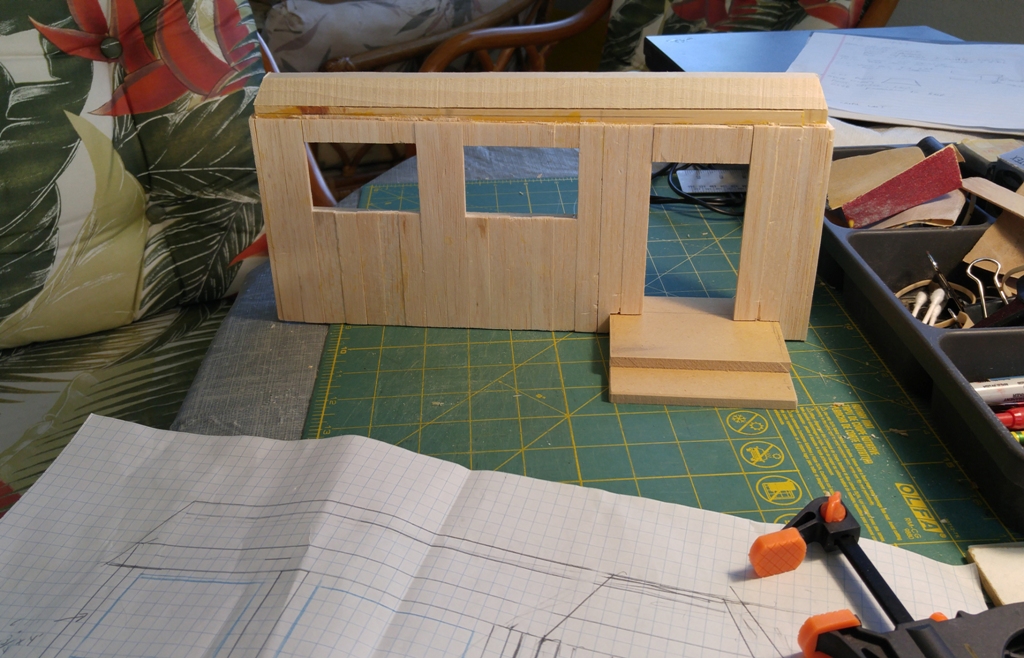
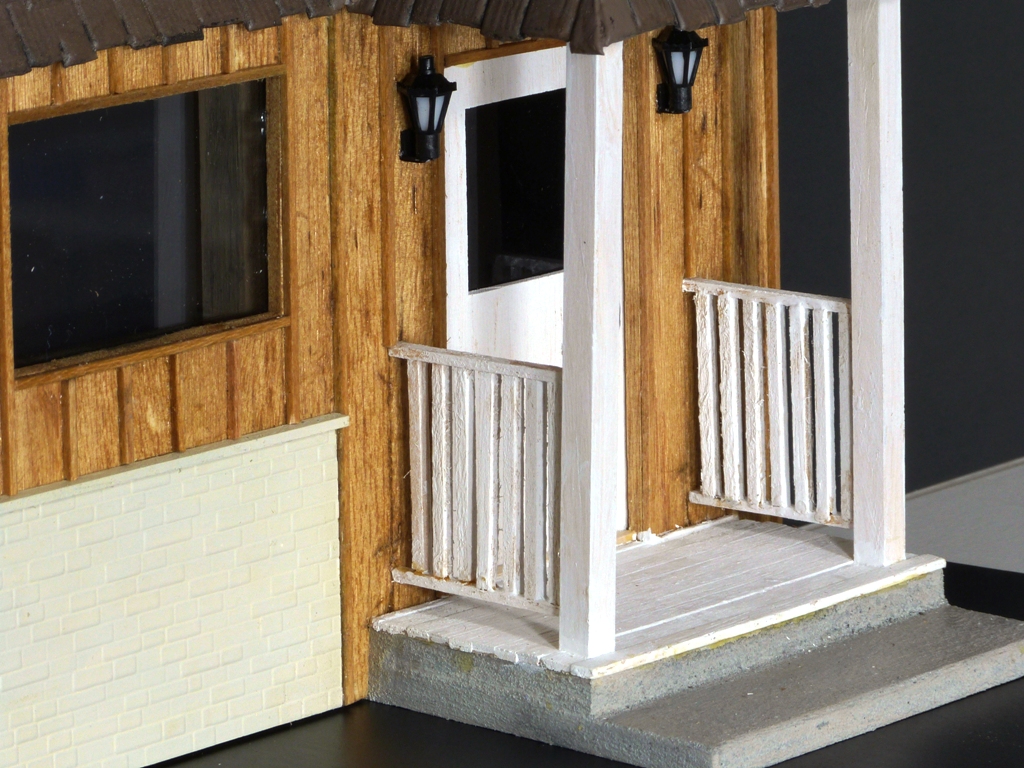
Fortunately, I have the movie on DVD and was able to watch and document the scene in pretty good detail. One of the challenges I faced right away was how to adjust the proportion and scale. At first, I thought that since Arnold and the bikes were 1:18 scale, it would simplify construction. But I wanted to place this diorama on my window sill which is about six inches deep. Once again I came face to face with a lesson I learned very early when working with models: Larger structures built precisely to scale will likely take up too much space for a layout or diorama. If I had built this structure to accurately represent the bar (even just the front), it would have overwhelmed the entire scene – as well as my window sill. But I didn't want the building to be the main focus. I did a few test drawings and came to the conclusion that I would not only trim the structure way down, but I'd build it in a slightly smaller scale to give it a little depth. (You might not be able to see it in the final photos, but Arnold wouldn't even fit through the front door.) I also angled the edges of the parking lot for a cheap attempt at a little perspective.
| |
All the windows are Lexan backed with black, opaque material. The original parking lot I made is a piece of MDF with a coat of textured paint, sanded just a little and then painted with asphalt color. Its wet look is a layer of Realistic Water. But as I enlarged the building a bit during the construction process, the parking lot I had made seemed a little small. As a test, I cut a larger piece of black-coated MDF, and I think the scene looks better with more space around it. I may give it some weather coating some day, but right now I think the semi-gloss black looks nicely abstract. When I got to the roof, I first created the individual roof sections out of thin, white styrene for fitting and placement. When they all seemed to fit well, I used those pieces as templates to make the real roof panels out of the shingle-patterned sheets - a trickier cut to make since the shingles line up correctly. | |
| |
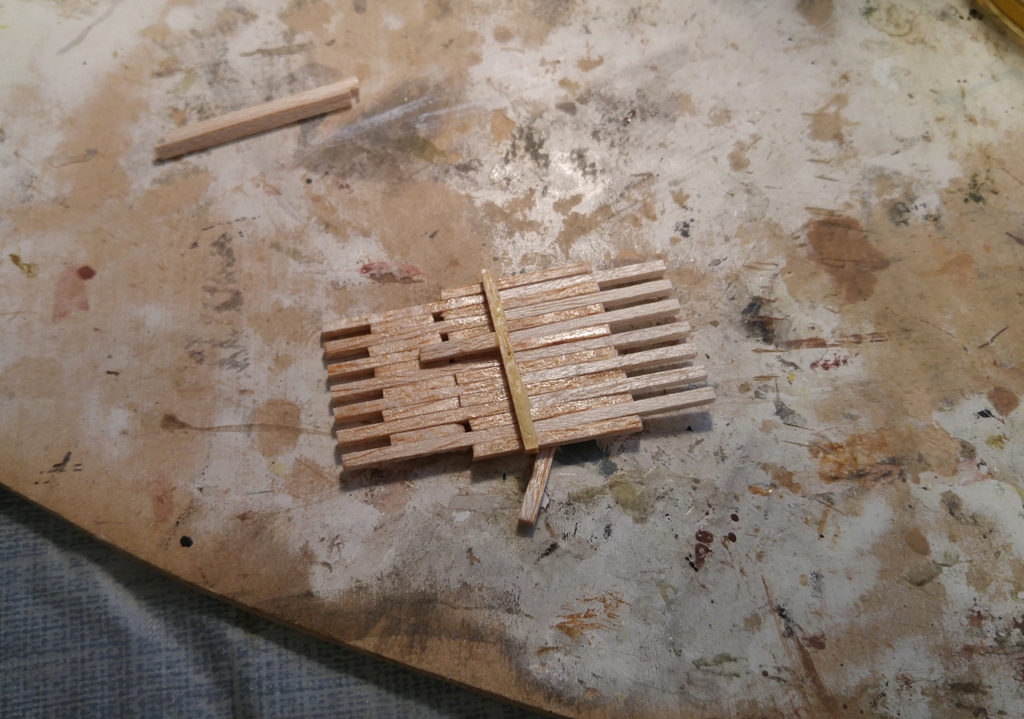
Without getting into the details of what didn't work, let's just say that my first ideas didn't. But a failure in a subsequent test proved to be the ticket. Through a gluing mishap, I unintentionally created a better jig in which to line up the rails for gluing. Holes were drilled in the ceiling above the little porch with corresponding holes in the floor. Quarter inch posts (previously painted) were placed in front, and the completed railing assemblies were glued in. The last step was the sign. I purchased a few sets of press-on letters with the thought that I could make them look 3D by standing them up. I was very lucky that one of my picks was a set of firm, plastic letters that were very strong and had a good adhesive. I created the smaller "The" part by cutting down letters, and sticking them to a strip of styrene - and then to the front of the roof. (Those old typesetting skills still pop up now and then.) | |
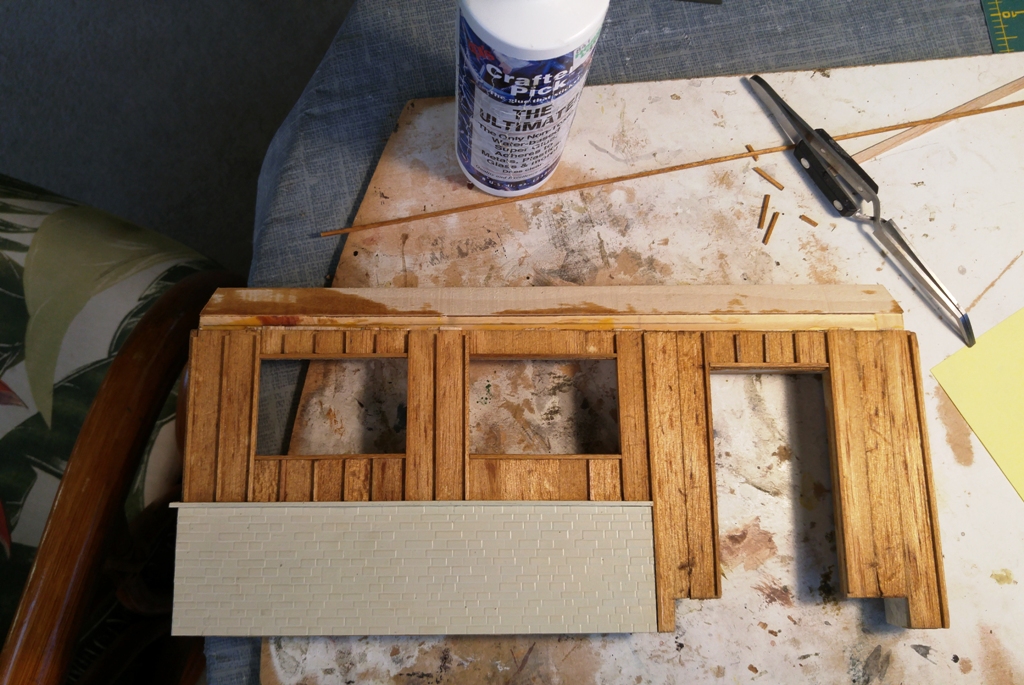
Conclusion It was a lot of fun working in such a large scale for a change. (After all, my last project was in Z!) I had worked a little with balsa wood on my last diorama (I-5), but this time I got to experience how great it can be in other areas. First, the outside paneling of the building were 1/8" x 1/2" strips with 1/16" strips covering the seams. The process was probably similar as to how board and batten siding is actually installed. I liked the way the balsa took stain. For a cleaner and more natural look, I first stained the panels and then glued on the thin strips after they had been stained separately. This avoided the build-up of stain in all the nooks and crannies of the strips. The door was also made of 1/16" balsa, which made it very easy to cut out the window with an X-Acto. Most of the scenes and dioramas I've created have had lots of detail, some of it not obvious at first glance. But this one is pretty much "what you see is what you get."
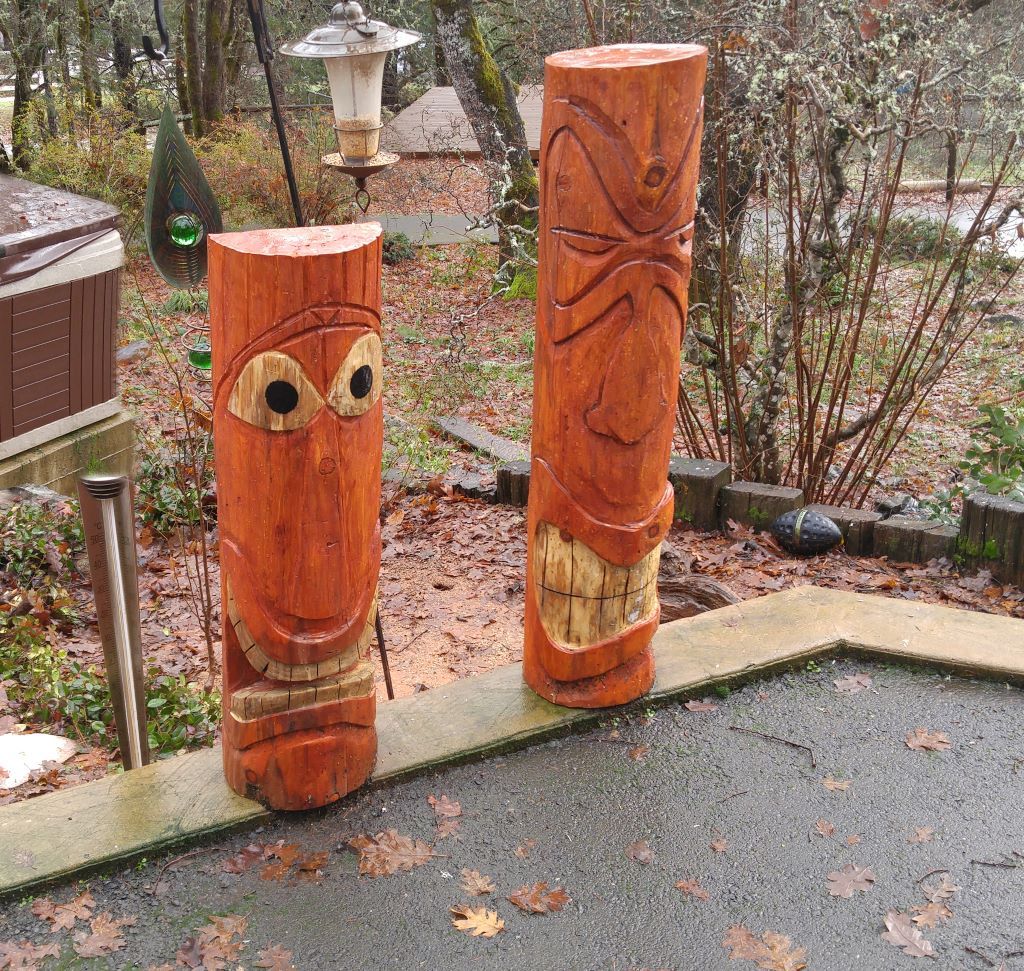
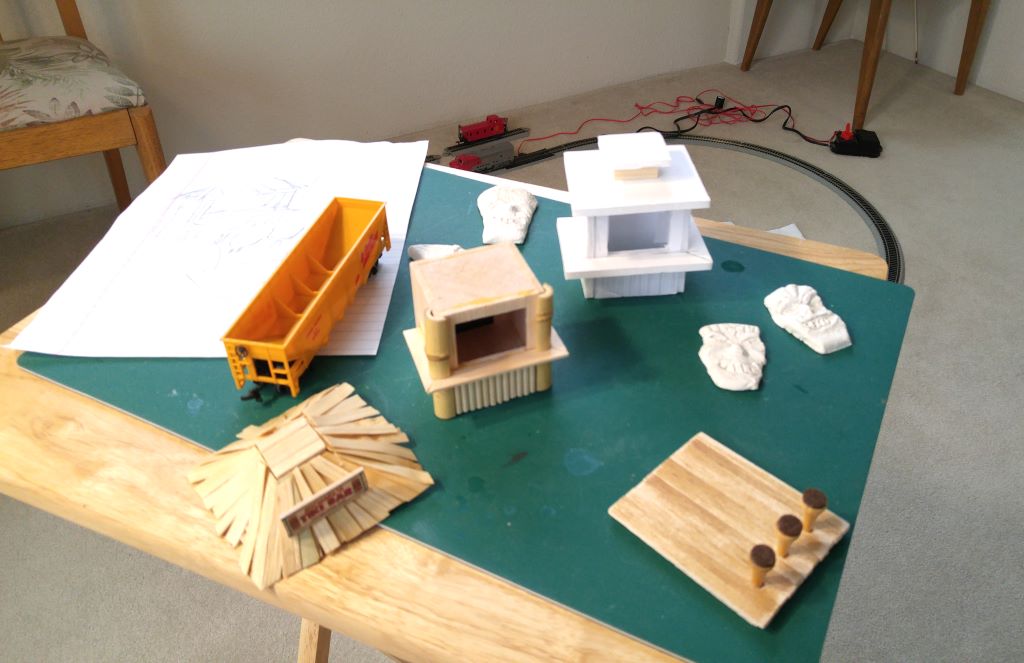
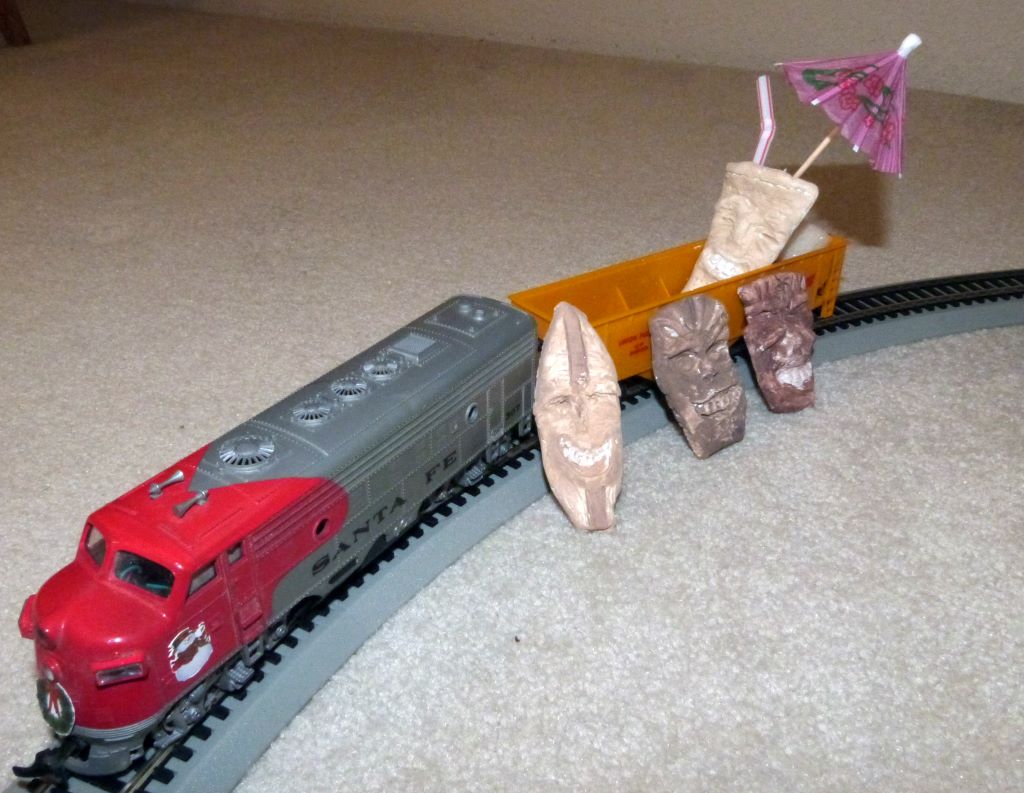
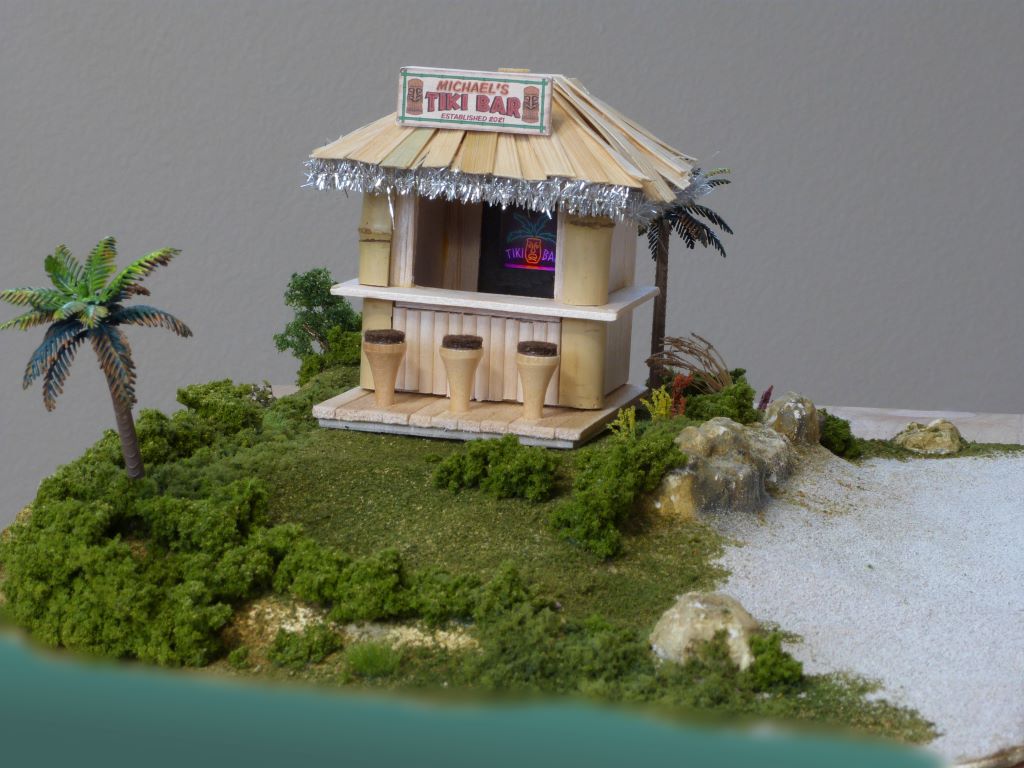
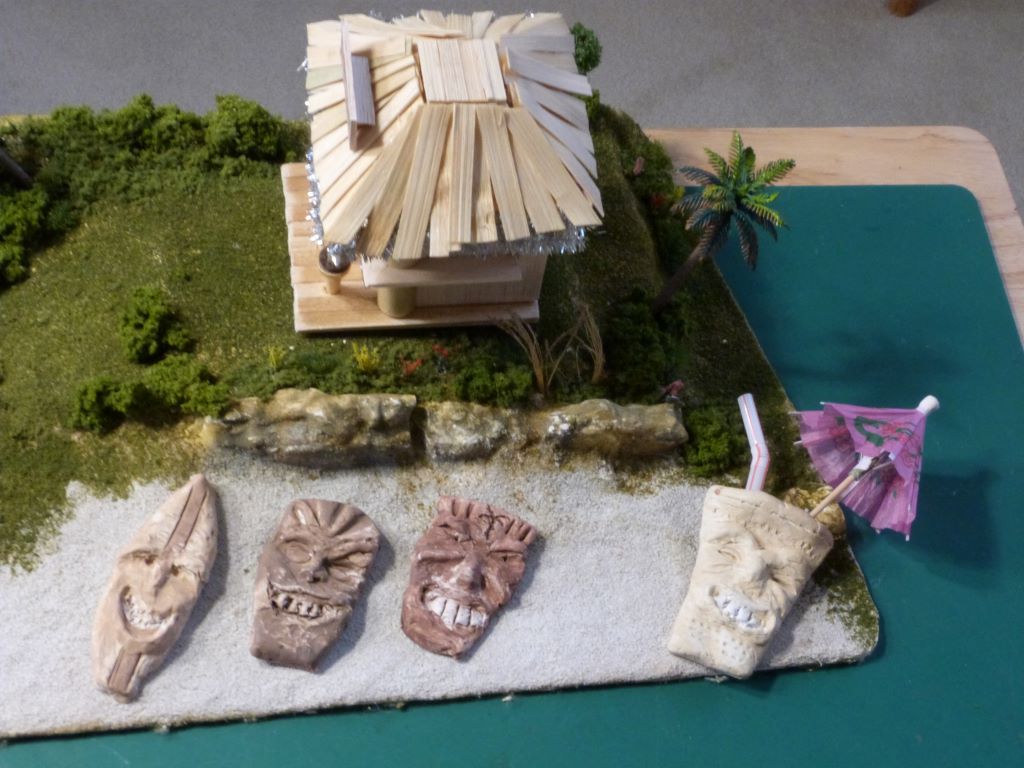
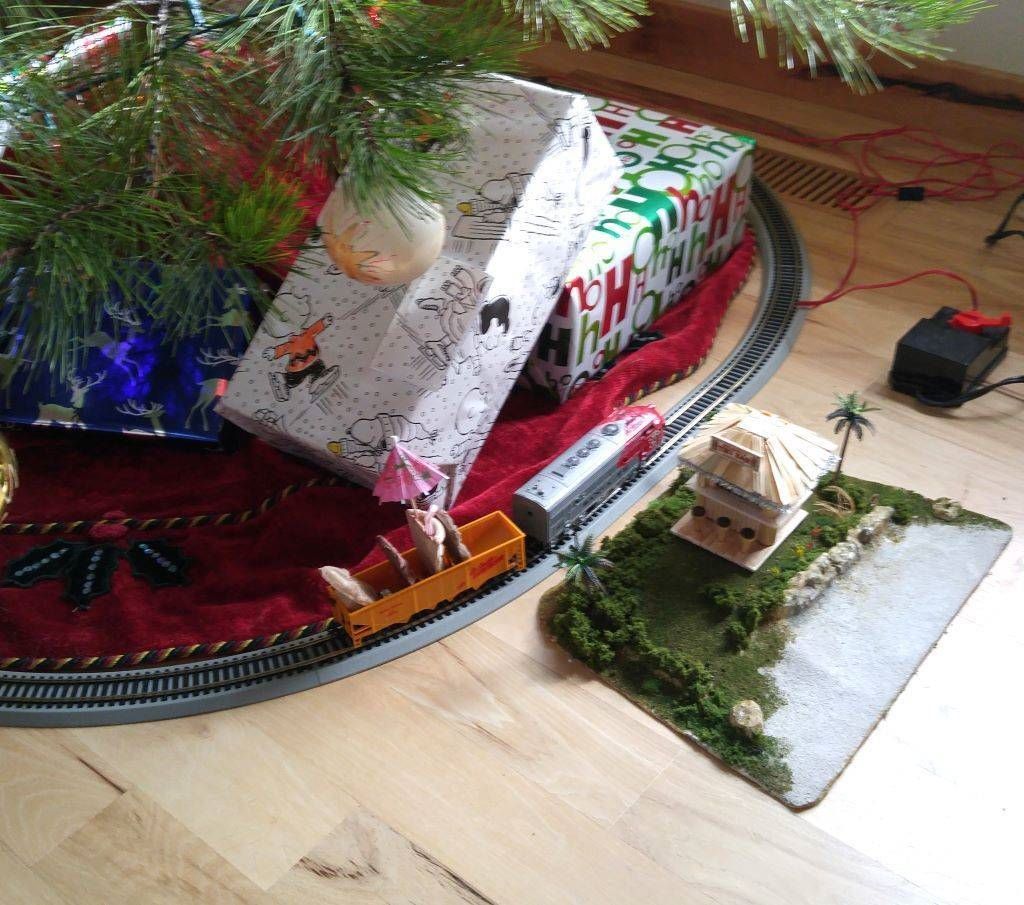
By the way, Terminator 2 was released in 1991. The Corral was an actual bar not far from where I lived in Los Angeles. It burned down years ago, and is now the site of a library. Michael's Tiki BarIn mid-2021, my friend Michael gave me an old Bachmann train set that had been in his closet for a while. It appears to be a Diesel Hustler from the '70s or '80s, and although there were only a few pieces of old-style track, I had some extra E-Z Track and was able to make a small oval. With a bit of cleaning and lubrication, the old train ran fine, although I didn't know what I was going to do with it - yet. When I saw Michael a couple of weeks before Christmas, he mentioned that he was going to get a tree. Naturally I (half-jokingly) said, "I think you should have a train to go around that tree." He took me up on my offer. I wanted to prepare something a little special for him, but as I needed to set it up in a week, I didn't have time to order anything on-line. I picked up a few things at the craft store, but most of the supplies and materials came from my inventory. Since Michael's hobby is carving large tikis, I thought that would make a good theme. I found some pictures on the web and, after creating a foam core mock-up, I went to work. The tiki bar is made mostly from balsa wood. I couldn't find the right grassy material for the roof, but I picked up a small basket which I cut apart, and used the strands. The bar stools are golf tees with a small bumper pad on top. Their shape and finish looked "sixties" to me, so I thought they'd fit right in. For the small base, Woodland Scenics Shaper Sheet worked very well – simple, fast and light. Using foliage I already had, I created a small beach scene. (Fortunately I had a couple of palm trees that I had acquired for the Los Angeles area of my Super Chief layout, currently under construction.) The beach sand is Reptisand, purchased at a pet store quite a while ago – it's meant for use in a reptile terrarium. After I put it on, I thought it looked a bit too red for a Polynesian beach so I sprayed several coats of Krylon Caribbean Sand over it. I wanted to add a bit of Christmas to the scene, and had originally thought about a tree – but it didn't look right. Instead, I strung some tinsel along the roof edge. (If I had had more time, little lights would have been incredible!) I also added a few stickers on the locomotive, and put a few presents on the floor of the train car. (They double as tiki holders.) I made the little tiki passengers out of air-dry clay and gave them a light coat of wood-like colors. I was very happy with the results. This was such a fun project, and it was so rewarding setting it up under Michael's tree. | |
|
|
|
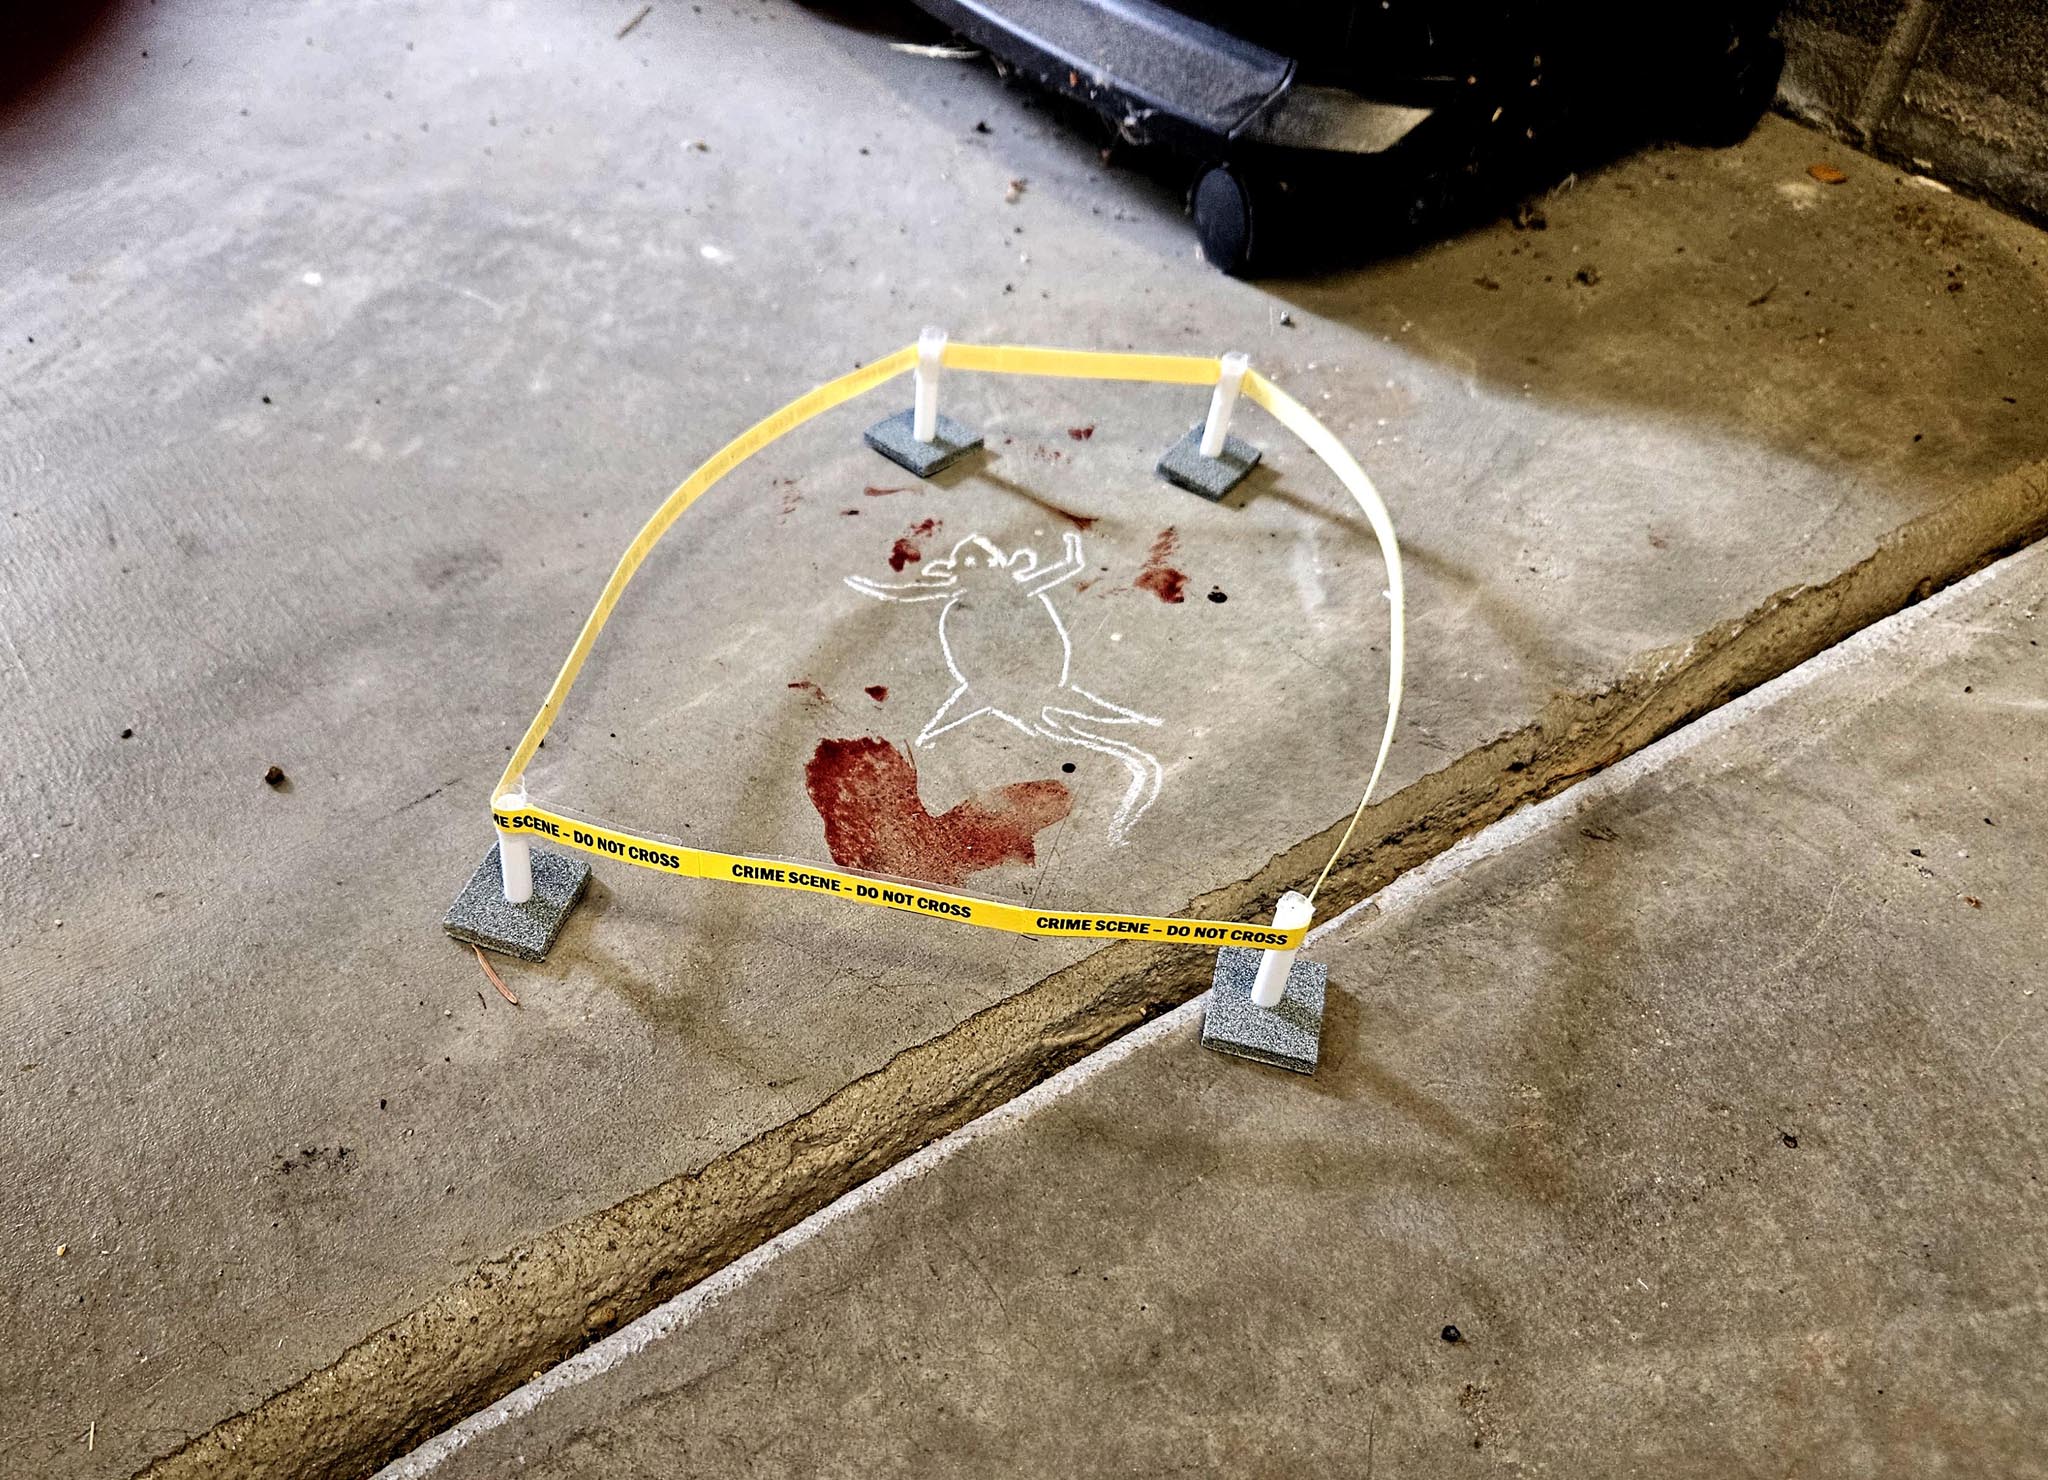
And my brush with the law On the afternoon of March 28, 2024, the body of a mouse was found in a Grants Pass garage. Due to unspecified evidence found at the scene, investigators do not believe that the death was of natural causes. A cat who resides nearby has been questioned but did not provide any additional information and has not been charged. The investigation is on-going. Pride Fair Based on a true story.
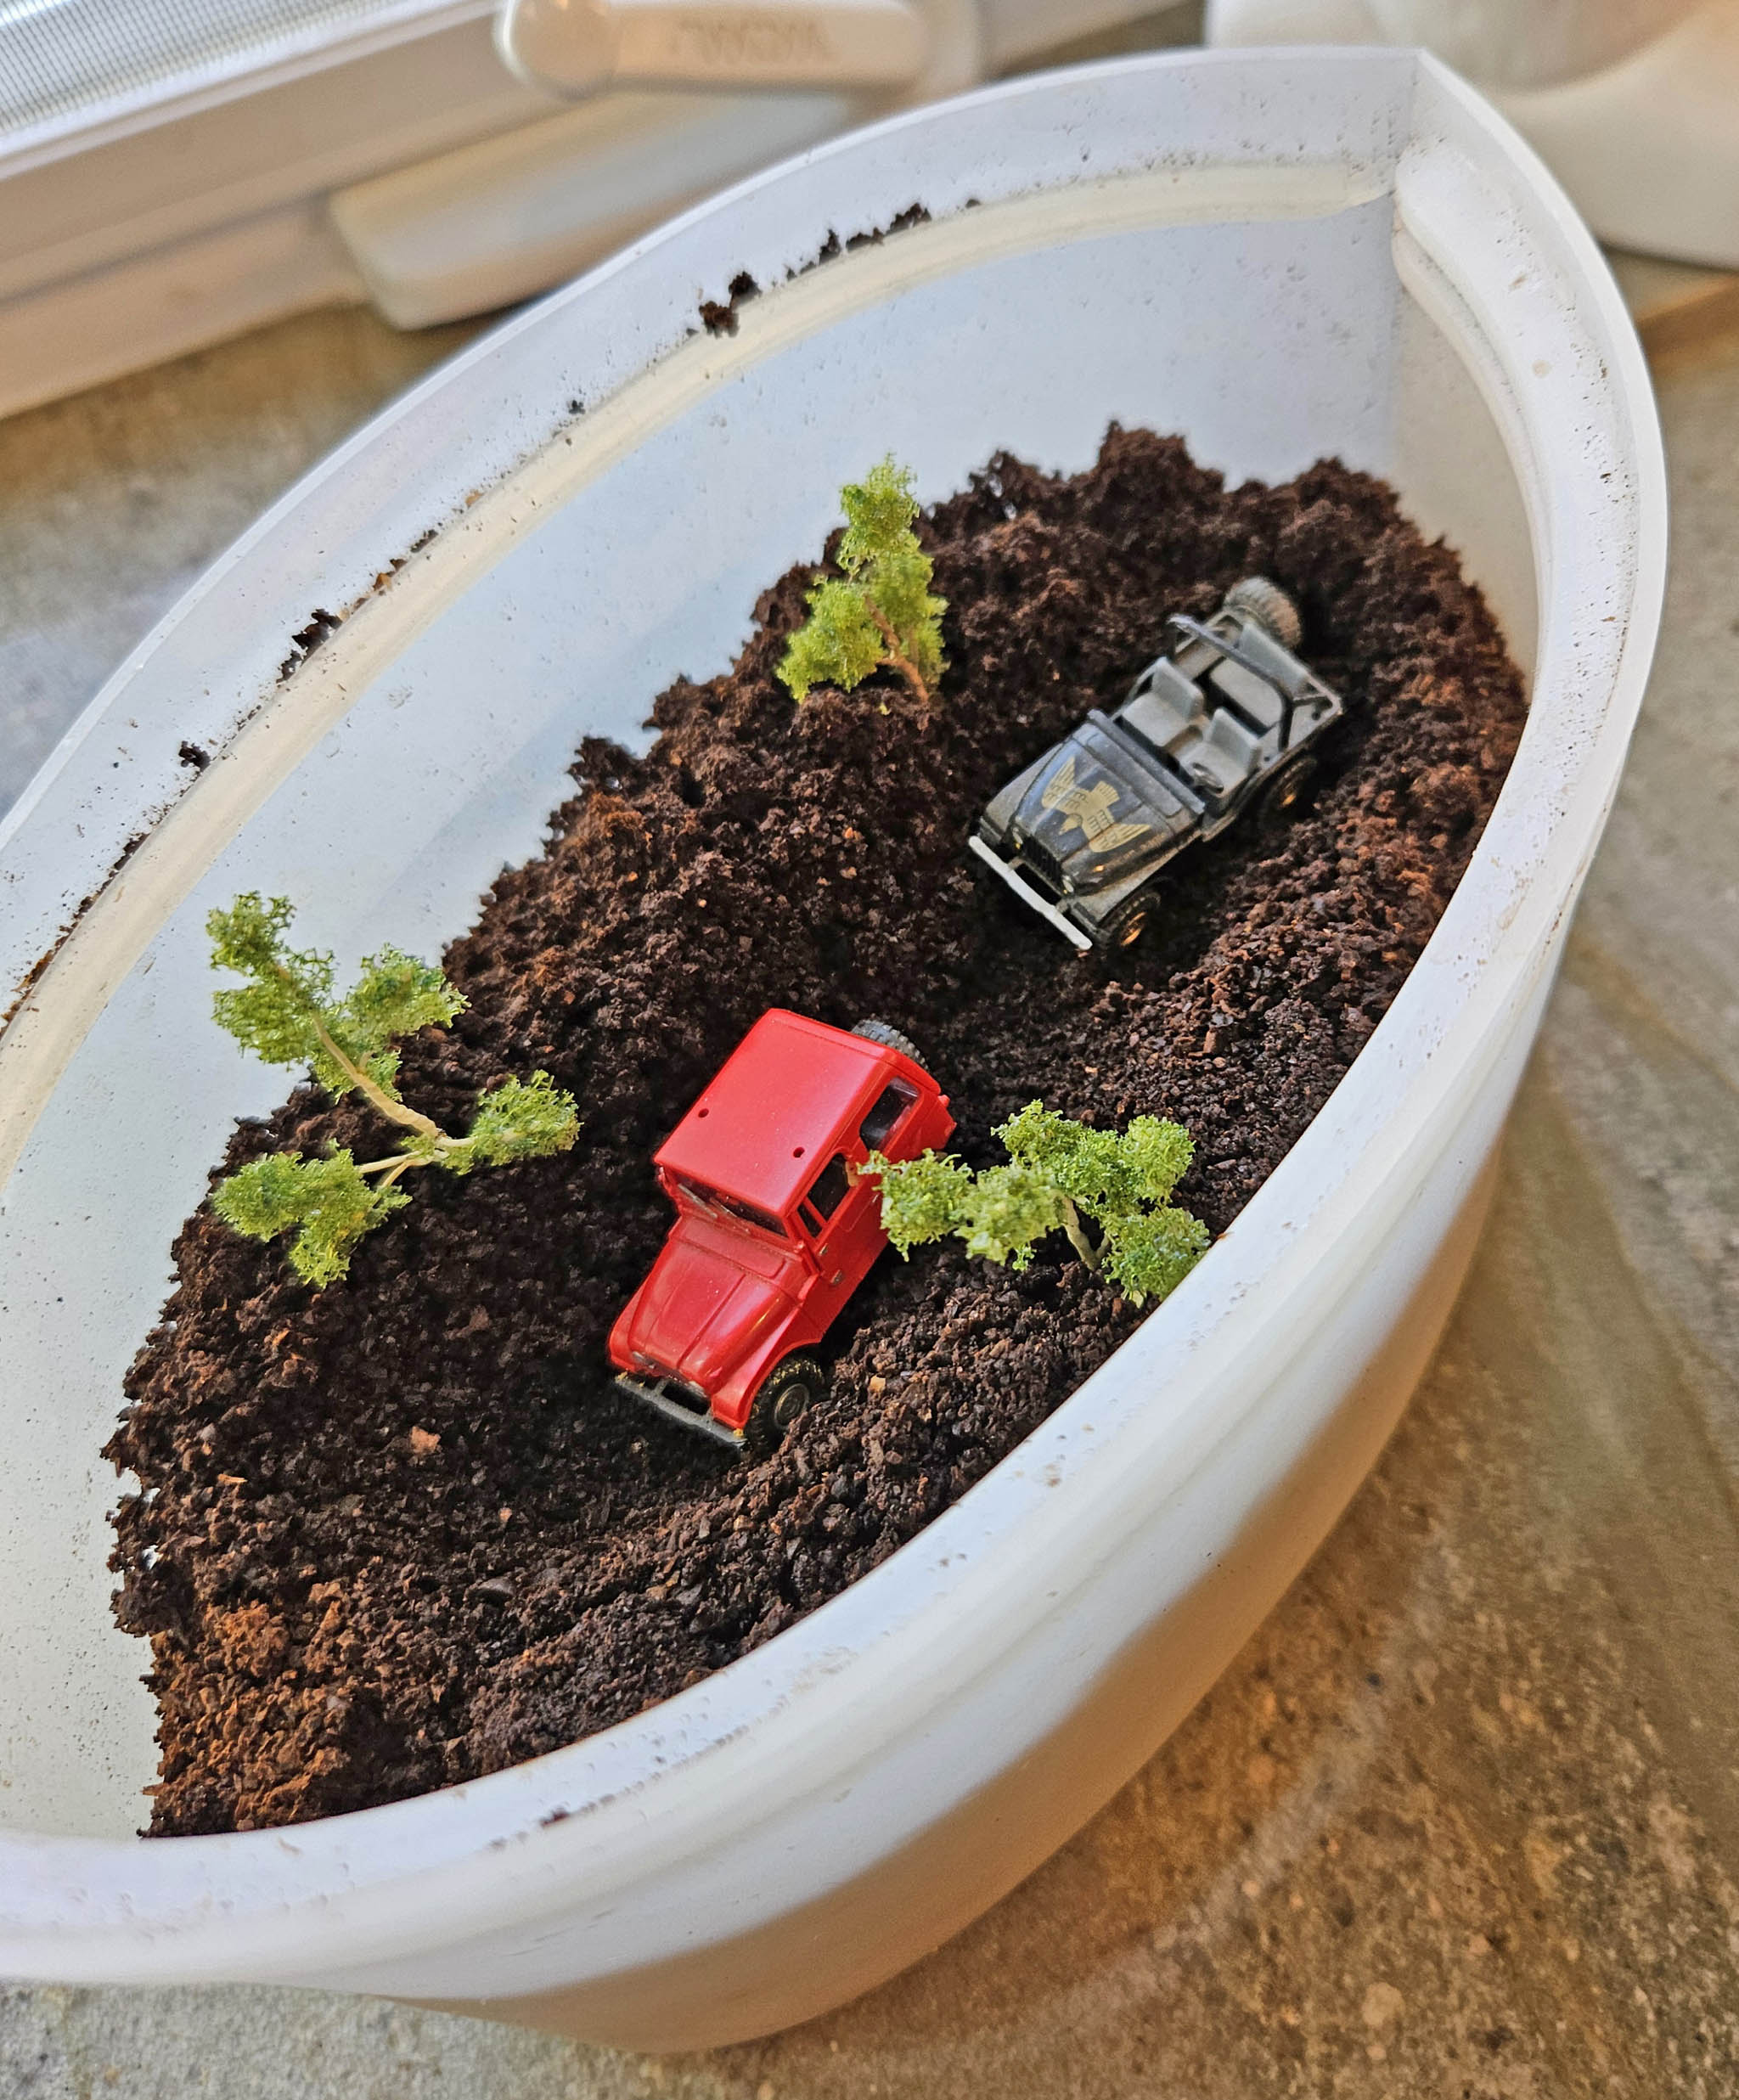
Jeeps Off Road After building a number of dioramas (not all train-related), I see them everywhere :) There were a bunch of small potatoes on the counter, and I thought that those two Jeeps (usually parked in the city layout) just had to pay a visit for a little off-road boulder-hopping. The Jeeps had another outing shortly thereafter heading to an oasis in some (newly poured and clean) kitty litter. Mrs. Pauley started saving coffee grounds for use in the yard. I saw another opportunity to give the Jeeps a little action. What a geek I am, eh?
|
|
