![]()
Contents
7
PRODUCTION TIDBITS
Boston TypeTM
| Production Tidbits | |
|
|
Other products I often use are Plaster Cloth and Shaper Sheet. Check out the Woodland Scenics site for more information. |
|
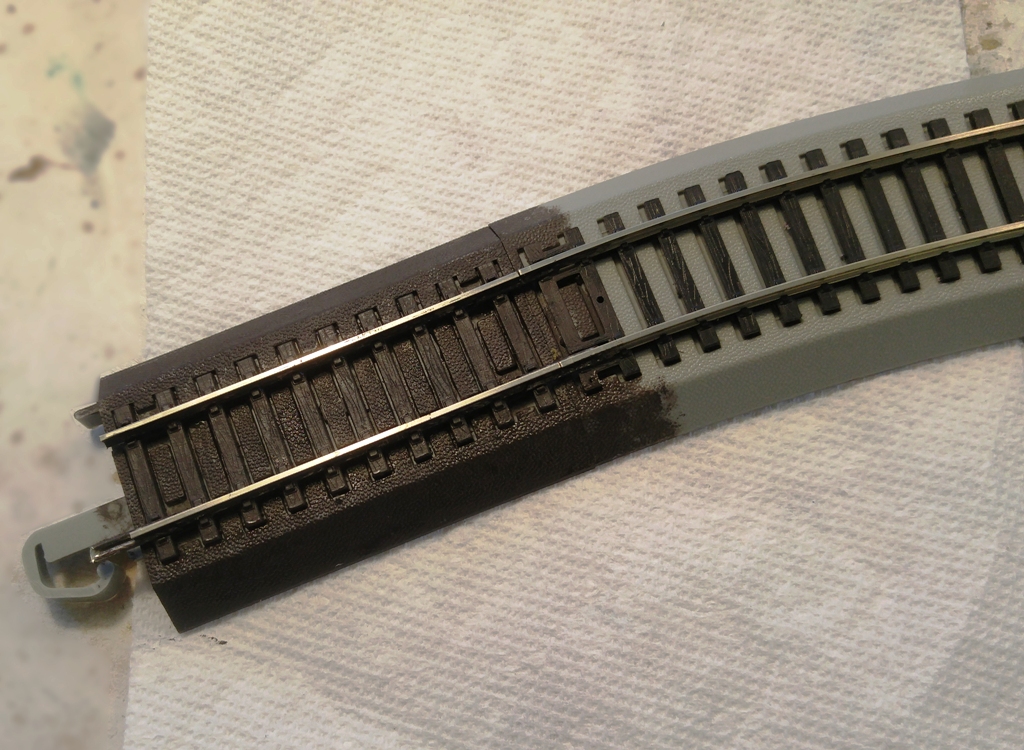
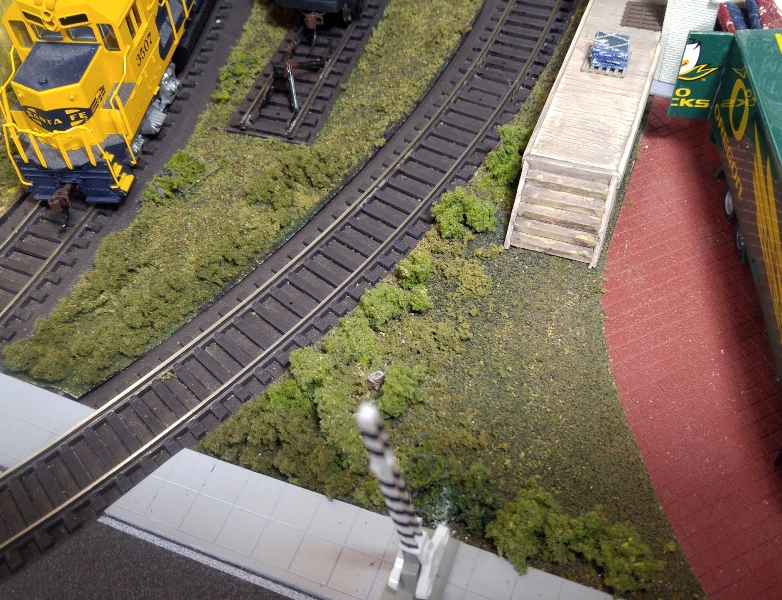
As I mentioned earlier, snap-together track is not very realistic out of the box. But I found several methods to improve its looks. The first one is simple – paint the entire track (except for the top of the rails) with burnt umber, railroad tie brown, or something similar. Be very careful on the switches - make sure not to get paint on electrical components or moving parts. Another method is adding ballast to the plastic track bed. But to do so, the snap-together track should be affixed permanently to the layout (or layout section). If and when you're ready to do that, ballasting the track will make it look much more like the "higher end" layouts. Make sure you paint the sides of the rails a shade of rust first. (I tried ballasting individual sections of track, but wasn't happy with the results.) By the way, if you get paint (or anything else) on the top of the rails, don't use sandpaper or steel wool to clean it off. Use a pad designed for the purpose. The one I have has a side for regular maintenance and a slightly courser side for removing heavy build-ups. It can also be used with a liquid track-cleaning solution. Kato Unitrack is very similar to Bachmann's E-Z Track. Kato even offers ballast in the same color(s) as their molded plastic track bed. Another method I have used is to cut the edge of a section's base at 45 degrees so that it closely bumps up against (and hides) the side of the plastic rail bed.
|
|
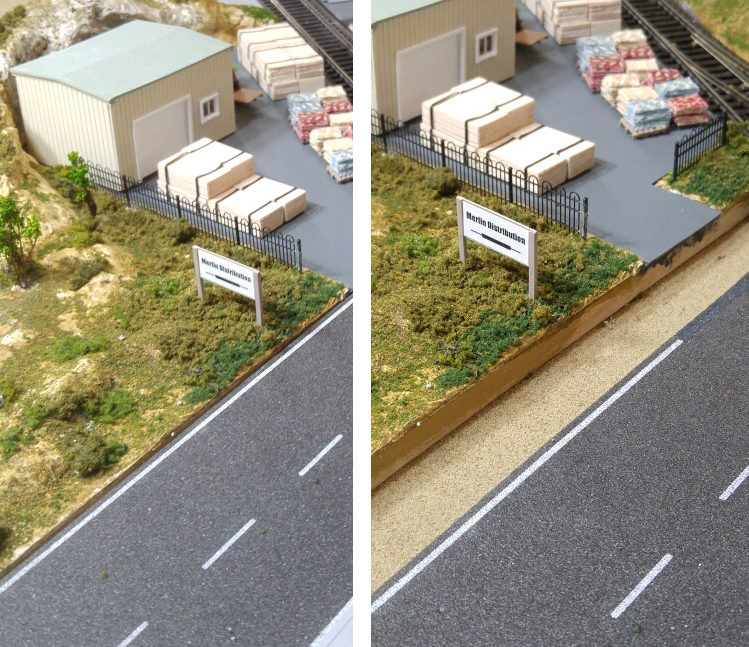
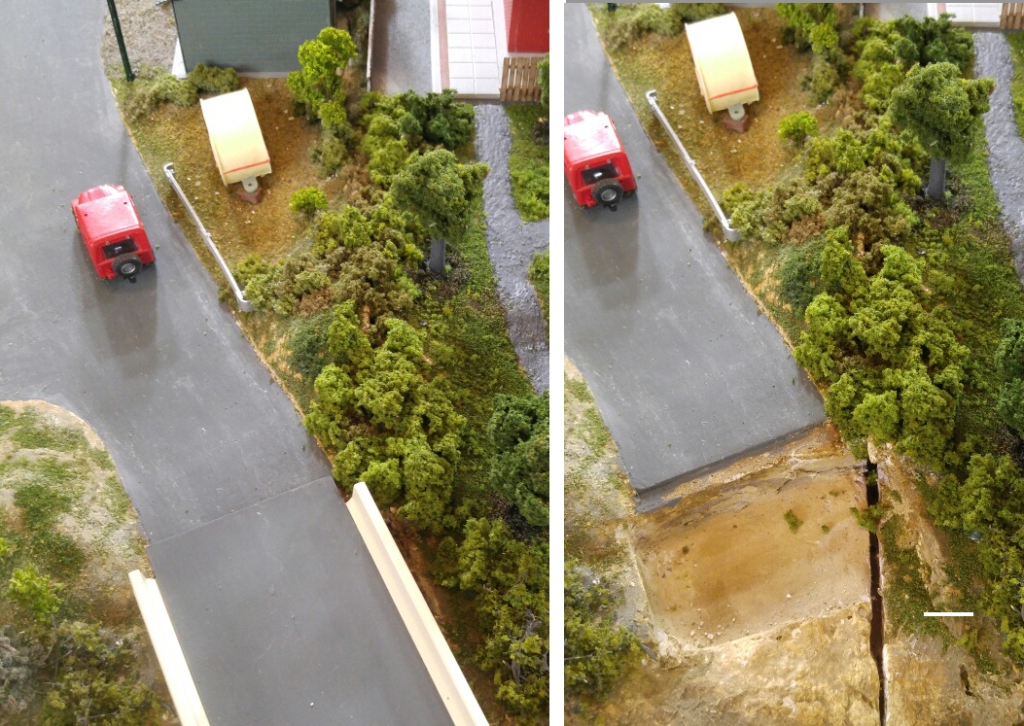
Seams I've used bushes, mountains, water, bridges, roads, tracks and even air among other things to disguise, or at least divert attention from, edges of a section. Also, some roads simply disappear into a canyon of one section adjacent to another. |
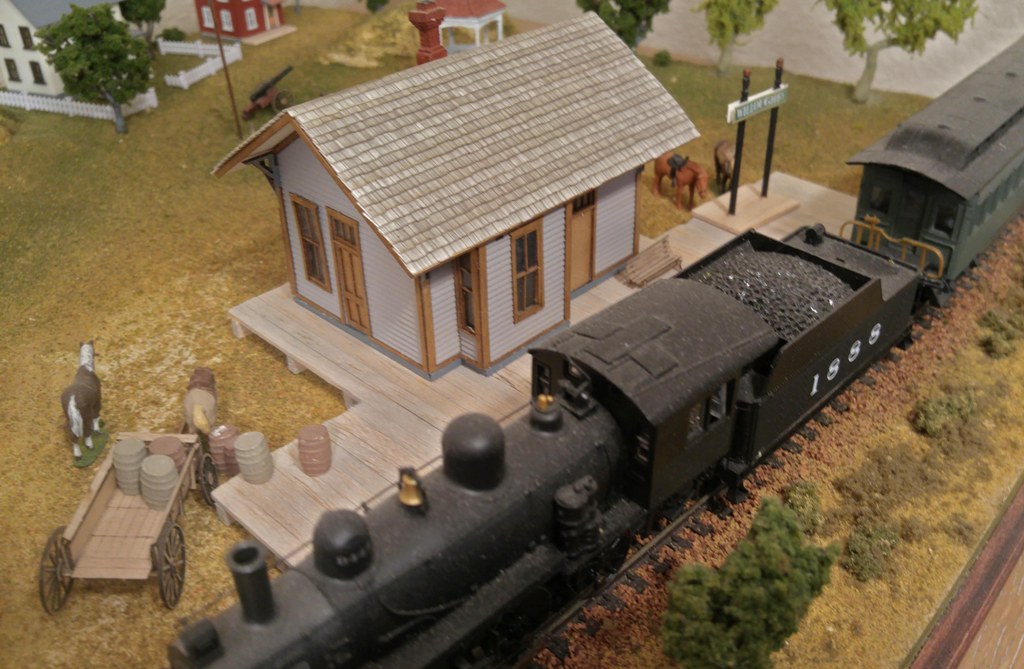
Laser-Cut Kits My first laser kit was an HO scale train depot on my Willoughby diorama. I mildly customized it to fit the scene. I also assembled a laser kit wagon – that was a challenge! A while after that, I built (and moderately modified) the Taprock restaurant using RSlaserkits' Log Lodge. By the time I worked on this one, I was finding that it was relatively easy to kitbash laser kits. The most recent laser kit I assembled (and customized) was an N scale version of the Taprock above. (I had purchased both not knowing which scale would work the best in my river scene.) So here's my two cents on laser kits: My first piece of advice is that, in my opinion, laser kits require a higher skill level than assembling an equal plastic kit. And as I can attest to, this is especially true when working in N scale. Working with laser kits is a lesson in patience and, first and foremost, a gentle touch. You must also be ready to fix something that accidentally breaks, because not all of our touches prove to be as gentle as we would like, and some of the smaller pieces are fragile. (Remember to keep your X-Acto sharp and go slowly!) But the reward for conquering laser kits is a wonderful realism, especially effective for modeling wood items and structures. And, as mentioned above, after a little practice, custom cutting and modifying the thin pieces of wood is easy.It's nice to work with a medium that cuts and glues so simply. Some kits are not cheap, but they sure are worth exploring. I’m glad I did. Put stuff away that you're not using! I've got a rule – well, it's actually a guideline. If I am not going to use a tool or product soon (i.e.: within a day's production, I put it back where it lives on the shelf. You'll be happy if you get into this habit. This is especially true if you have limited work space. And, yes. Sometimes I break my own, er, guideline. | |
|
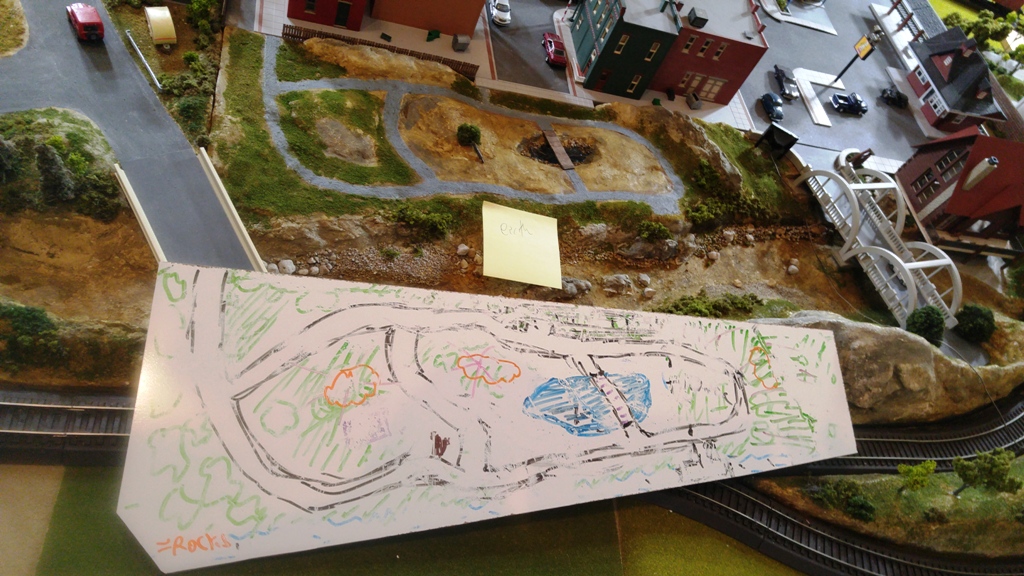
Dry-Erase Designing In several areas, I utilized dry-erase material to work out different ideas. First, for my Rural area, I used contact paper with a smooth, white dry-erase finish, and affixed it a 3/16” board. When I was ready, I removed the contact paper and used the board beneath it to build the section, with the contact paper design as a guide. A while later, I found a 2’x4’ board at Home Depot which had a dry-erase coating on the board itself. I cut this down to the size of the area on which I was working - in the example to the left, the park.
|
  |
  |